So your shed door is knackered and well beyond wood filler as well as preserver. You’ve decided to man up and learn how to hang a shed door. Well you’re in the right place, I’ll make this advice guide so straight forward to follow even the newest to DIY will be able to hang a shed door by the time we finish!
A little while back I looked at the complete refurbishment of a shed. I cleaned and repaired the shed roof, cleaned the shed gutter and fitted gutter guards, showed you how to cleanup the exterior of a shed, how to professionally fit an RCD into your shed. Then I showed you how to insulate a shed in great detail. I even showed you how to fit a window into a shed from scratch but I didn’t cover how to fit a door so now is the time!
Hanging a shed door is much like fitting a garden gate. You use the same tee hinges with a couple of differences that I am going to cover in this article.
How to fit a shed door
1. Measure for your shed door and order it
2. Trim in your shed door if necessary
3. Install your tee hinges to the door
4. Offer the shed door into it’s opening
5. Screw on your shed door
6. Install the keep or lock
7. Treat your shed door
1. Measure for your shed door and order it
Measuring carefully for your shed door will make this job a breeze. I would actually make a shed door if I had the time, but given they are so cheap off the shelf (a half decent one will set you back around £60) and so many standard sizes you’re likely to find just what you need. Carefully measure width and height. Make these measurements tight. Then simply deduct 6-8mm from the width and a good 15mm from the height. If you’re worried about draughts then pop on a weather bar after, having the door off the ground enough to get a paint brush under for wood preserver every couple of years will keep the door in tip top condition.
There are many size shed doors you can get as standard and some of the most common are:
– 1981×610
– 1981×686
– 1981×762
– 1981×838
– 1981×915
– 2032×813
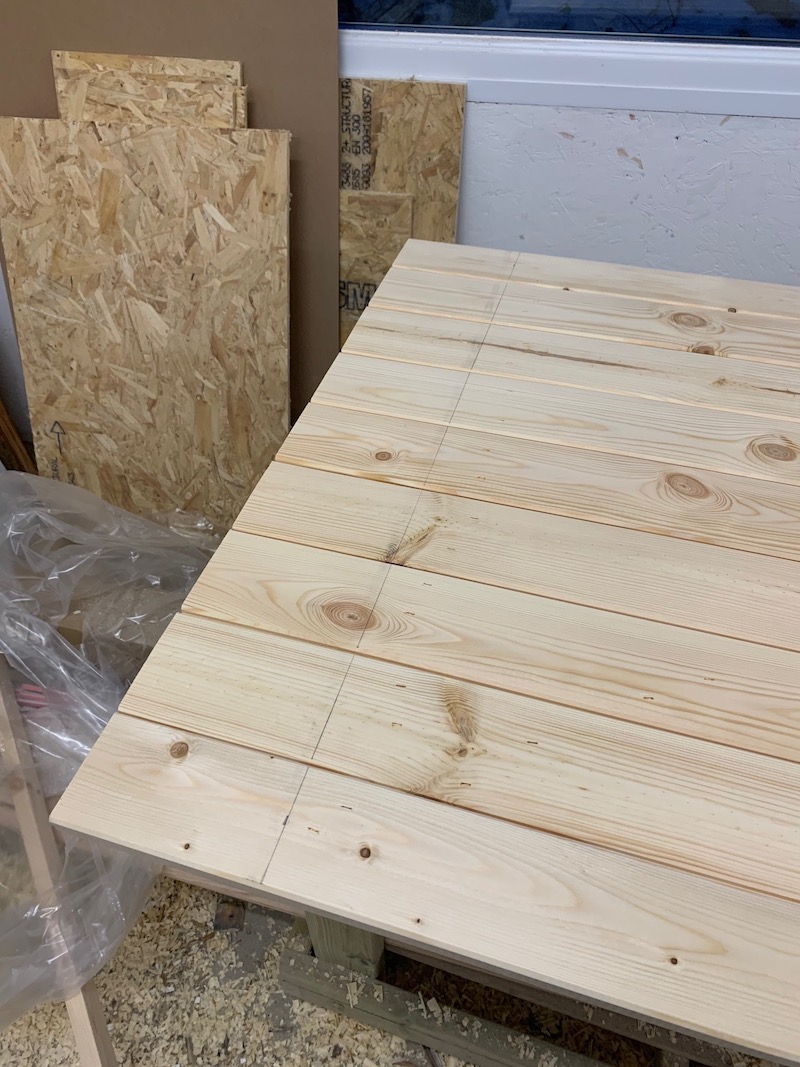
2. Trim in your shed door if necessary
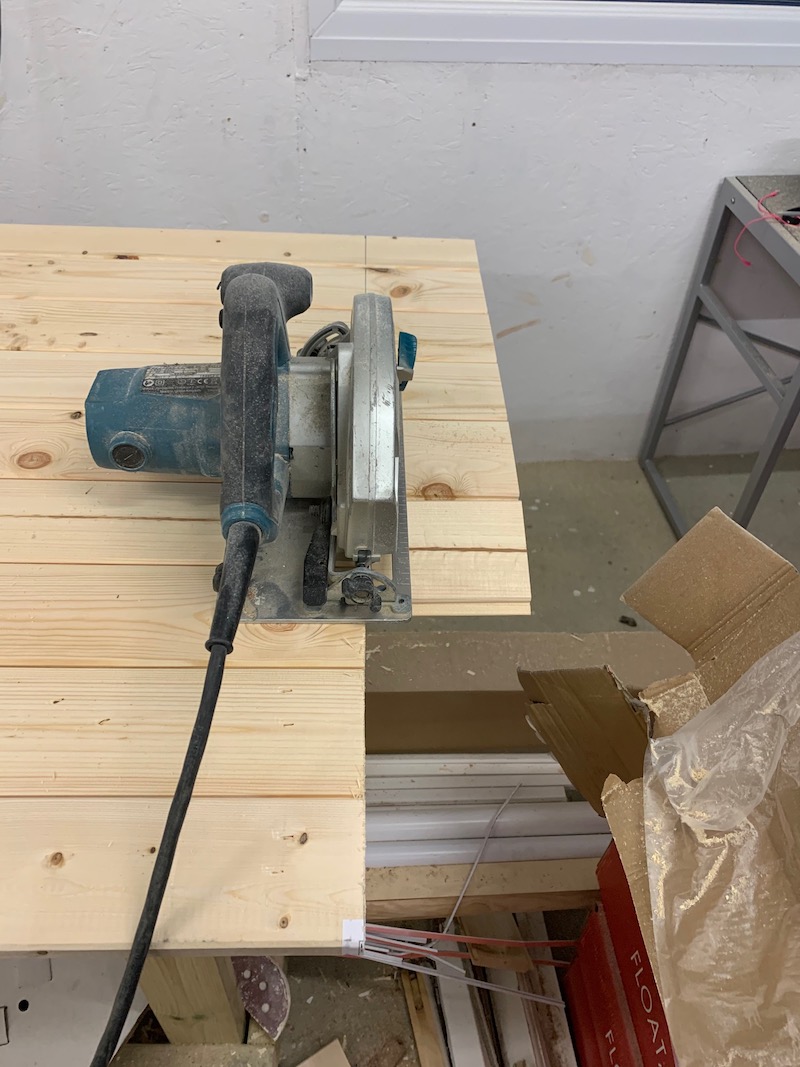
Once the door arrives you’ll want to plane it down and if necessary use a circular saw if the amount to remove is great. Here’s a picture of me cutting the door to height and width using my Makita circular saw. It’s much easier than an old fashioned hand saw but then, you pay much more! Linked is a selection of hand saws if you’re on a budget.
First you mark out the cut carefully, make sure you’re a few mm smaller than the opening so it closes nicely.
Then once marked out carefully cut with your circular saw or handsaw. If you’ve just bought a Makita circular saw on my recommendation then I highly advise reading the circular saw safety manual first to fully familiarise yourself with how to use it safely.
3. Install your tee hinges to the door
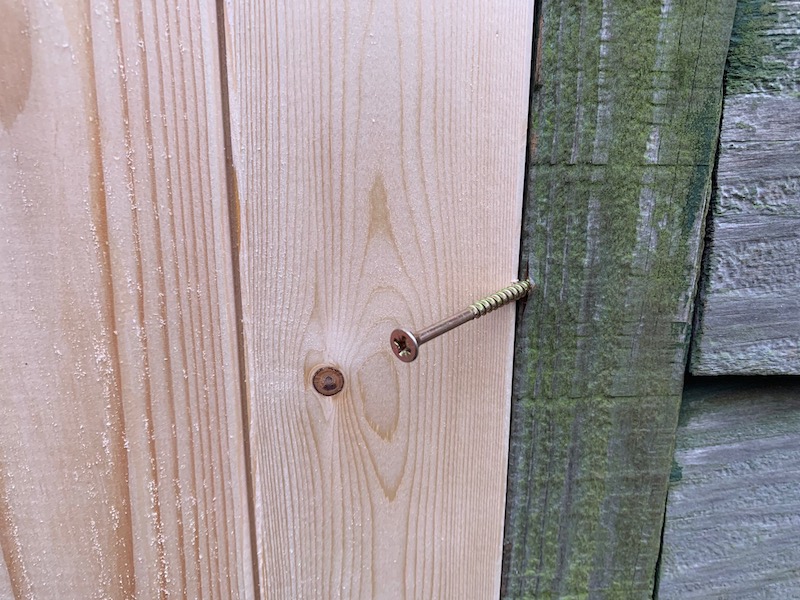
Pop your tee hinges on nice and tight as per the picture I just allow the hinge to dangle at a nice right angle which will make for a nice tight fit and smooth use after. I almost never use the manufacturers screws although I probably should. I much prefer a nice galvanised screw that won’t rust but drills in nice and easy. In my case the braces and board total 40mm so with the setback of the hinge, using a 35-40mm turbo screw is a doddle. Watch how easily these can be screwed in:
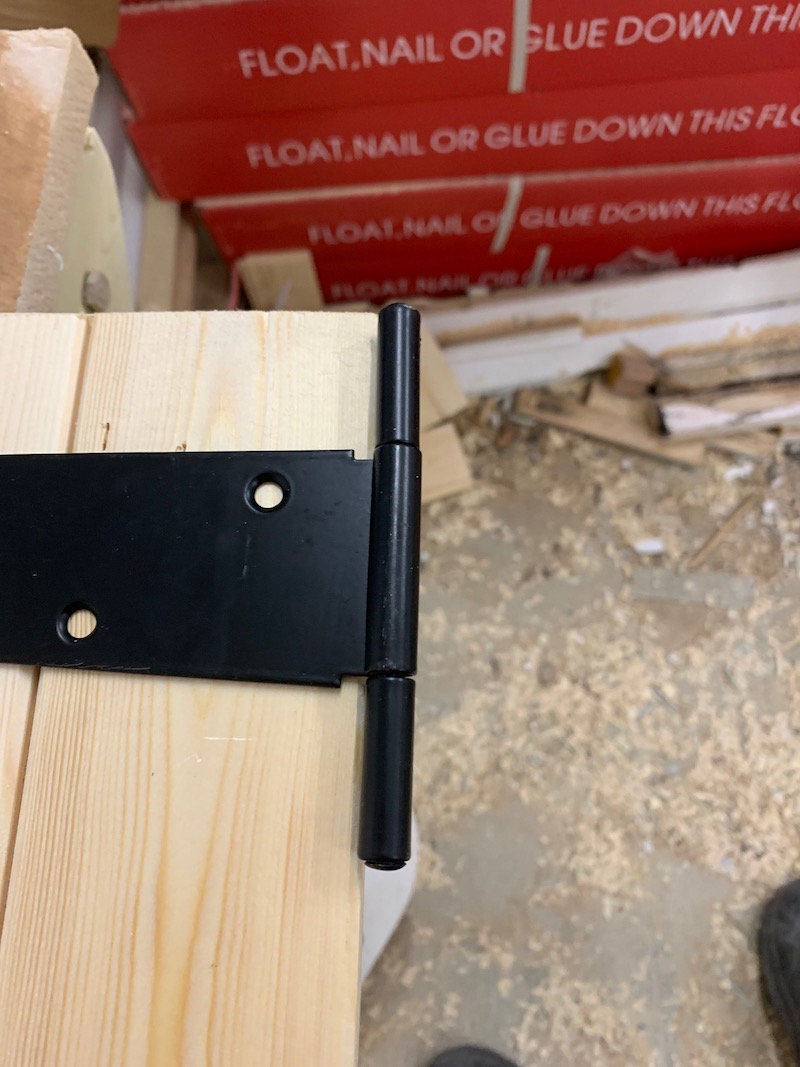
If you screw into the brace then this will also help to strengthen the door and stop sagging over the years.
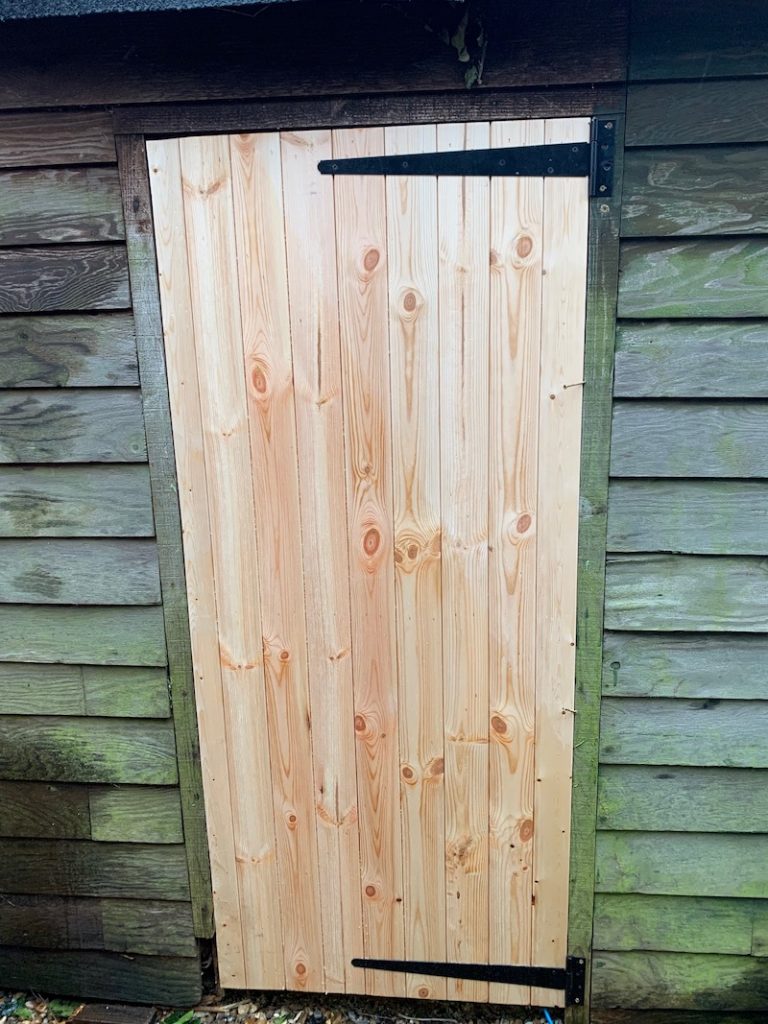
4. Offer the shed door into it’s opening
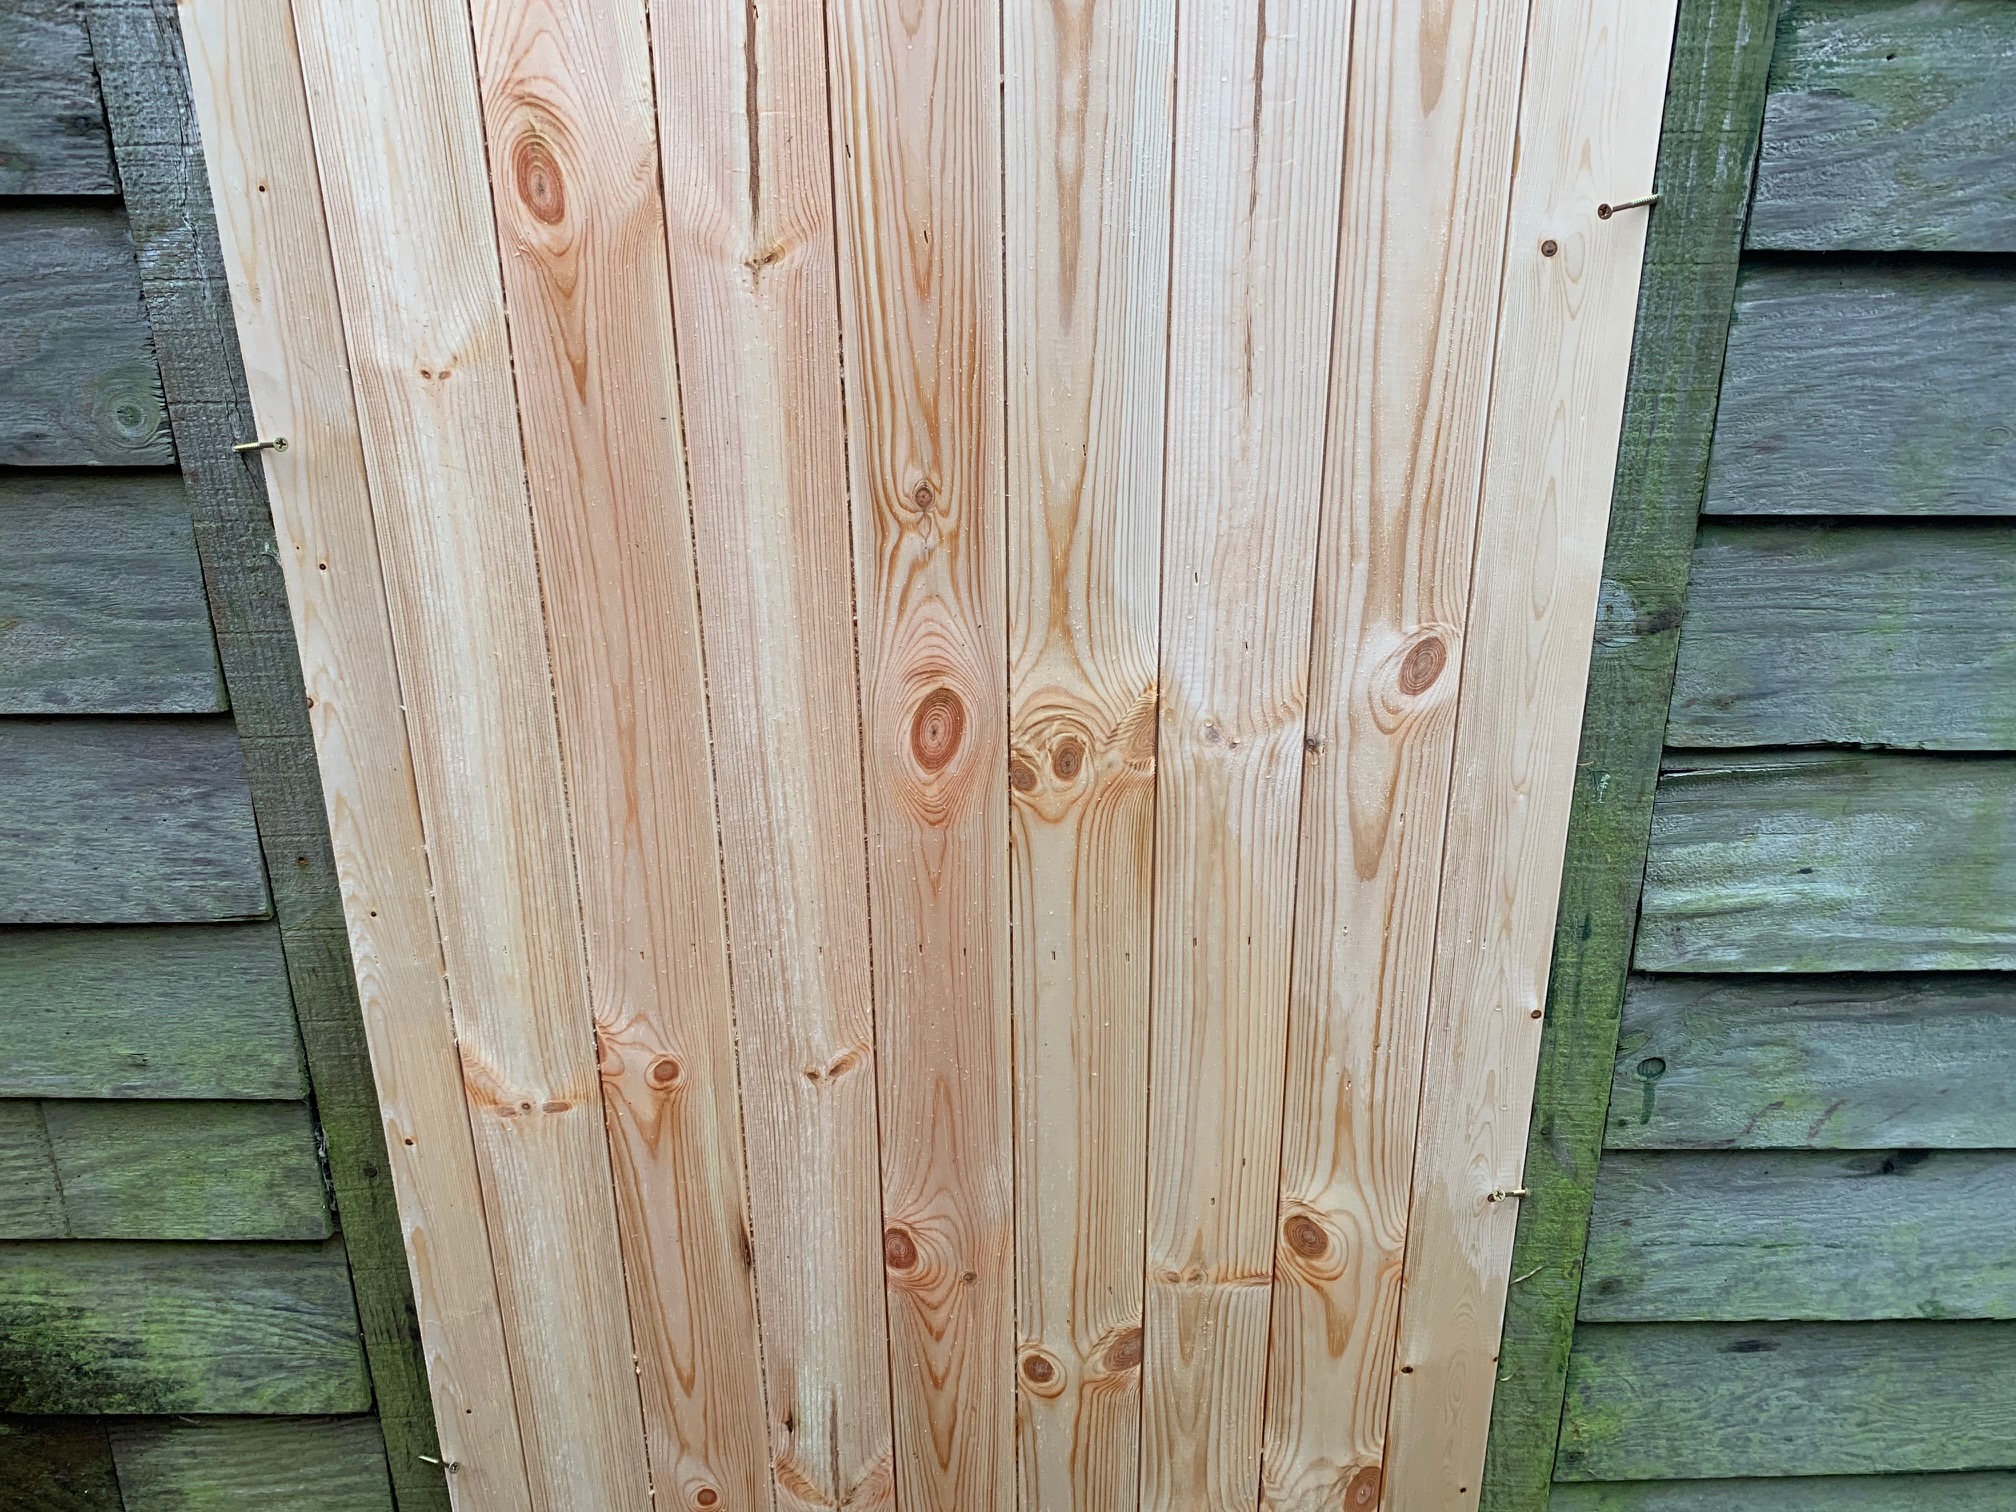
Offer your shed door up to check for the fit, now is your last chance to make any minor adjustments if necessary. As you can see, my door fits just fine. If it didn’t, I would not try to plane this down in situ. Why struggle. Take it back to your bench if necessary. In all likeliness though, if you allowed 6-8mm in width and 15mm height from step 1 then this will fit live a glove.
5. Screw on your shed door
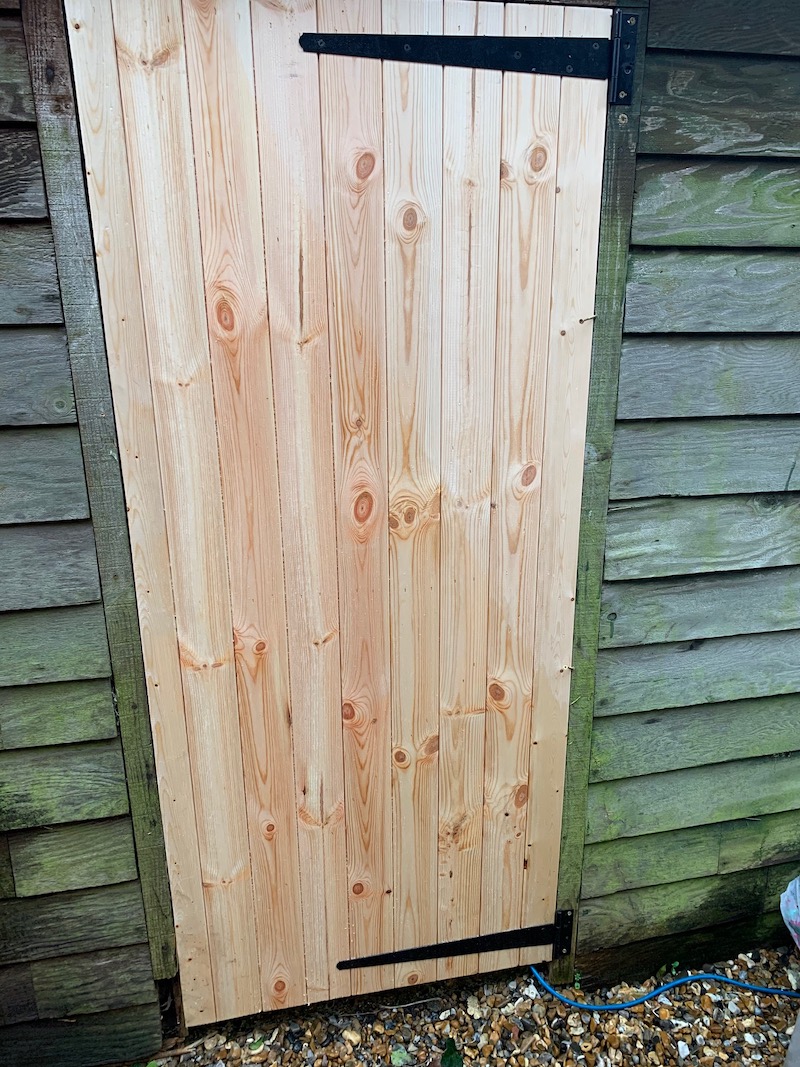
When I fit any door I always like a hand. If I don’t have one I’ll use some wood to pack up and lift the door off the ground. Then given it’s a shed I will cheekily pop a couple of screws to secure the door where I want it before screwing on the hinges. Look how easily you can hold the door in place:
I would obviously never do this on a building I was worried about aesthetically like the other shed I just insulated and converted into an office. If this was a summer house or my main shed that I look after, I would ask for a hand just to hold into position while I did my final eyeing in and fixing of the door.
6. Install the keep or lock
I’m not particularly worried about security on my door so the latch with a shoot bolt and a shed lock is plenty for me. Some people ego as far as installing cctv and a quality shed alarm. Funnily enough I had done this on my main outbuilding but that’s for another tutorial. Screw on your latch, then fit the keep to the shed. If you’re using a shoot bolt then fit it well now. Is there anything more annoying than a stiff shoot bolt when it’s cold and miserable?
7. Treat your shed door
If you planned ahead you could move this step up to position 3 on this guide. For me, I didn’t have the time to wait for the treatment and shed stain to go off. If you prefer a wood oil then I would brush this on. If you like something a bit easier to apply then you might like Creocote that’s available in 20 litres for not a lot of money and you can use it on your fence, shed, gates, and any other wood you aren’t eating or sitting on really. This applies really easy with a garden sprayer. Don’t have a fine mist though. You do not want to breath this stuff in, it’s nasty!
Something else to note, I actually turned this door from an inward opening, to outward opening setup. You can do the same by changing around linings and stops. That might be for another guide soon!