So you got brave and bought a garden gate online, or picked up in store. I know which one I go for on bulky items these days 🙂 Perhaps you’re planning ahead and checking out the feasibility of the project before making the leap and taking this on as a DIY project. Surprisingly (in a pleasant way) you’ll be pleased to know fitting a gate doesn’t take much more than a couple of hours if you follow these simple steps.
Pre-requisites to install a garden gate
This article assumes you’ve already worked out how to fit a garden gate frame. If you’re looking for the complete package of garden gate and frame then the best place to start is there. Once you’ve made the opening or measured for it, you can begin to think about the gates themselves. If you’re installing onto a brick wall or some type of concrete then read on as I’ll cover how to handle that as well although not strictly part of this guide.
How to install a garden gate the easy way! 🙂
- Measure your gate aperture carefully
- Get the right quality gate hinges
- Have your power tools ready to make this a doddle
- Offer the gate into your opening – plane or trim the gate as necessary
- Fit the hinges / handle to the gate
- Hang the garden gate to your wall or frame.
- Get the stain or oil ready too as most doors don’t come pre-finished.
Measure your gate aperture carefully – and I mean READ THIS to the end to avoid a total fail.
Seriously, read this to the end to avoid a total wipe out on your quest to fit a garden gate.
Have you heard the old Chippy’s saying? Measure twice cut once. Never, ever has there been a truer saying than this when it comes to almost every single DIY job in the home. Excellent planning will definitely prevent poor performance and flag up potential problems before they are too late. I use/follow this guideline myself time and time again, like when I insulated and boarded out my shed to convert it into an office space and I nailed it within a few mm when I fitted a window to a shed.
So what you need to know is the height and width. “No kidding”, you’re thinking but with no doubt stronger language. 😀 Well don’t forget to knock off 15mm in height give or take so the door doesn’t drag or catch on stones / uneven earth! 🙂
However, you now also want to measure corner to corner carefully. It doesn’t matter if you’re fitting two gates together or one.
If you’re skilled around the garden you’ll already know we are checking for square, if you’re not, this is going to save a huge head ache. The reason being if we are out of square, the easiest way to adjust is by moving the frame in and out as required. This of course means the actual size of the gates will be different :). So, below is an example of a perfectly square gate opening, nothing fancy:

So if your X and Y measure are identical or close (within 10mm or so – don’t shoot me they are only garden gates!) then no need to worry as it’s an easy adjustment on the hinges. Garden gate hinges are nothing like swinging a door, it’s much easier and far more tolerance will still result in a decent looking job. If your opening is reasonably square it’s safe to buy both the gate and frame to fit together.
However, here’s an example of out of square that we need to work on. It’s a realistic problem and you’ll need a spirit level to get one leg straight first but before we delve into that, here’s a diagram:

Feel free to email me and buy me a beer when you see you’re opening out of square and realise I’e saved you tons of time and improved the aesthetics of your garden gate install as well :-). You basically need to ensure that you don’t buy gate too large or you’ll be planning then down at angles, or annoyingly worse, retrospectively squaring up the gate frame and then trimming the door square!
“This might seem long winded but it it literally the only complicated part to fitting doors with Tee hinges. To recap the above explanation that’s now understandable in a sentence (if you did indeed the read the above): measure the opening diagonally to make sure they measurements are the same or similar. This will ensure the opening is square which will reduce cuts and adjustments to your garden gates.”
2. Get the right quality gate hinges
Get the best tee hinges for your gates, don’t spend too much or too little. Mine cost a few quid and will do the job no problem. Without question, a simple light weight closed board gate or similar only needs some of those cheap heavy duty black or galvanised Zinc tee hinges. Your door in this example weighs not much more than 20kg-30kg. Twelve to sixteen inches in length is just fine. We will fit a pair and a half to spread the weight (three hinges each door).
Here’s a look at the hinges I have selected for a simple ledged and braced garden gate:
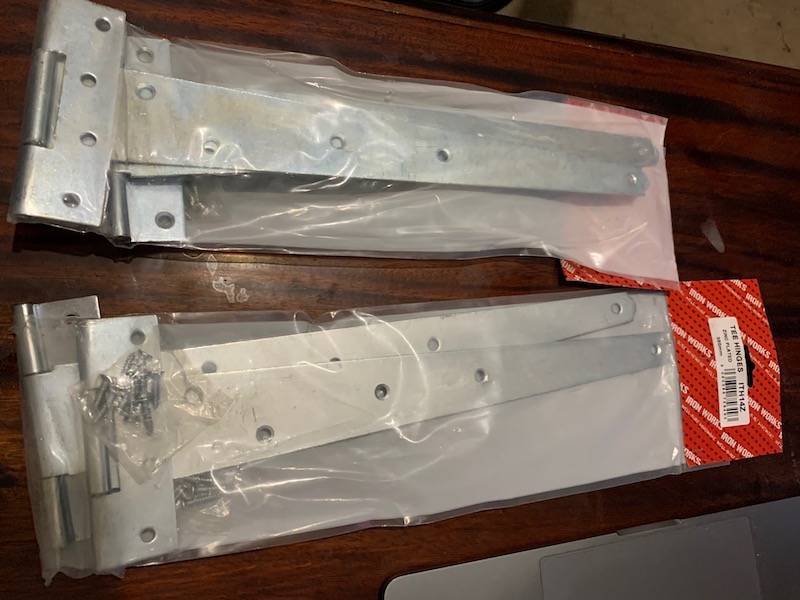
Driveway gates that are heavy need the far stronger setup that involves threaded bolts etc, you don’t need those with this light weight setup.
3. Have your power tools ready to make this a doddle
So with your best effort pre measuring you should be able to avoid the use of a circular saw unless the size you need isn’t 915mm (standard gate width). There are some smaller options from bespoke makers to look for before picking the standard. A cordless drill is an absolute must, I wouldn’t want to be drilling pilot holes and then hand screwing the door but you could if you really don’t have the need for a cordless drill. Personally I’d even put a screw bit in my drill before hand screwing again 🙂 I’ve done too much of that…
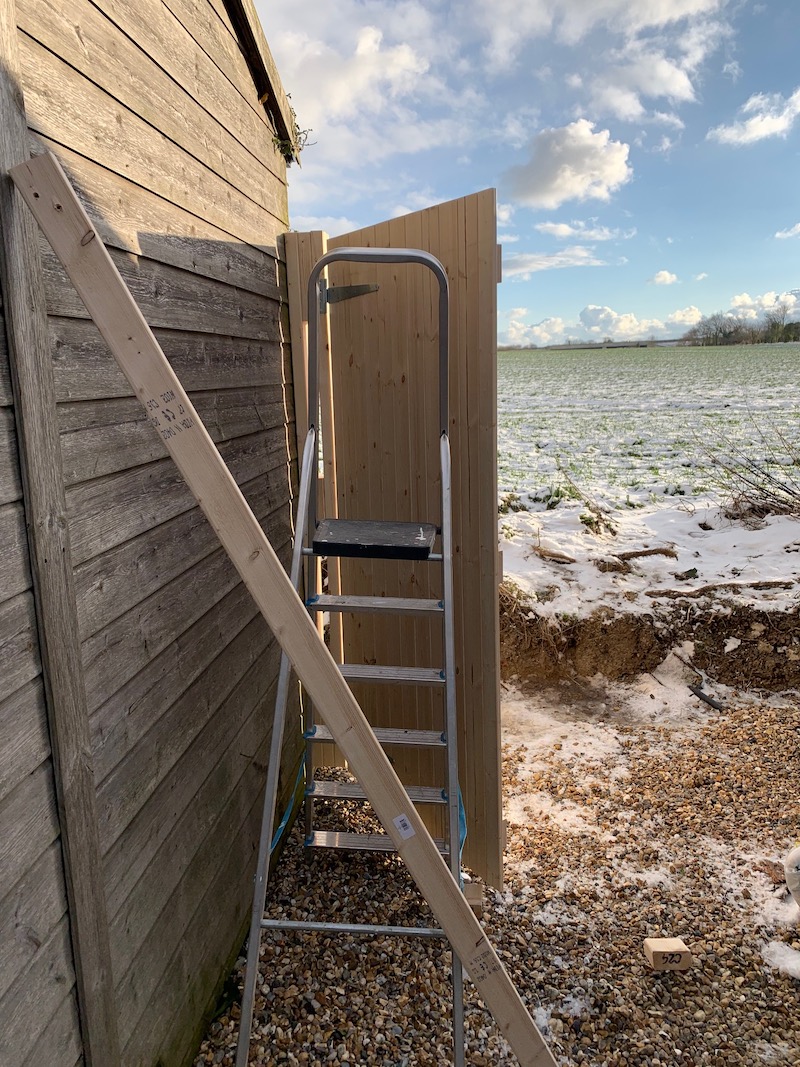
A power planer will be handy for minor adjustments if the above planning didn’t quite workout. You’ll want a drill bit set, a pencil, you can even get away without a level on a singe garden gate arrangement! That’s about as much tooling as you should need. A step ladder is handy if you’re fitting the frame and gate together or want to treat the top of the gate when it’s installed.
4. Offer the gate into your opening – plane or trim the gate as necessary
At this point you should be offering your gate into the opening and checking for size. A couple of mm around the reveal, even as many as 5mm won’t hurt you. Bear in mind the timber will expand when it does eventually get really wet. Make your adjustments accordingly and then recheck. A great tip is to leave a good 10mm off the ground if you have concrete and an inch if cobblestones or mud. That’ll stop contact with the bottom of the gate. How many times do you open a gate that’s stuck? Either the hinges failed or the wood expanded. Give yourself a chance of a maintenance free project for a good few years right off the bat!
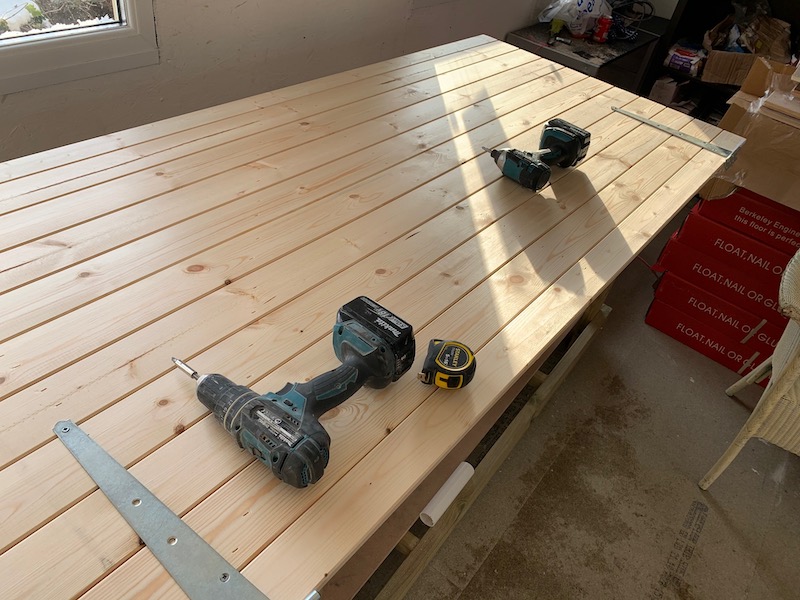
5. Fit the hinges / handle to the gate
Lay your door down on a workbench and fit the hinges and latch / handle before attaching the gate to the frame. Doing this comfortably on a bench is far easier than the other way round. There’s nothing fancy going on here, take a look at the picture of us fitting the hinges comfortably. Make sure you align the hinges tight to the door evenly so the door swings correctly. Here’s a picture of that, it’s about all you could do to go wrong:
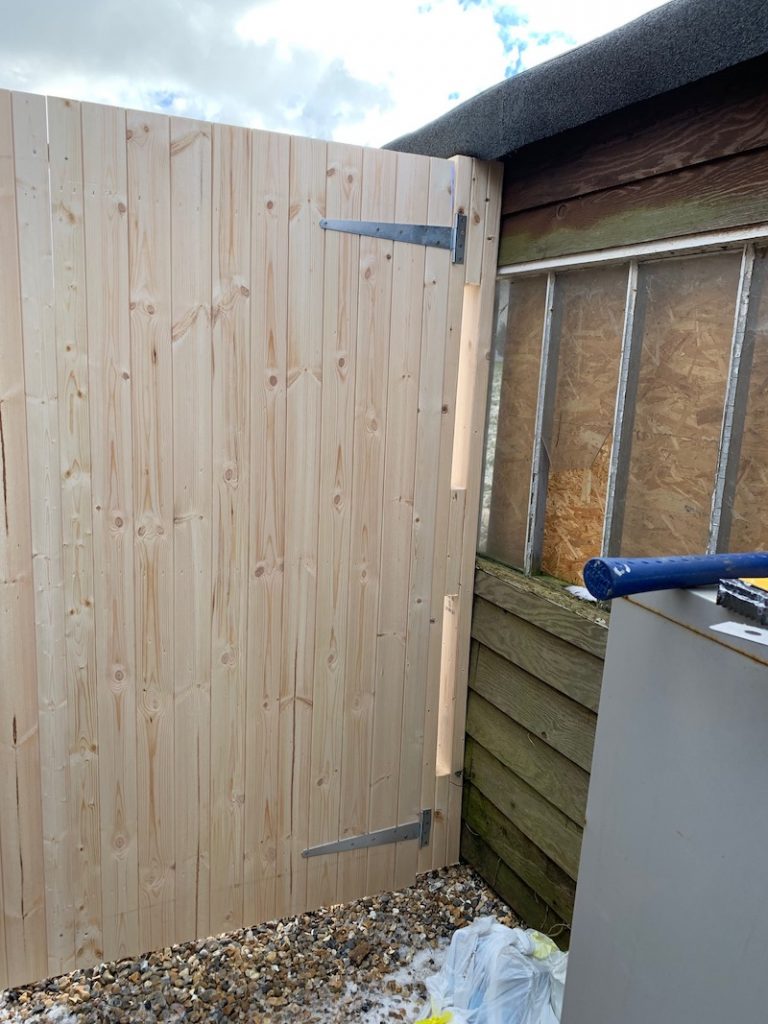
6. Hang the garden gate to your wall or frame.
Do you remember earlier we left clearance for the bottom of the gate? Get yourself a thin piece of timber and place it on the ground so you literally do not hold the weight whilst fitting.
Let’s talk about a wooden post fix first then talk about screwing your garden gate into a brick wall after: Align the door with the frame and pop a screw in your top hinge first, then one in the bottom. Test the gate is in the right place. If it is, then put a screw in the middle hinge.
Check again. If any adjustments are required, do so comfortably releasing the screws a touch and moving the gate without needing to take the full weight again. Now pop all the remaining screws in.

On a brick wall you need to get this right first time. You do not want to be pepper potting the side of your home or outbuilding. so carefully with another hand lift the gate into position and pencil mark accurately the position of each screw. Drill out and install wall plugs and then fit. I emphasise correct markings and drilling as you don’t want to do this twice. Personally, I would have rather installed a square wooden gate frame first so that you can then fix into timber. Something worth considering if you read the entirety of this article and the pre-requisites section.
Pat yourself on the back, then fit the keep to the gate post to hold your gate closed. Try to keep this quite tight so it doesn’t knock about in the wind, or worse, fling open!
7. Get the stain or oil ready too as most doors don’t come pre-finished.
If you bought an unfinished door like I did, or something with Tanalised timber, you’ll want to use some wood oil or shed stain, perhaps even your fence paint. Personally I use creocote (you can learn more about creocote and it’s applications where I cleaned up and protected my shed) designed for all outdoor wood application. I do so from a pressurised garden sprayer. Here’s a picture of how easy that is:
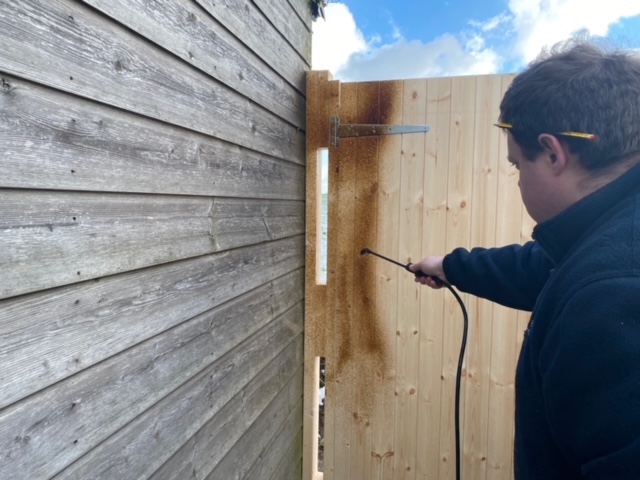
You could use an electric fence sprayer if you have one. But before I use wood stain, I always get the end grain soaked into wood preserver.
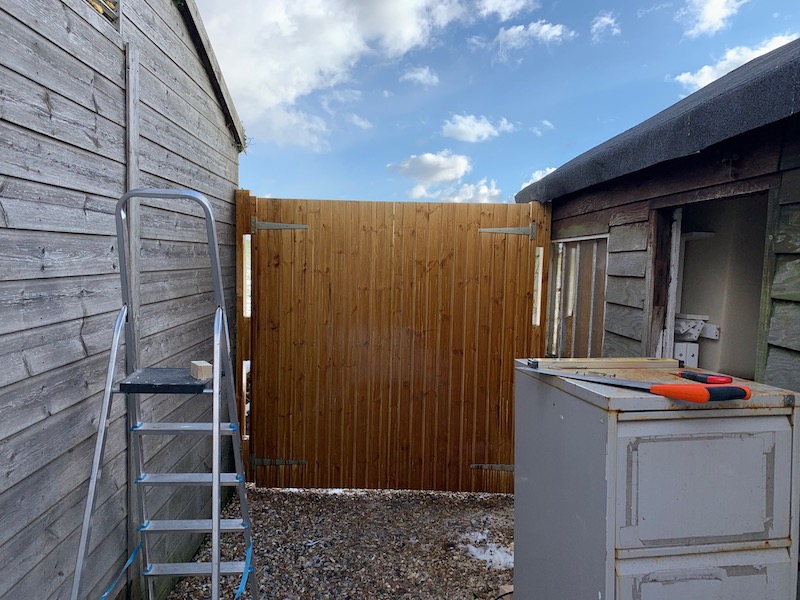
Once it’s finished you can pat yourself on the back, I made a double gate that meets in the middle and holds together with a latch and a shoot bolt: