There are some really handy reasons to run power to your shed from as simple as storing the chest freezer to electrically powering garden tools away from the main home. The question is are you using a power extension cable from your home to your shed? This is both a pain reeling and unreeling but more crucially dangerous, especially in the wetter months of the year. Electric and water just don’t mix. In fact, when my power reel inadvertently got wet I was hit with a mild buzz from touching the casing!
So the most important question is how to run a cable to the shed for power safely? Really there are two good options, one is a cable above ground and the other below ground. Both have their advantages and disadvantages. In this case study I intend to go through both options and how the qualified electrician, Mark from Eco-Serv Ltd on site came to conclusions as well as running the power to an RCD in the shed in the safest and most reliable way possible.
What you’ll learn in this article: installing an RCD in the shed with power run
Should I run the power cable above or below ground?
Installing an RCD unit in your shed
Run the power cables in conduit
Installing lighting in a shed or outbuilding
Should I run the power cable above or below ground?
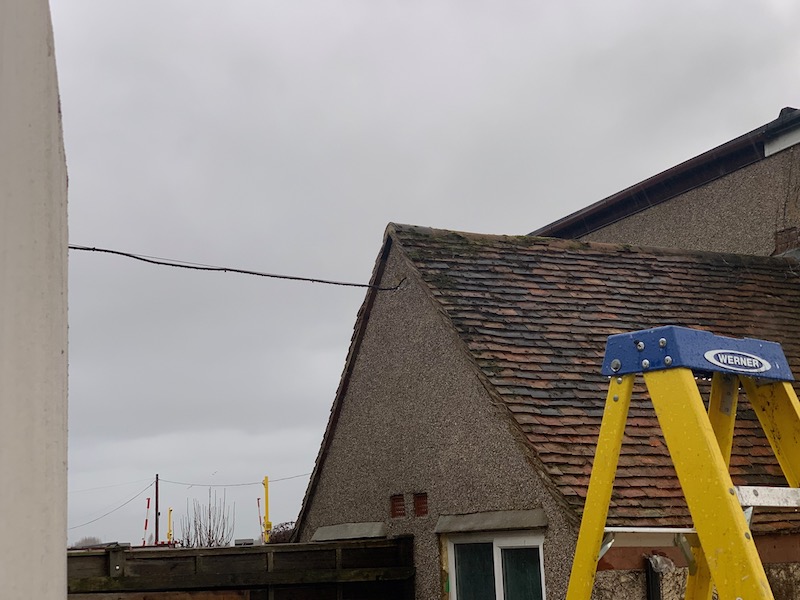
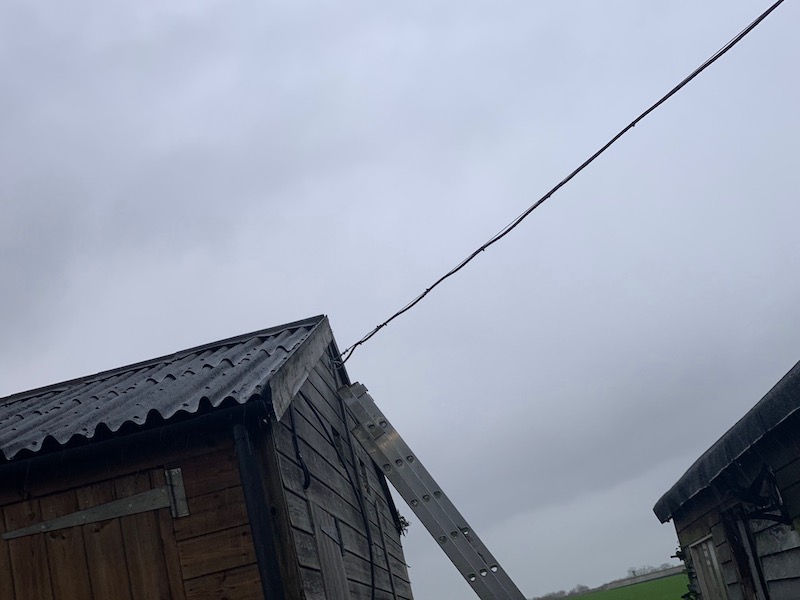
Generally speaking it’s better to install electrical cables underground, however this is almost certainly going to be more expensive than above ground. If you factor that you may have a nice patio between the house and shed it might not be worth the hassle. The other problem could be the need to disturb soil and waste pipes or more dangerous still, gas pipes. This generally points you toward above ground. This was the case on the install highlighted here in the picture below. To keep things as safe as possible, the power supply (30 amp) was installed with a catenary wire kit to protect and strengthen the electrical cable. The highest point on the property and shed were used to minimise the chances of ever knocking or disturbing this cable. Here’s a look at the kit and the wire ran from house to shed:
A word of warning. The bolts that came with the install kit were quite small so I opted for some bigger, stronger Fischer expansion bolts. I would presume the bolts included strong enough but I don’t like to take chances where electric is concerned. Drilling. hole for the cable is easy through a wooden shed but make sure to back fill the hole with silicone once the cable is in to ensure no water ingress.
Installing an RCD unit in your shed
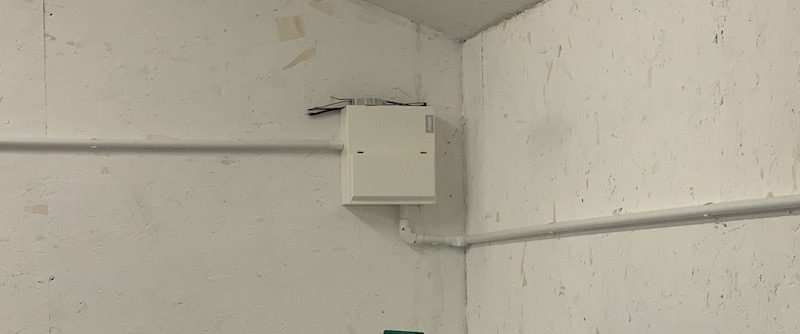
If you’re going to run power to the shed and intend to use it as a workshop then I’d highly recommend installing an RCD so you’ve got proper electrical breaker safety. They don’t cost much for the safety they offer!
Here’s a look at one installed correctly:
This will give you far more confidence when using electric outside. It also means that if you want to have a fridge, freezer, washing machine, or generally anything electrical that will draw power overnight you’ll feel that much safer. Electrical fires do happen. Running a power lead outside from the house on the ground, allowing it to get wet is probably one of the most dangerous things you can do especially if you leave the power on all the time.
Run the power cables in conduit
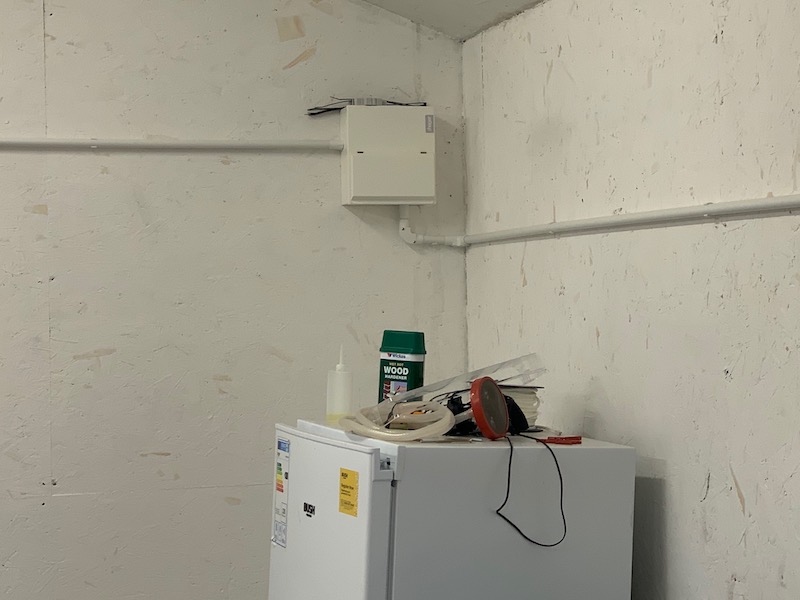
There’s two options really. One is to run your cables for sockets and lighting in trunking on the wall or inside it. I chose to run the cables on the surface because I have insulated this shed against noise and heat with Rockwool insulation. This isn’t particularly flammable and but I just felt more confident with cables I can see and service (or add sockets if I wanted). It doesn’t have to be ugly though as you can see from the picture.
Everything looks neat and tidy running from the RCD. I decided not to put the lighting cables in trunking because of the height, it felt safe enough already. One other thing to mention or consider. If you plan to install windows in your shed then consider carefully where you run your cabling. Also think about where you’ll put work surfaces and any other fixed items before going straight at it.
Here’s a look at how I ran the trunking around this shed:
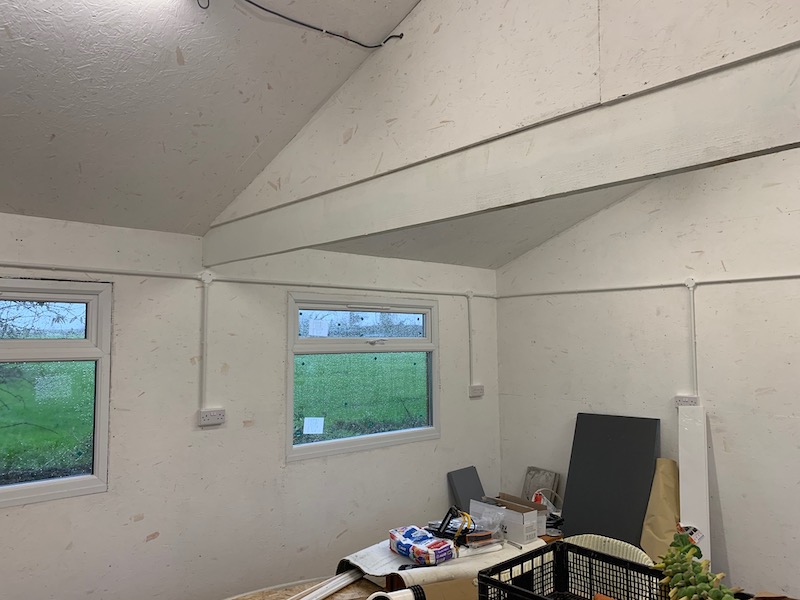
I think this was a neat and tidy install that looks in place for a workshop.
Installing lighting in a shed or outbuilding
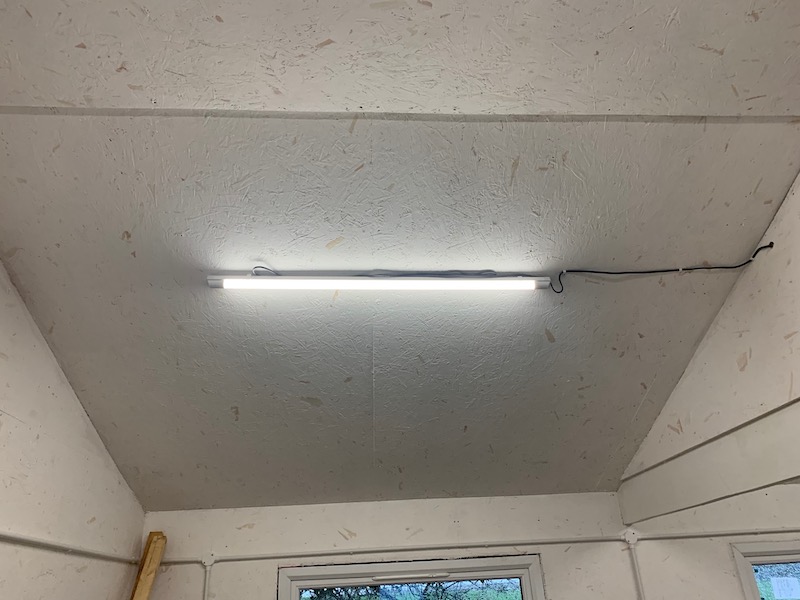
Installing lighting is easy once you have an RCD powered. It’s a simple case of engaging an electrician to run your light cable from the RCD. Again, I’d highly recommend doing the job properly as cables run directly from your home needed to be correctly routed and legal.
Here’s a look at those lights:
I thought the main advantage of ROCKWOOL is that it is NON Flammable. You say you ran cables in conduit because you believe the Rockwool to be flammable, nowhere do I see any specs saying that.
Nice article, very helpful.
Hi Kevin,
Thanks for pointing that out I was clearly on auto pilot mode -it should have read: it isn’t particularly flammable but I always feel more confident with my wiring in conduit. And in case anyone uses something flammable definitely where possible use conduit. Also surface mounting worked well this Summer when I realised I wanted to move some switches. All very easy!
Regards
Terry