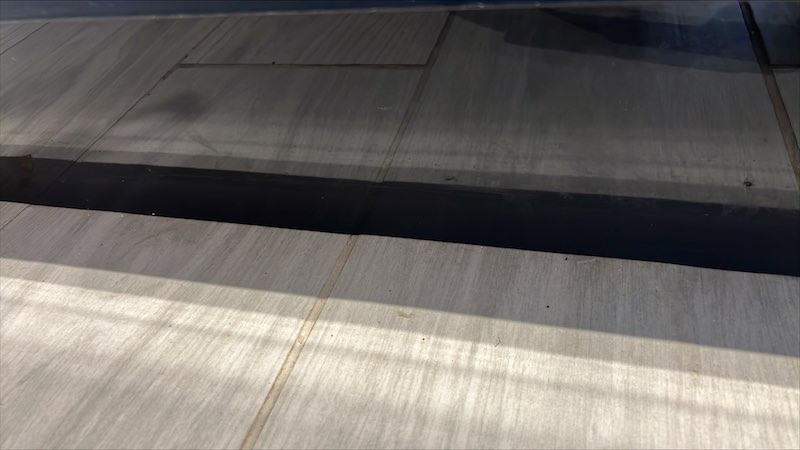
So on the weekend I decided it was time to fit the plinths in my kitchen – after enough nagging from the wife 😀 Since my tiles are a little uneven (own goal I laid those too) I decided rather than bolt a line of sealant to hide it all in, that it was a great opportunity to show you how to scribe a kitchen plinth the easy way. You might just have an uneven or wonky floor, in which case that will help you too. I probably went over the top following the barest contours of the tiles but oh well. It serves as a very good example for this article:
Let’s get going then shall we? What you need:
Tools I use to scribe a kitchen plinth the easy way:
- Cordless drill or impact driver
- Cordless jigsaw or any jigsaw for that matter
- Scribing tool – costs pence on Amazon the one I am using – just search for it, this is an informational article, no sell.
- Pencil
- Masking tape
So with the tools and materials sorted let’s have a really quick rundown of how to scribe a kitchen plinth:
Overview of how to scribe a kitchen plinth:
- Cut your kitchen plinth to length
- Masking tape the lower edge you want to scribe
- Offer in your kitchen plinth at an angle – don’t worry pics clear this up
- Mark your cut with the scribe tool
- Use your cordless jigsaw to cut the mark
- Offer in your plinth and mark up for the brackets to grab the kitchen unit legs
- Attach brackets with cordless drill or impact driver and pop it on.
That really is all there is to it but I’ve included pictures and expanded on these so that you’ve got a decent chance of understanding, seeing it in action and avoiding potential mistakes. All right, let’s crack on:
1. Cut your kitchen plinth to length
This is the easy bit. I use my cross cut on my mitre saw stand. Nothing stopping you use a handsaw for this. Mark up and measure – use a bit of masking tape to mark your cut point. This makes seeing it easier and will also reduce any tearing on the cut. Talking about the rough edges from the cut, go steady with your saw and gently cut, this will reduce any tear or rough edges.
2. Masking tape the lower edge you want to scribe
Run masking tape the length of the edge you are scribing. This is quite simply to mark with a pencil on the next step. There’s nothing fancy going on here – I use a low tack masking tape but not really a big deal whatever tap you use. Here’s a look at that:
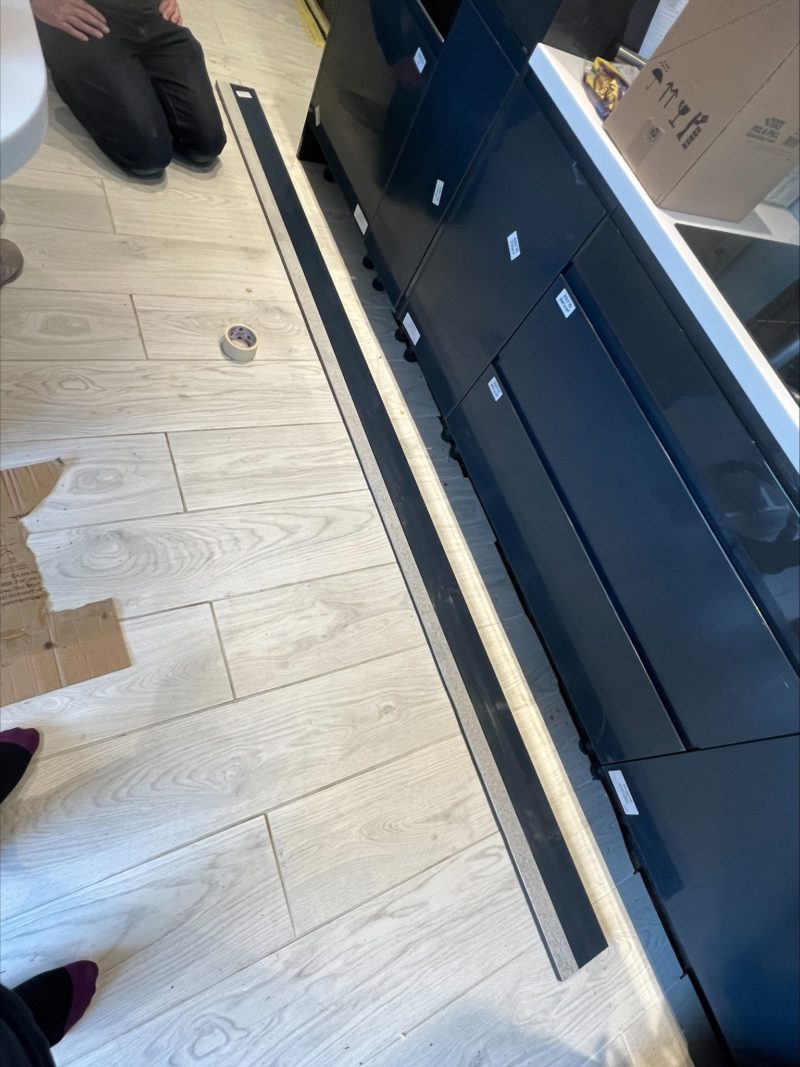
3. Offer in your kitchen plinth at an angle
Because you’re scribing it’s not quite as simple as measuring the height of the plinth and ripping it down with your circular saw. That may need to come after depending on how well you setup for your 150mm plinth. But because of the scribe you know you’ve left yourself less than 150mm – you also know you can afford to scribe off your uneven floor and not leave a gap at the top 😀 because you set this plan in motion before installing the units – if not then you want to look at adjusting your feet to take this movement now….assuming you haven’t already finished your worktops etc. If this is all after thought you may need to abandon here and get an oversized plinth then come back to me. OK, here’s a look at how to hold that plinth in place:
Don’t worry if you’re still not clear, the next section has a video of the hold and the marking process all in one. The great thing about this part, you can see just how much scribing will be needed and in my case I definitely wasn’t being too pernickety:
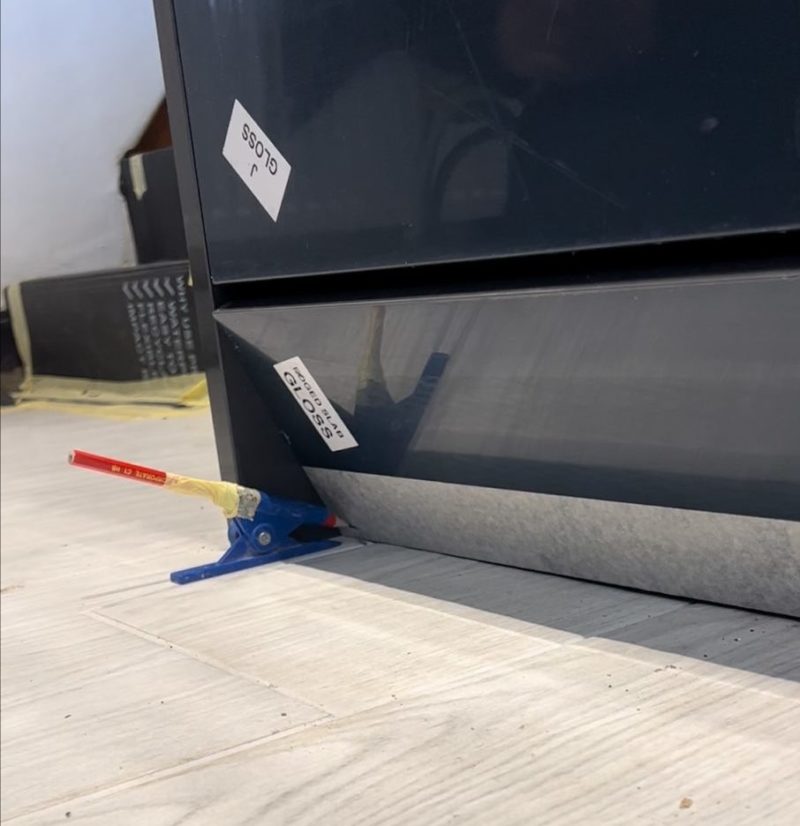
4. Mark your cut with the scribe tool
Some people use a washer with a pencil, I don’t mind that but you slip – I just use my nifty little scribe tool. I’ve had it forever, it can be adjusted to variable heights (great for testing on wonky floors the minimum height scribe needed etc. Here’s a look at my scribe tool:
Here’s a look at how I mark this with a scribing tool. There’s no point me taking pictures for this, a video really shows this off far better than any picture can:
It’s really that easy – one person holds the board whilst the other runs along with the scribe tool. Just make sure whoever is holding does so well or you’ll be voicing over your video to cut out the expletives too 😀
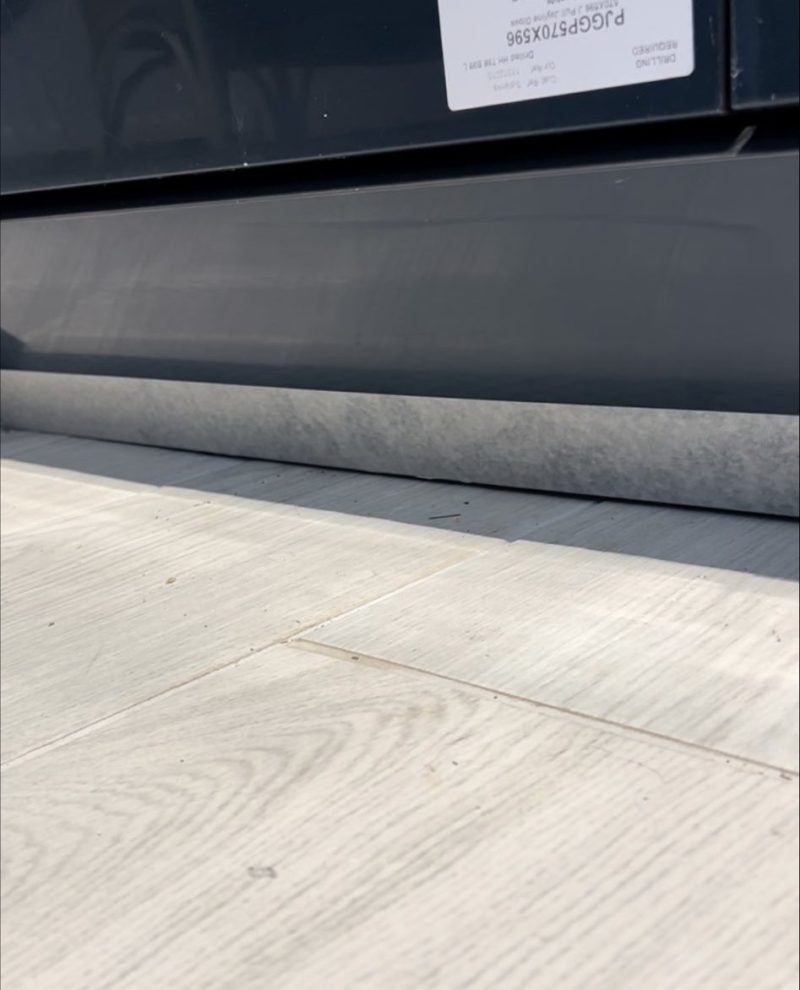
5. Use your cordless jigsaw to cut the mark
You could use any jigsaw but 3m length kitchen plinths are best cut with as much freedom from a power cord as possible, though not to say you can’t manage – I did just fine before they came along all those years ago! I personally own and use the Makita DJV180Z and have to tell you it is an absolutely wonderful tool.
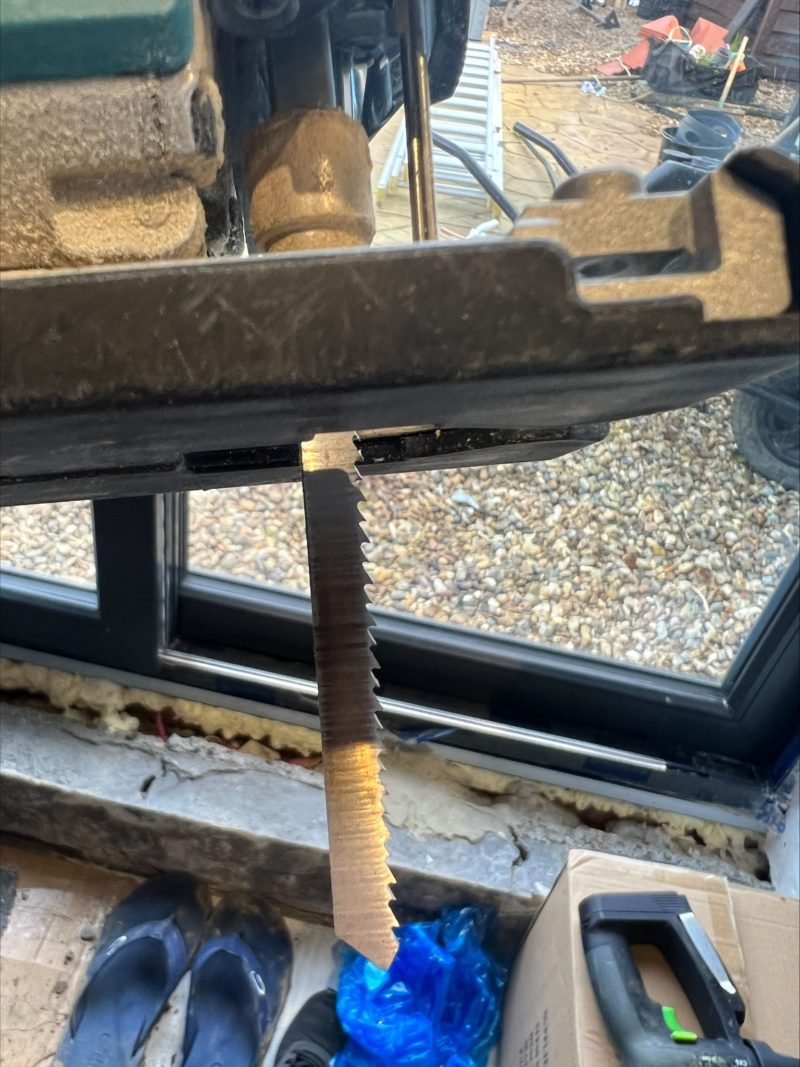
Now when you’re making the cut there’s a few things to consider – the first one being the blade. You want this because it cuts on the downstroke which completely minimises the face edge chipping. Combined with the fact you are cutting through masking tape as well, you’ll have no problems with chips at all assuming you go reasonably steady. If you’ve never seen a reverse cut jigsaw blade here it is:
I saw little point videoing the jigsaw cut other than to show you the performance of the Makita DJV180Z on a kitchen plinth with the reverse blade and how you let the tool do the work – no need to force the cut at all:
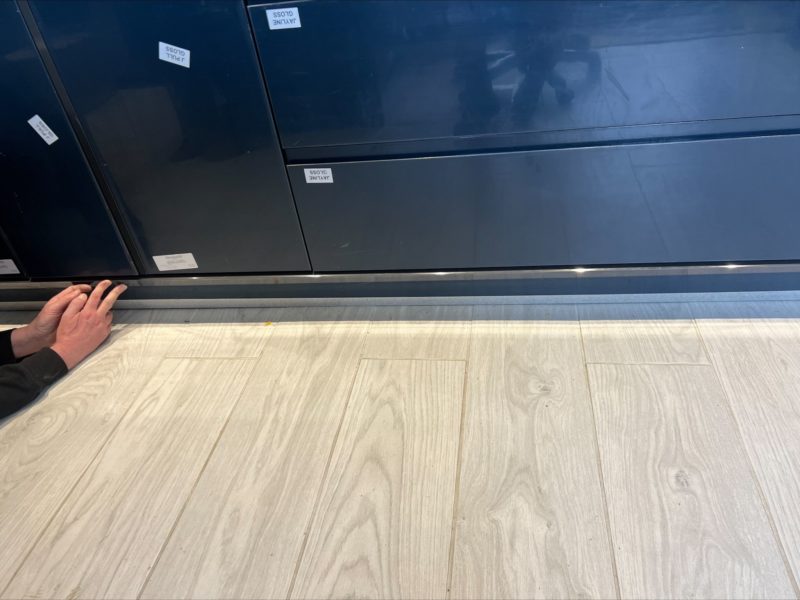
With your plinth cut it’s time to offer in and see how things look – all being well with your jigsaw skills it’s time to fit the plinth.
6. Offer in your plinth and mark up for the brackets to grab the kitchen unit legs
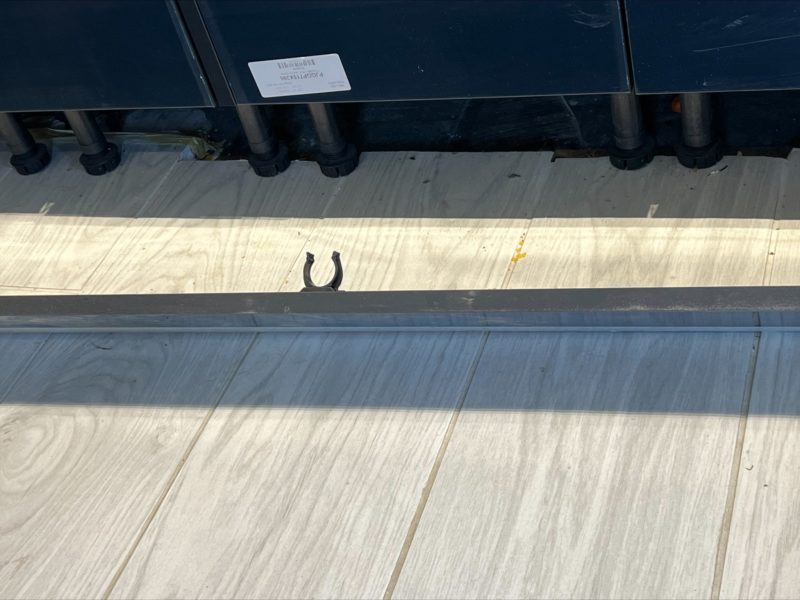
Next up you want to check things line up – if yes, install legs. Disclaimer here – I only put three brackets on a plinth, you get many more because the intended is higher, my personal choice and I’ve never had a problem – one either end and one centre or close as can be. This means removal is reasonably easy too if I ever need access.
Get your brackets in the right place and screw them on – in the middle of the plinth or so is ideal:

7. Attach brackets with cordless drill or impact driver and pop it on.
With the brackets on it’s now just a simple case of lifting the board up and giving it a firm push on. The brackets screw on and then the clip slots in:
All very simple and here’s a picture of that. With everything done you’ll not have a nice kitchen plinth that is scribed spot on – carpentry made easy. There’s not really much more to it. if you have any question just pop them in the comments cheers.