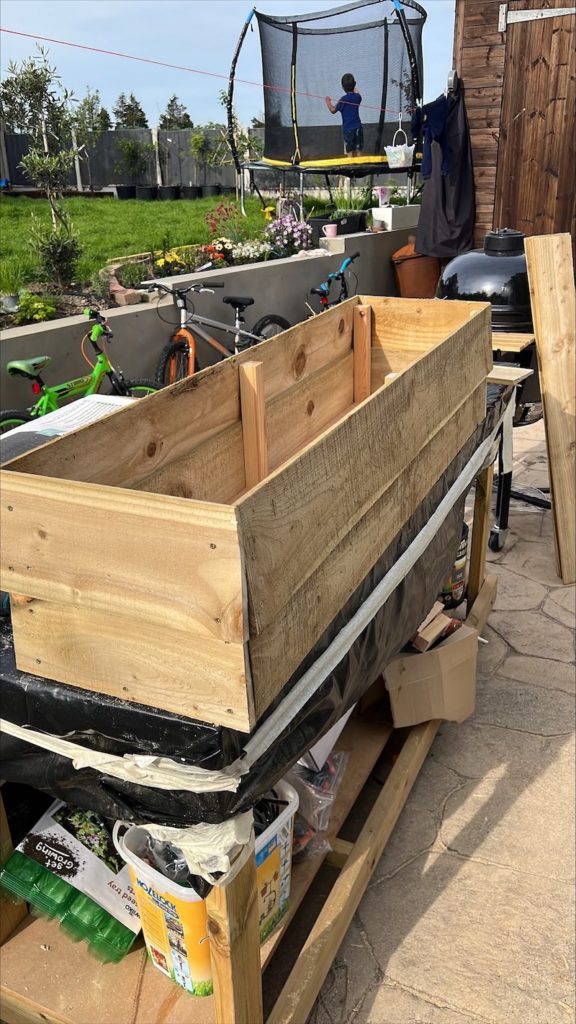
Earlier this year I decided to install a fence on top of a wall using feather edge and had a couple of packs left over. I had some off-cuts of OSB for the base (also known as shuttering ply if you’re old school). So I decided to knock up some garden planters to stop the kids kicking the gravel at the edge of the wall 🙂 The reason you want to make cheap garden planters at the moment is the sheer price. If you look at my wooden garden planters article you’ll realise by the end of this article, you can make a decent looking cheap garden planter for a fraction of the price you will pay! And it’s not just wooden planters that are a fortune at the moment. Take a look at half barrel planters, in fact, any garden planters at the moment will set you back. Plus there’s something that makes me feel good about using cheap and recycled material. Here’s a look at some of these wooden planters, on average they take about an hour to put together and less for the smaller ones:
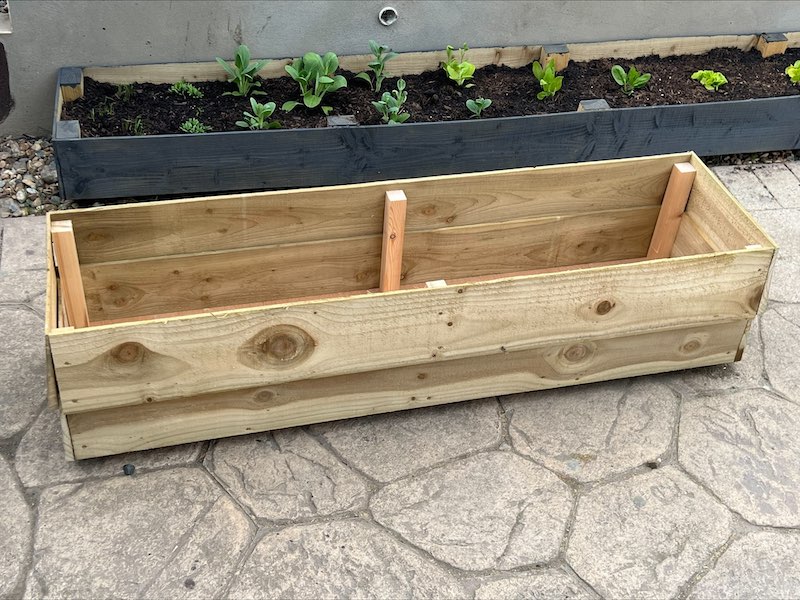
The longer one here took about an hour too and is extremely easy to make:
I tell you what though, they took a while to paint. But absolutely nothing compared to how long it took to clean up my son. 😀 Don’t worry – it’s water based fence paint that I had left over before you panic 😀
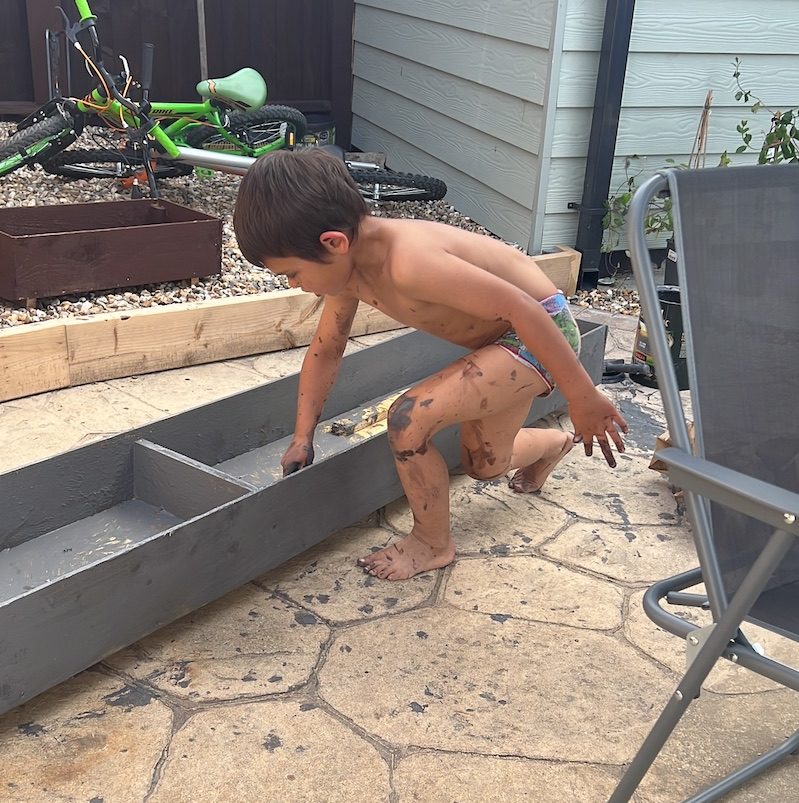
Yeah, I would have used the electric fence sprayers I have kicking about from my testing but the kids wanted to get involved and there was no way I was letting them loose with one of those 😀 . Half an hour to paint and an hour in the bath – oh well on with the wooden planter how to. Let’s start with what you need and what will help make these wooden planters all the quicker. Here’s what I used:
Materials to make a wooden garden planter – possible substitutes too
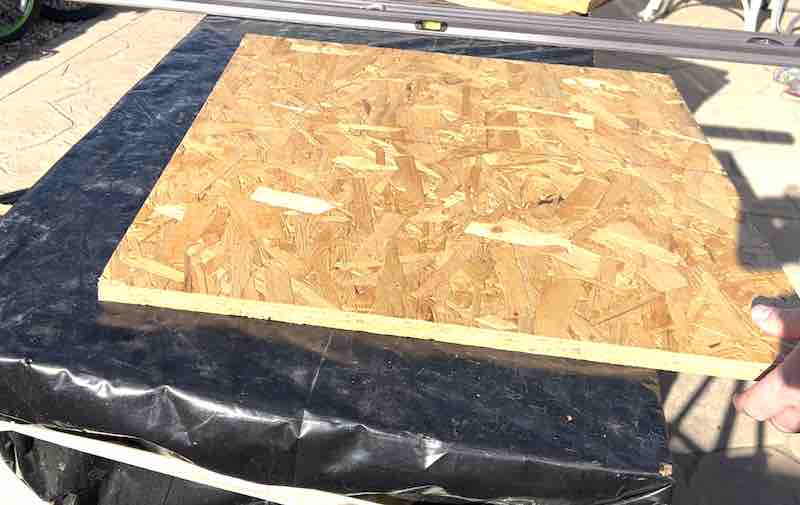
As I mentioned at the beginning I used some left over feather edge and 11mm OSB (shuttering ply). You’ll notice on the inside of the wooden planters there are wooden uprights to support the featheredge. I use cheap 38mm by 63mm CLS or planned timber (32mm square). Any dimensions at that solid will do. I actually used some hardwood ply I had on one. It really doesn’t matter too much if you’re looking for a planter to give you a good few years service. I just use what I have kicking about. There are loads of materials you could use for the base and sides though. Here’s a look at the OSB off cuts I had kicking about for the base:
Any standard planned timber of decking will do both both sides and walls. 5 by 1 sawn is probably the best value for money of these two. Though these options are still both considerably more costly than the materials I have used.
For fixings I would use some cheap 40mm wood screws or annular rings if you prefer to fix with a hammer and nails.
You additionally might want a liner for your planter. You can use weed membrane for that, it’s the cheapest way. I would probably be inclined to use the PVC variety to create a barrier between timber and compost to stop rotting. Talking of rot, as I mentioned I used fence paint to seal the planter but you could use almost anything. Varnish, teak oil, and even decking oil would be fine. If you want a plain timber look that doesn’t create any shine or highlight then you will probably be best using a wood preserver.
Tools I used to make these wooden garden planters
You need to decide if you’ll screw or nail your wooden planter. The advantage to screwing is you can re-adjust if things are slightly out, nailing needs to be done right first time. I don’t think there’s much in the way of strength difference to worry about, after all we are only knocking up a wooden planter. You’ll obviously want a hammer if you nail and that’s it. If you screw you want a cordless drill or impact driver. I use both normally. Whatever happens though, you’re going to need a way of drilling holes for drainage more than likely:
You don’t need a vast array of tools for cutting timber, you can get by with a basic handsaw but it’ll take a little longer than power tools. I prefer to substitute hand tools in this case with a mitre saw, jig saw, and circular saw.
You’ll need a tape measure and a paint brush if you want to tidy it up after. That’s it!
How to make the wooden planter
With all your materials and tools sorted the process becomes quick and easy. I’ve included a quick video on all of the techniques I describe below in case you want to have a look at how to assemble this with a bit more than pictures. My opinion is following the dialogue below for this simple project is enough, but the more info I supply to make this easier the better:
Decide on size
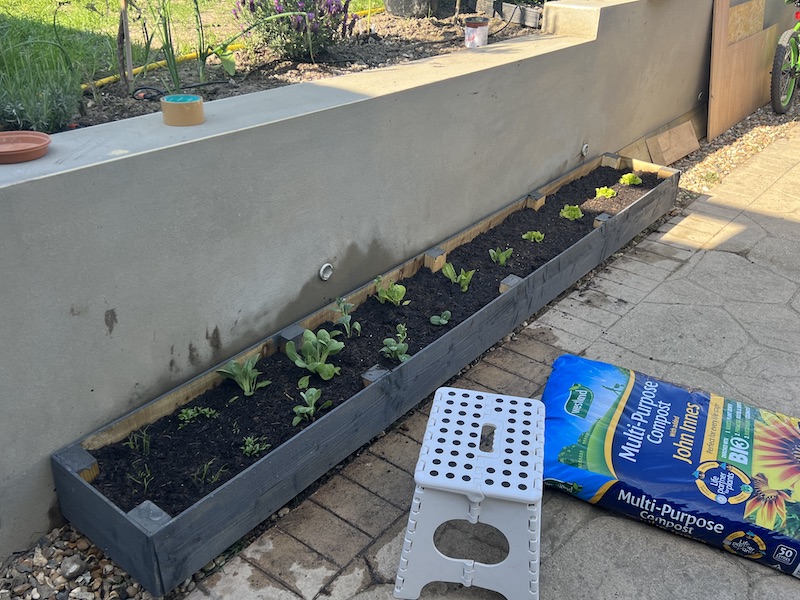
The first thing to do is decide on the size. Most of the planters I made were dictated by maximising my leftover materials. For example. The feather edge I had left over was 2.4m and 1.8m. So I made planters of those lengths, and I also made some that are 1.2m and 80cm as well (2.4m divided by 3). And the same is true for the width. I went with 30cm or 40cm which both leave no off cut on the lengths above. Remember you will need to factor the width of the cutting blade if you want this perfectly neat. A few mm wasn’t a big deal to me, after all, it’s just a garden planter!
You may decided to be dictated by your base and cut the sides accordingly. Either way, before tackling this project decide on size to best use your timber.
Cut the base for your wooden planter
With the size decided you want to cut your base timber as this is the starting point. I use a circular saw for this as you can see in the picture but a jig saw will work just fine too. Here’s a look at me cutting down the base from OSB:
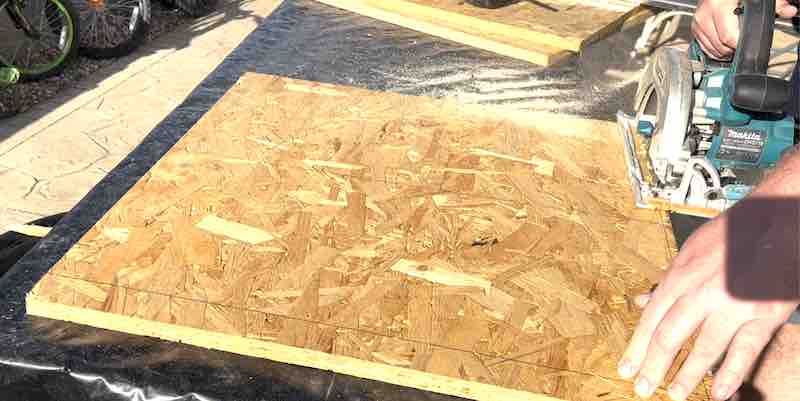
You’ll notice I marked the timber rather than using a guide. Firstly the timber wasn’t square, but also as I mentioned before, it doesn’t need to be perfect hence a handsaw or jig saw will get the job done all the same.
Attach your uprights to the base
The next step is to attach the verticals to the base. As you can see I just screw them from the bottom using my impact driver and 40mm screws. You could do this with 30mm annulars. too. Though something a little longer you have kicking about in the shed wouldn’t hurt. 40-50mm nails would probably be better here but if you bought a pack of 30mm annulars as I recommended above, and that’s all you have, then it’ll work no problem. But for me here’s the screwing process:
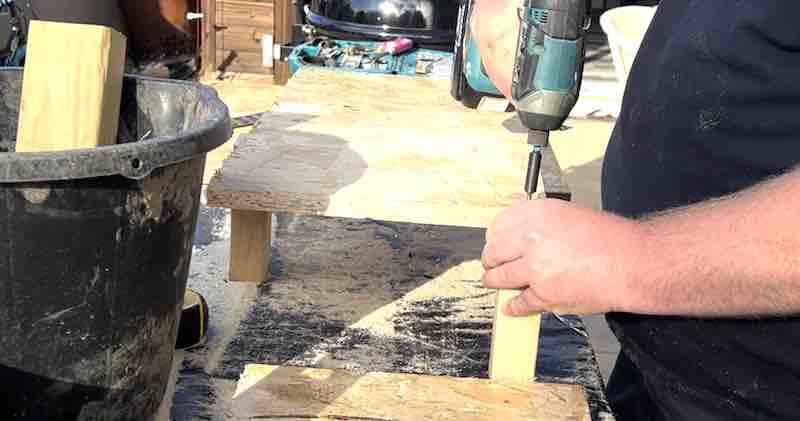
I have to say the Makita impact driver I use is an absolute bargain. I guarantee you won’t find a better tool for the fifty quid asking price. And if you do, feel free to email in and prove me wrong 🙂
Attach the sides to your planters
With the uprights attached it’s now a simple case of screwing on your walls or sides if you prefer to wall them that. I start by attaching the feather edge with a screw into the base. This helps secure the base sections but also creates a tight seal so no compost or moisture pours out the gap. Here is a look at the sides being attached with my impact driver:
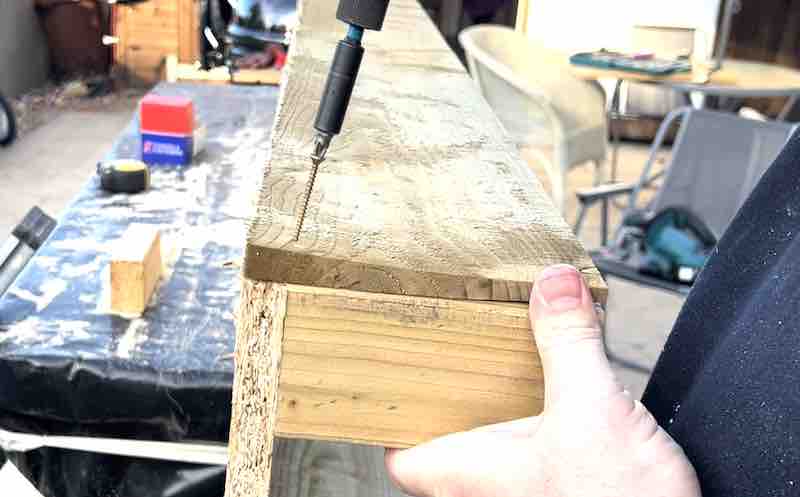
As you can see if you look carefully there is a twist in the feather edge. Screwing the base and nearer the top will pull that twist out. Make sure you don’t go too close to the top though or you’ll split out the timber. But with that said I picked thinner 3.5mm gauge 400mm wood screws above to help you with that. The downside is as your timber twists it may snap the odd one and need replacing in time. No big deal but worth a mention. Certainly better than a thicker, stronger screw that won’t go in the timber without a pilot hole (that adds loads of time!).
Attach some feet to your wooden planters to help drainage and stop them rotting
Raise your planter off the ground with a couple of feet. It doesn’t have to be fancy, an inch will give enough room for moisture to run away and not get trapped. This will improve the lifespan of your wooden planter more than a liner or or wood preserver!
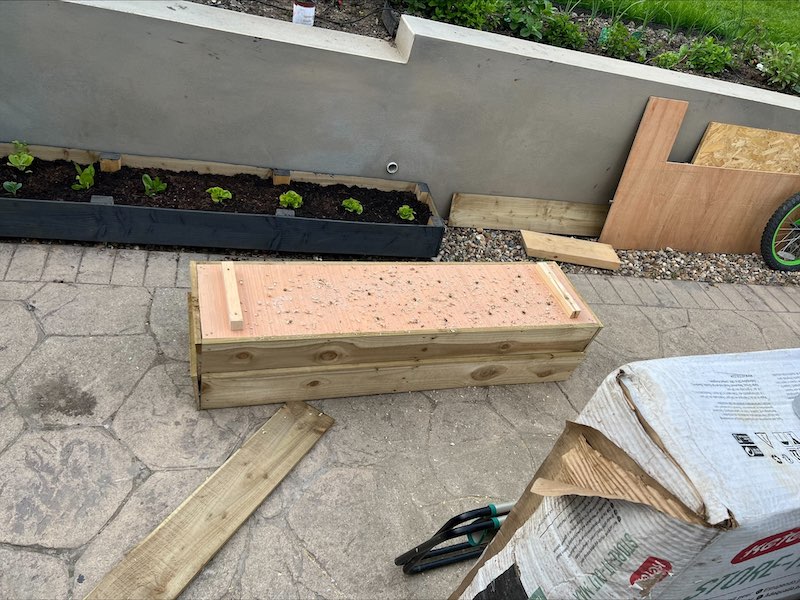
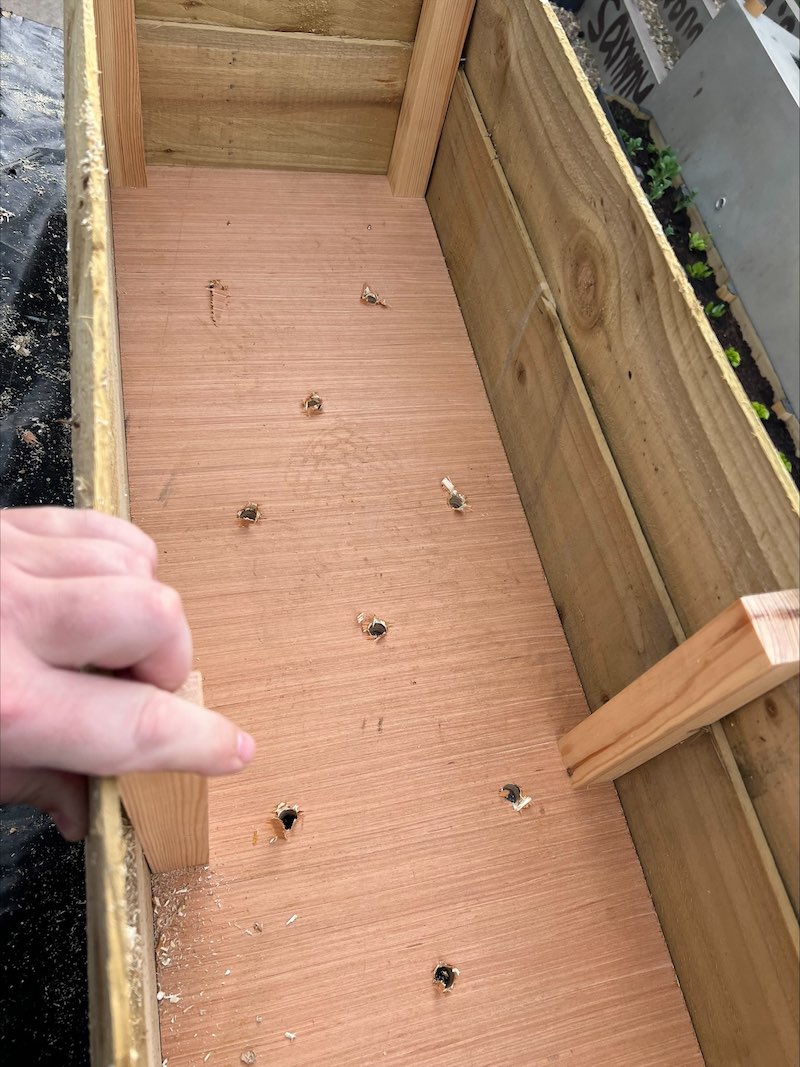
As you can see I’ve just used any old pair of matching off cuts for the job. It really doesn’t have to be fancy. And while you’re looking at that picture consider the drainage holes I’ve drilled too:
Drill drainage holes and add a liner
As you can see on the picture above and below I have just drilled a load of drainage holes into the base. This is a must in my opinion to stop the base from trapping water, swelling up, breaking, or rotting. You can add a liner. I am not overly keen on a liner myself I think I prefer to let it all breathe, but if you do use a PVC weed membrane, a cloth material type will be useless!

Paint your wooden planter
If not for my kids getting involved I would have used my electric fence sprayer. You can use any paint sprayer though. It doesn’t have to be fancy. As it was, my son couldn’t wait to volunteer with a paint brush 😀
And there you go, lovely cheap wooden planters using recycled material or left overs. I would say even buying the material you’re talking a fiver a planter as opposed to thirty quid online. And they can look pretty decent if you spend a bit more time than I did!
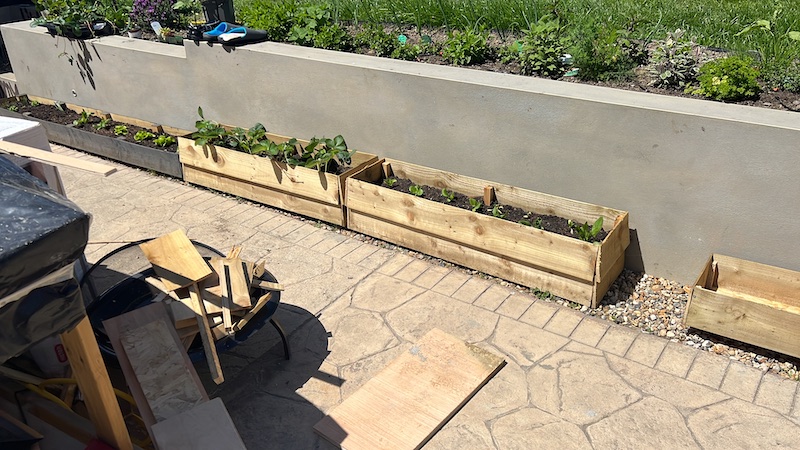
As you can see I used them on the gravel edge, absolutely ideal for drainage too – Since all my fences are feather edge it all matches in lovely – if you have a decking area and want to plant on that, I would recommend substituting feather edge for decking boards to match in.Overall, money well saved! I hope this gives you a few ideas or at least covers the basics so you can expand from here!