
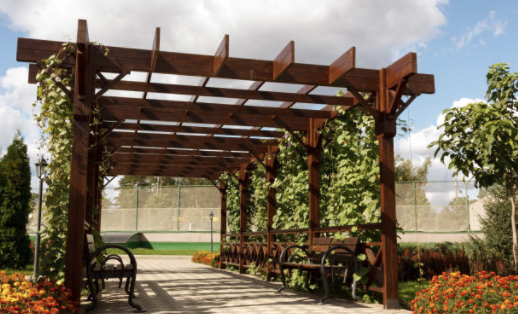
So you’re thinking outdoor cover this Summer with the uncertainty of lockdown. Me too 😀 So I’ve decided to put together a step by step guide to making a pergola for when the weather is better next week (hopefully). There’s actually isn’t much to making a pergola but there are a few crucial tools that’ll make the process all the easier. I’m going to show you how to make a pergola you’d expect to find for sale online:
Most important tools that I will use to make this pergola:
- Circular saw
- Cordless nail gun
- Cordless Jigsaw
- Cordless planer
- Cordless impact driver
- Mitre saw
- Petrol auger
- Orbital cordless sander
Materials to make a pergola
– 6 no. bags of postcrete (6 posts)
– 6 no. 2.7m 4” by 4” posts
– 2 no. 5.4m 5” by 2” main beams
– 10 no. 3.6m 5” by 2” cross beams
– 6 no. thread and bolts
– Pack of single coarse thread hex head timber screws 150mm
The thing about a pergola is the size.
How to make a pergola
And I understand that may make you feel a little daunted but really you should not let that put you off at all. If you look closely at a pergola it’s half a dozen posts with a couple of timbers holding them all together in one direction with a load of cross beams screwed on top.
Ok it’s not quite that straight forward but it isn’t far off! The main tool that you literally cannot get by without is a spirit level. The hardest part of making a pergola is getting things square and level over a larger area.
In terms of size I am going to make mine a pretty average 5 by 3 metres. However the size is so easily altered and an absolute diamond tip is to take advantage of the materials you can source to make the most of them. In my case I can source 5.4m lengths for the long runs between the three posts either side so that gives me a nice little overhang. I will be absolutely making sure the guys find me the two straightest bits of timber in the rack that length. Then I will buy 3.6m lengths for the cross beams which gives a nice little overhang with practically no work at all. I highly recommend you work off the size timber you can source to give yourself the cheapest possible project!
I’m going to use 5 by 2 for the cross beams and 4 by 4 posts as I am only planning going up about 2.2m. I think that’s more than ample for an outdoor bbq or party setting. It’ll also make hanging a cover reasonably doable as well. Again this measurement comes from the fact I will be sourcing 2.7m lengths of 4 by 4.
Mark out for your posts on the floor
The first step after you’ve worked this all out on the back of a fag packet 😀 is to mark out on the the ground where you intend to place your posts. You’ll want to take advantage of the good old 3,4,5 triangle to keep things square over these large distances.
I cannot emphasise enough just how important it is that you get these holes marked out nice and square. It is literally the most important part of this whole build. If you get the holes spot on square then you could literally have this pergola up in less than a day! Don’t worry though because we have ways to check how square it all is before actually dropping in any posts for good!
So with the holes marked now you want to measure corner hole to corner hole to ensure they are the same length. This will tell you if the overall build is square. If this is square it’s digging time.
Dig or drill your post holes
I’ll be using my petrol auger for this. It’s absolutely perfect as it has a 500mm borer as standard and that’s exactly the length I want to go down. It conveniently cuts a 200mm diameter hole which is absolutely tailor made for a 100mm post.
Offer in your posts and get them levelled up
Drop your posts in wood preserver before putting them in the hole.
Use a few bricks and whatnot to keep your posts in position and level. With the holes being the uniform size they are from using a petrol auger this part of the job is pretty easy for me. If you use a post hole digger then you may need to spend a little longer here making sure the posts align and all is centred out.
Don’t worry about measuring the heights. Once the posts are in and firm we can take a measure from one and use a laser level and the circular saw to top them all off at the same height. Obviously you want to make sure you pick the lowest post 😀
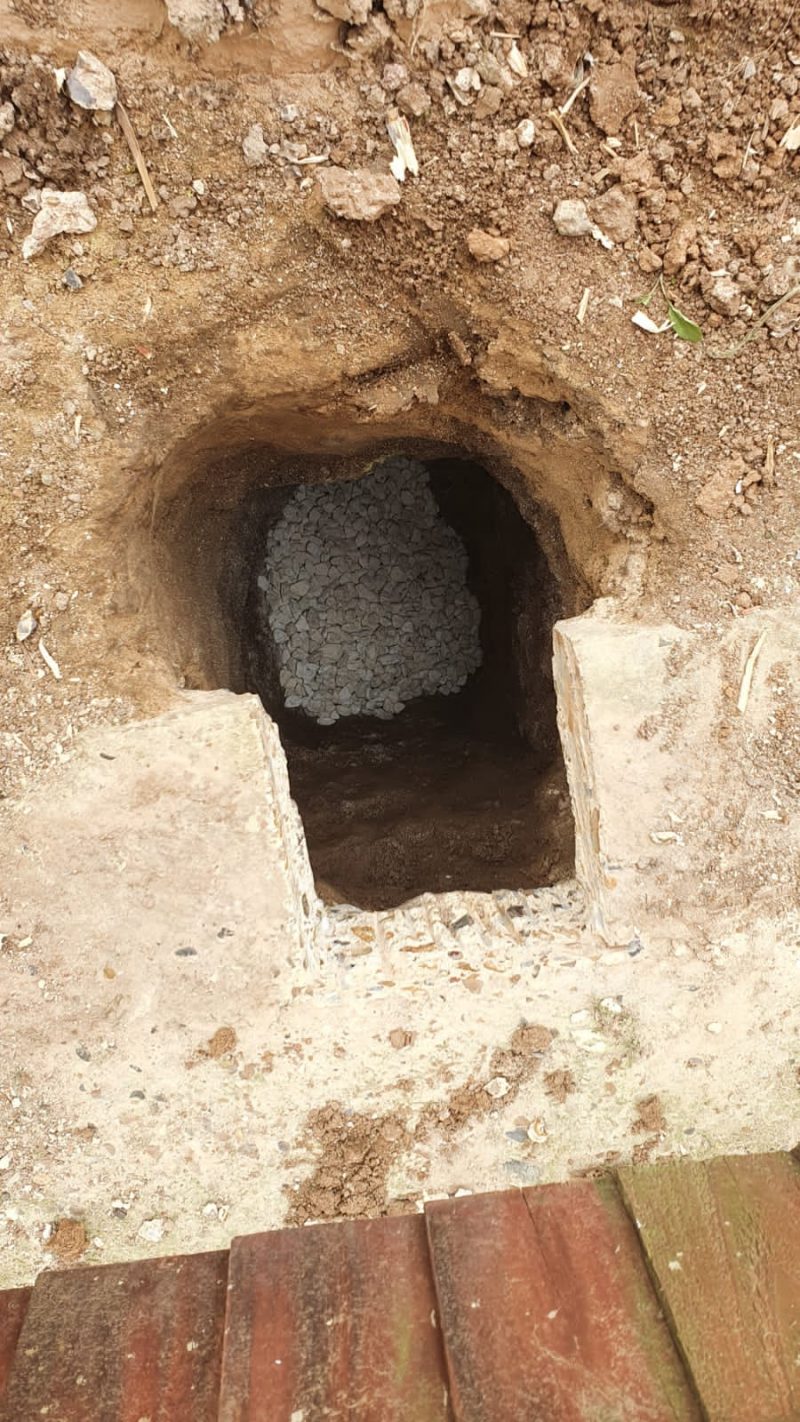
A top tip is to lay a little gravel in your hole to help the drainage. I did this recently when I was fitting a fence post:
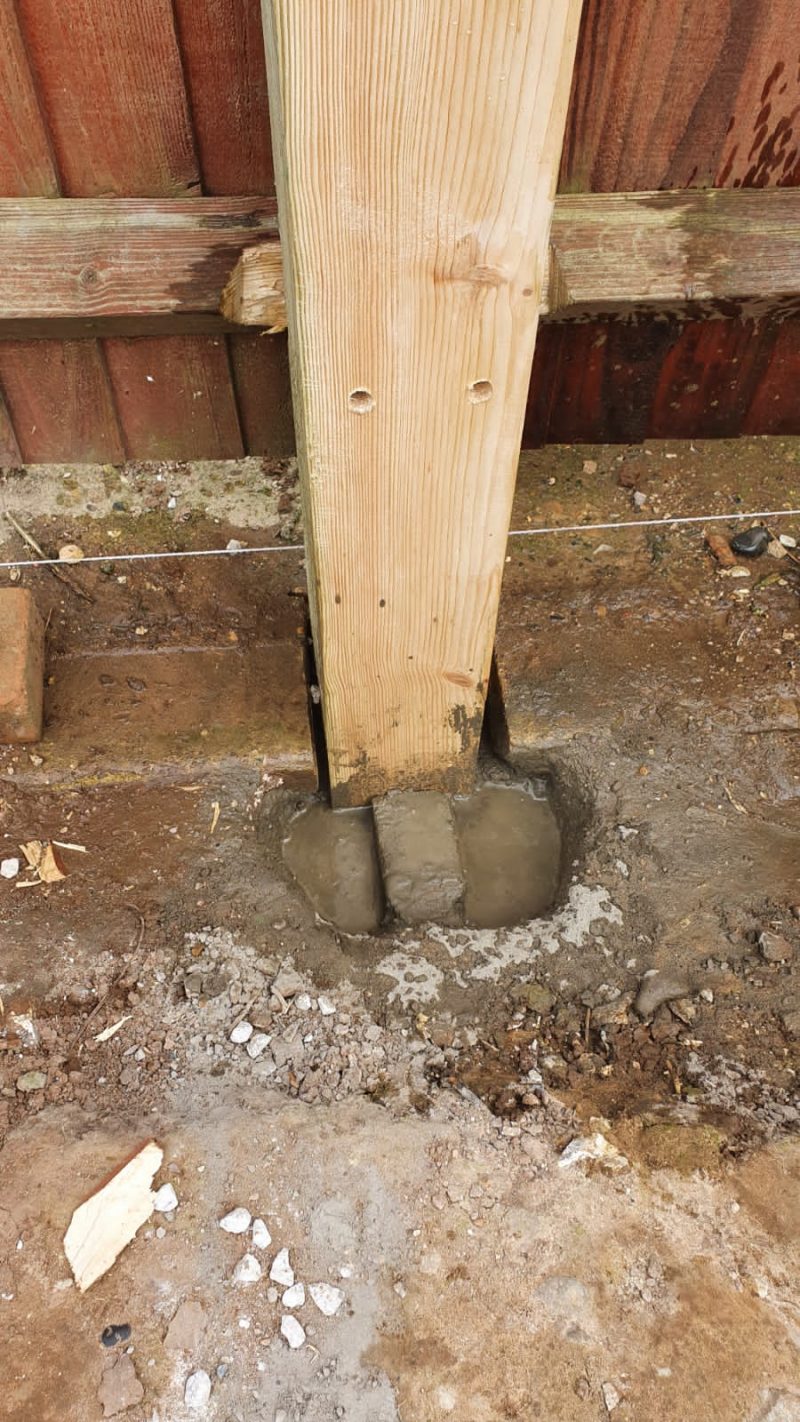
Pour in your post concrete
A bag of postcrete is plenty but I was having the argument with a mate that two bags is better and his posts haven’t gone anywhere for twenty years. Fair enough, I won’t be needing this pergola in twenty years I hope so one bag is fine for me! 😀
Pour water half way up your hole with water first and then drop in your bag of postcrete. Wait and watch the magic, it really is that easy.
Here’s a look at a post I didd this to recently:
Install the long beams
Measure for the height and install the long beams. The best thing to do is pick a height then use a laser level. Otherwise the next best way to deal with this part of the project is to screw one thread and bolt in one end then get the longer spirit level you can find and then get square by simply lifting up the other end until the beam comes level. Mark and fix it in place them fix the middle post (if you wen’t for a 6 post setup) too. Now repeat the process on the other side.
Fit the cross beams
You can cut a fancy swirl at this point with your cordless jigsaw and use a cordless orbital sander to tidy them up. This will give a nice decorative look to your pergola and generally soften all the sharp square edges.
Notch out 40mm by 2” sections and lay on your cross beams. You simply measure 3m from inside of notch to inside of notch. When fixing the cross beams from above you’ll want a good step ladder. The hex head timber screws 150mm are best fitted with an impact driver. You can get an impact driver for about fifty quid and I have to say it is literally one of the best tools for screwing that money can buy!
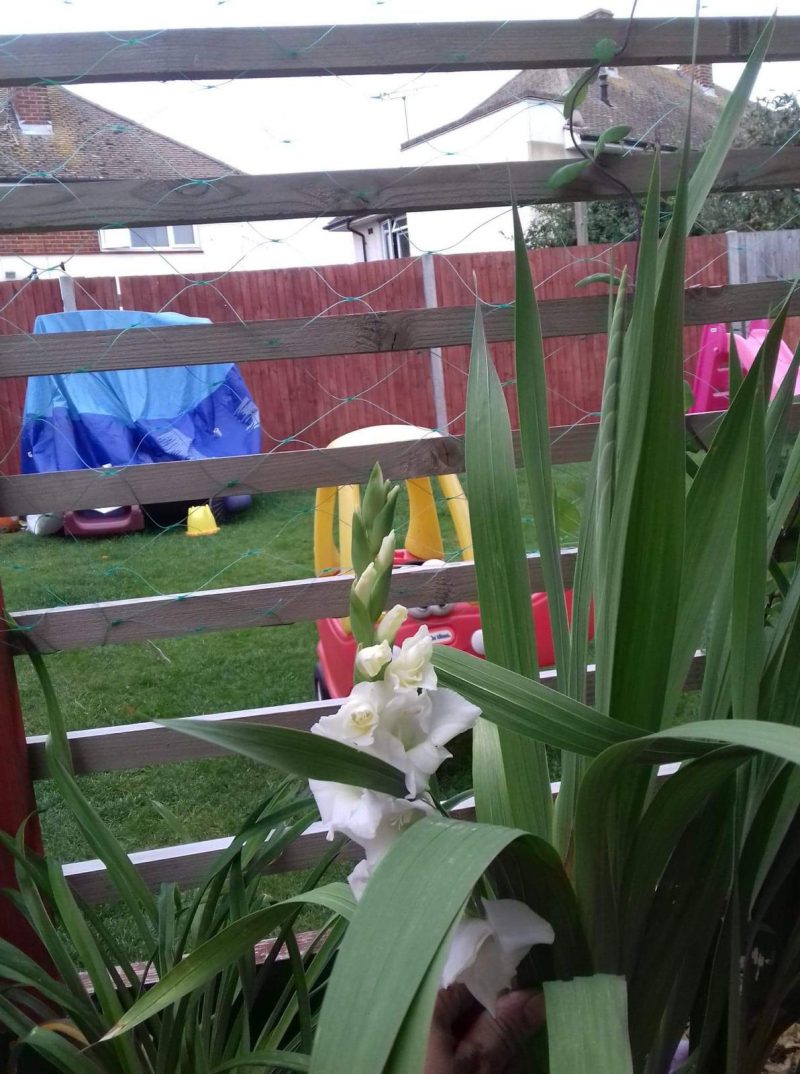
Hang some trellis to make it interesting
You could use your cordless nail gun to put up some trellis on one side or more to grow a few climbers. That’ll give your pergola more of an interesting look and feel. This is pretty easy to do and requires little explanation really if you’ve managed to successfully build your pergola already 🙂 Literally just nail on some strips of timber post to post and do a little planting:
That’s it, stand back and admire your pergola you made for half the price of buying and the satisfaction you got from doing it! That is how to make a pergola the easy way!