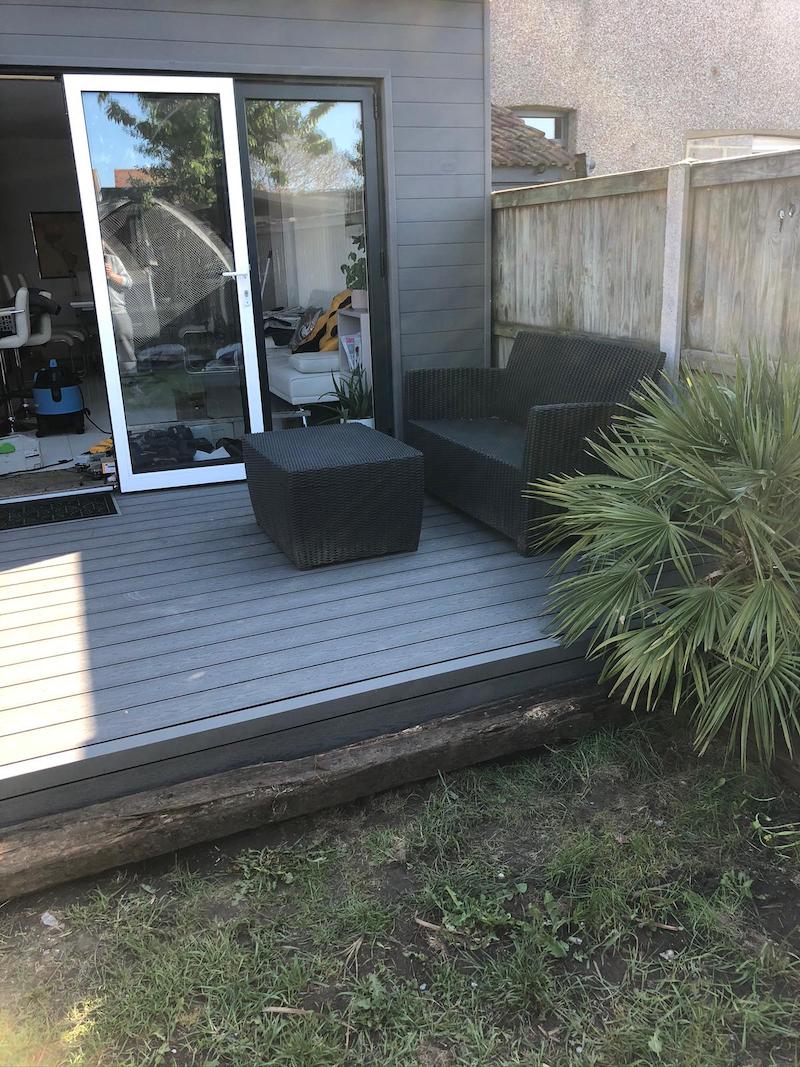
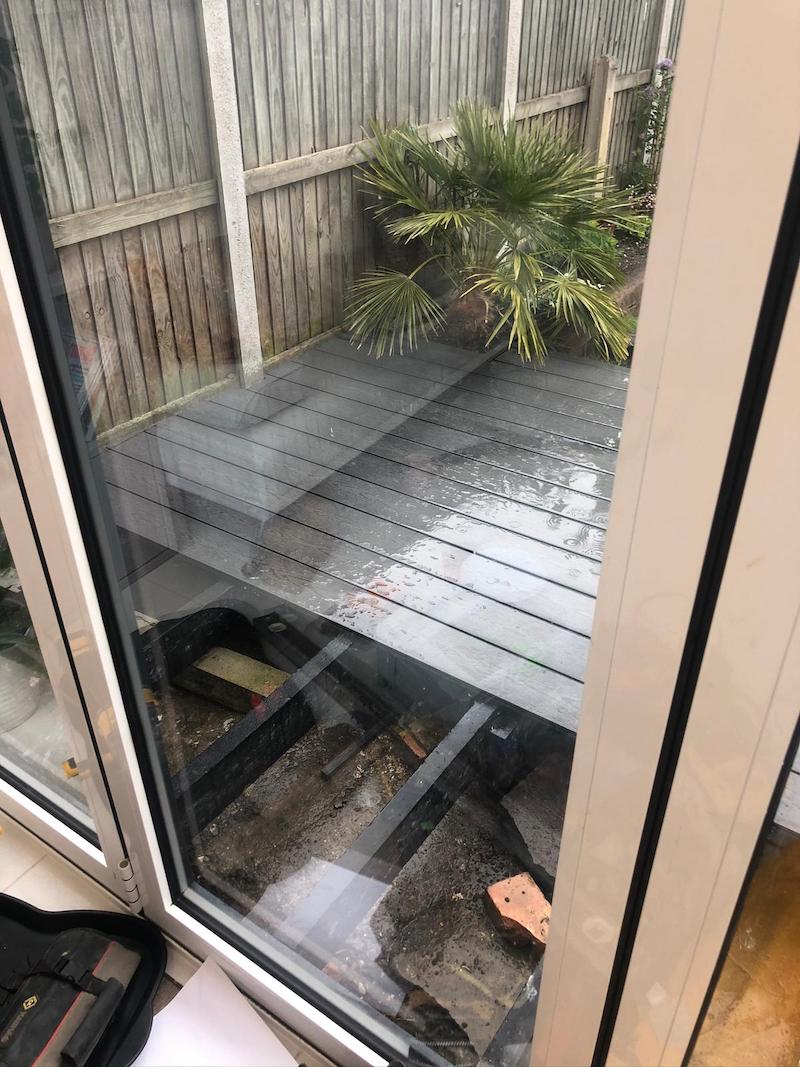
I had planned to get out in the garden and give you some pictures and videos of the shed insulation and conversion into office now that I’ve improved it, but it’s too damned cold to go outside (unsurprising I suppose given I’m writing this on the 10th Jan)! However, that presents us with another interesting opportunity. Back in the Spring I was locked down like the rest of us in the garden. It was so terrible honestly 🙂 Luckily, I had my project materials in the shed. I’d been planning a decking coming from the extension I just built made entirely of recycled plastic for a long time and this presented the time I needed to get things done!
Recycled plastic decking system you say?
I wasn’t specifically looking for recycled plastic when I set about planning the decking. I was more interested with a low maintenance alternative. If you’ve had the fortune (that turns into misfortune overtime) of owning a wooden decking area. You’ll come across problems over the course of time without fail. The first challenge is the layer of green algae that’ll invariably form.
So you start searching for decking treatment to remove Algae. Then you realise the treatment kills the algae nicely but it needs at a bare minimum a damned good scrub, the best deck cleaner you can find, and a good hose off. So you think ‘no chance I’m putting in that elbow grease’, you pull out your trusty petrol pressure washer to make light work of it! Well that’s what I did.
This strips the decking clean, looks amazing, and you feel super satisfied looking back at the before and after pictures. That is until it dries and you realise you need to apply three coats of deck stain again! You get desperate, you start searching ‘how to maintain decking’. There must be an easier way you think, that’s when it starts to sink in that wooden decking looks beautiful on install and for about a couple of years after, then it’s downhill all the way or a battle with serious maintenance every year.
That was the process I went through over the course of about five years owning wooden decking that brought me into thinking about some kind of composite decking.
That’s where I found the plastic recycled decking.
It’s an amazing product really. Even the joists are ‘plastic wood’. You know we always whimper about plastic not degrading for thousands of years. Well this is a double win and some. Not only do you get the reliability of plastic, it’s completely recycled. So all that plastic would have ended in a land fill, is now going into your decking. And, I don’t want to pretend I’m like a friends of the Earth nice guy but most recycled plastic companies do donate some of the sales proceeds to environment protection which is nice.
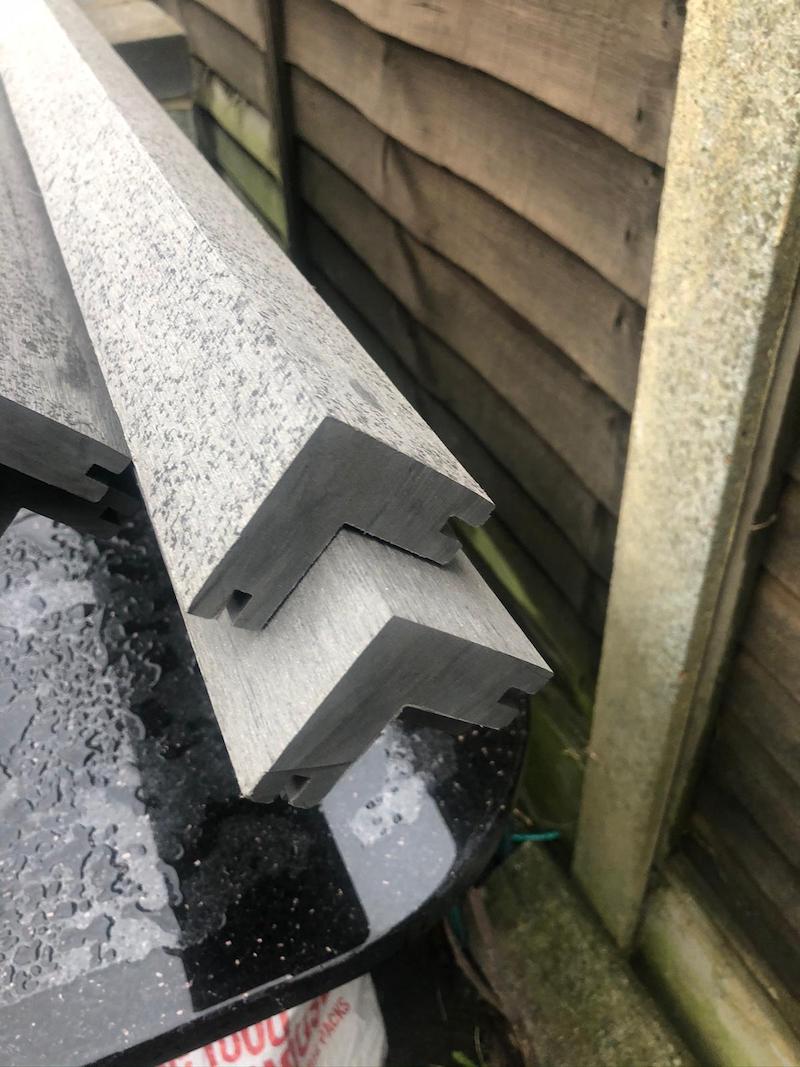
The joists look shockingly good, like a piece of wood dipped in engine oil (if you’re old enough to remember how well that lasts). That’s something we do these days – well I don’t think it’s good for your soil and avoid it. Some still love to make fence stain out of oil and yes, does it work better than anything on the market. That’s for another time though, we are talking about decking made of plastic. Here’s a look at those joists:
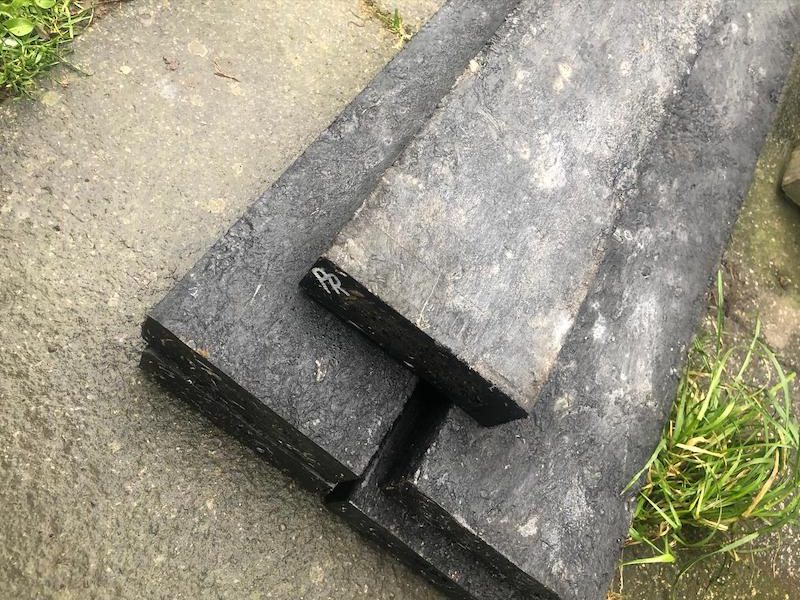
So the joists are super solid. I used 150 by 50 or 6 by 2 (if you’re old school) and doubled them up on the outside perimeter with 200mm decking boards. The main reason for the big depth is that my floor is raised and I didn’t want too much bounce. They sell far smaller sections (that are considerably cheaper) if you’re going straight on top of a concrete floor and don’t need to float. Don’t worry, I’ll give you the complete list of tools and materials at the end anyway. Let’s get this going and cover the materials in the right place as we work through step by step.
How to build your decking
- Plan your deck project: workout your sizes and heights and understand the sizes of materials available for a cutting list
- Get your levels right with concrete breeze blocks
- Cut your joists and fit them inside the square you’ve made
- Fit your edge finishing trim first
- Lay your main decking sections
- Cut down the last board against the wall
Tools and materials required to build a recycled plastic deck
Experiences since installing plastic recycled decking
1. Plan your deck project: workout your sizes and heights as well understand the sizes of materials available for a cutting list
Before you do anything at all. There’s only three things you need plus some thinking time. A piece of paper, a pencil, and a tape measure with a list of the size decking materials available. Those are your most powerful allies in a successful deck project and it doesn’t matter how experienced you are. Working out a cutting list saves you time and a lot of money and will guarantee the best value pound for pound. Let me explain why.
So, if you don’t have a specific size in mind for the decking, you might be led by the size of the decking. So, are joists were 3.4m long. My decking came in 3.6m lengths. The corner trim was also 3.6 metres long.
Given those measures it’s no surprise I decided on slightly shorter than the width of one deck board, the deck length was over one joist as I had a length in mind. Like I say, always research your material lengths before formulating a plan. I speak from experience when I say I would have saved myself hours on previous jobs like making sheds and patios 🙂
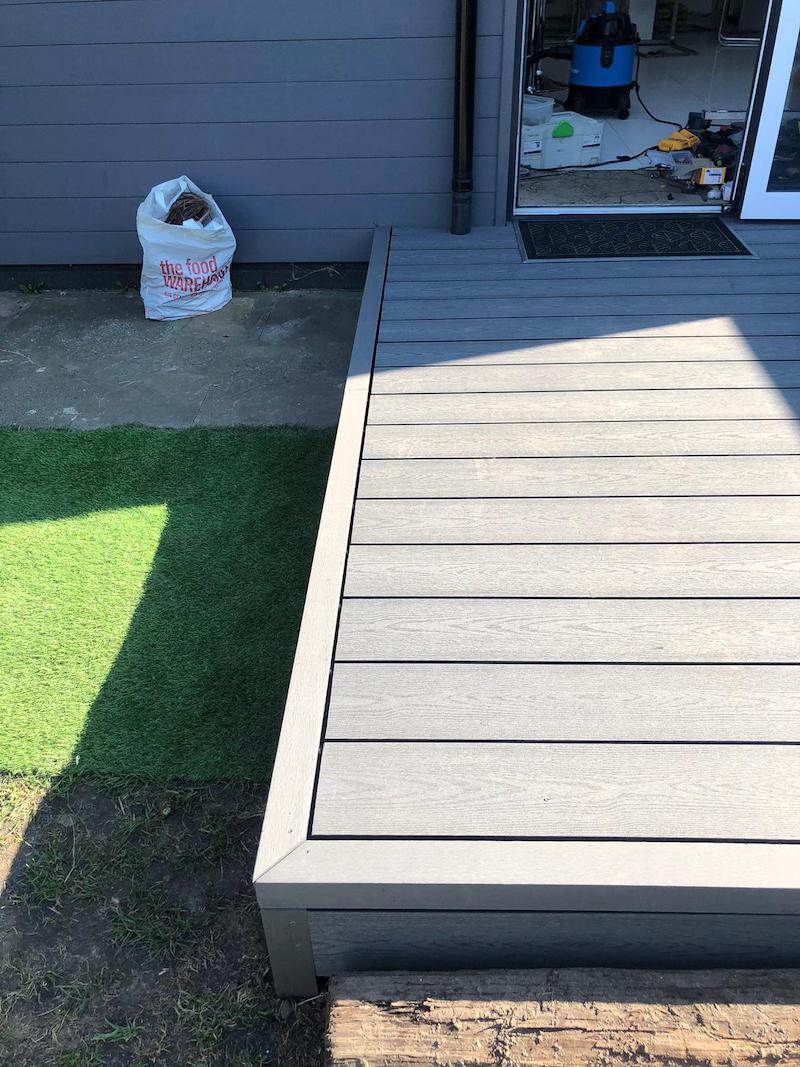
If you look at this picture I don’t have ANY joins:
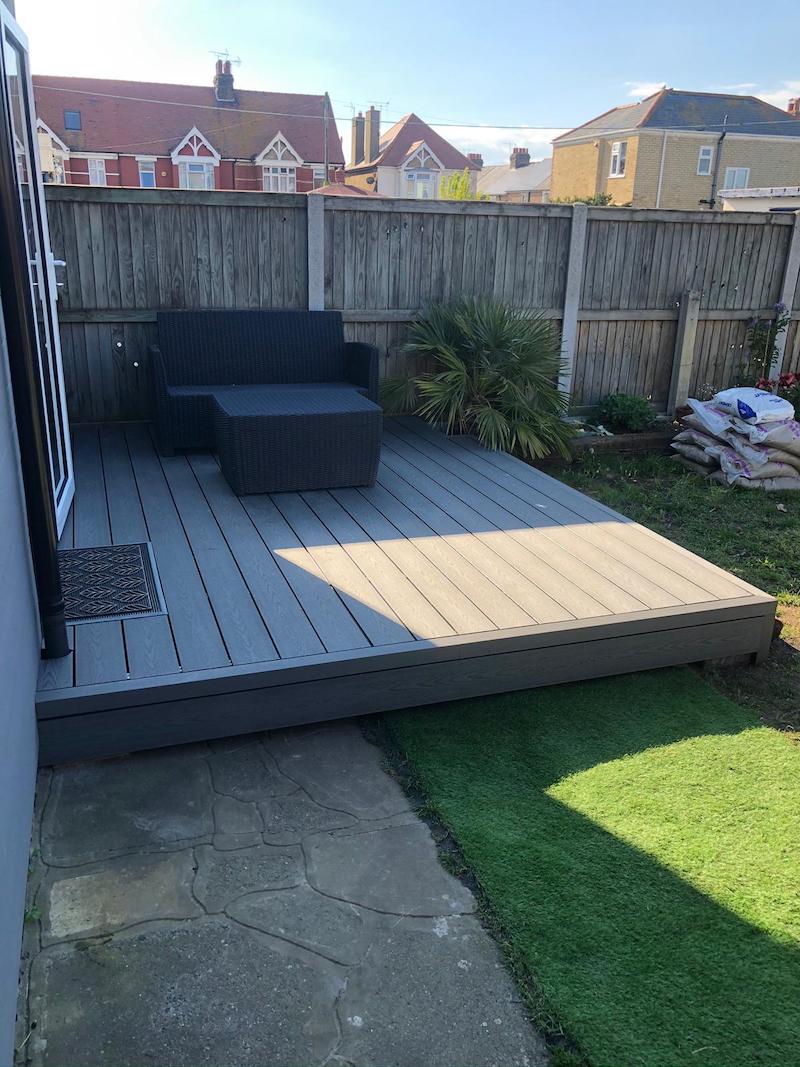
Careful planning did three things for me. It minimised my work cutting and joining. It made calculating materials a doddle. And crucially in value for money terms, gave me the cheapest price per metre too. So I think my point is well justified here about the tape and pencil. A well planned project is a big chunk of the job. I appreciate sometimes you’re filling a space, or have a specific plan in mind and that’s different, but for me, no joints made for a quality looking finish.
2. Get your levels right with concrete breeze blocks
With your materials well worked out, now is the time to get the levels right. In my case I had a partial concrete floor (you can see that in the above image which was solid but I still used concrete breeze blocks as pads. This is also how I’d do the job if I were going to work off grass or soil to spread the weight (which is exactly what I did on the outside edge) and ensure no movement. You could use adjustable risers if you want. Not my cup of tea and I don’t think necessary unless you want to save a few minutes. As you read through you’ll see I prefer using offcuts as legs to brace off the floor 🙂
The main reason for using concrete breeze blocks is the strength and reliability. You can be sure that they won’t move or ‘bounce’ because of the sheer weight of them. You can also be sure they’ll never rot or degrade either.
The best way to get this going is place out the four corner breeze blocks and lay on the joists to make a square. Take a look at your height and with a long spirit level check for level both ways. A really good tip is to lay a long square section over your joists from opposite corners to check the level this way too. Now with a decent set square make sure the outside corners are square too.
I like to use TIMco 150IN Index Hex Head Timber Screws because they have an 8mm head and I can really get a good purchase on the screw with a hex bit on my Makita cordless impact driver. For £55 quid this tool will literally shock you. It’s the best value for money kit I own full stop over hundreds of tools I say this. Remember though, you’ll need batteries too.
This is the time to fix the corners and check for level. I installed an extra joist on the outside and essentially doubled them up for extra support. You really don’t need to do this but it was my preference to maximise stability and easier to sit the joists on the breeze block sturdily. If I was coming off posts in the ground, obviously I would be double bolting this all together. However, in the situation that the breeze block supports the joints, it’s just not needed.
If you’re square and level then pat yourself on the back. The hardest and most time consuming bit is done. Yes, that’s right, don’t get frustrated by this section. This is the hard job, the rest is measure, cut, screw.
3. Cut your joists and fit them inside the square you’ve made
Cut and screw in your joists at around 300-400mm centres. The decking I’ve used 200mm by 25mm is more than capable of supporting 400mm centres. I went with 400mm centres and if you look at the pic below you’ll see that the outside one is nearer over 400mm – it wasn’t worth laying in an extra joist. I would use the same TIMco 150IN Index Hex Head Timber Screws to fix the joists too.
Once you’ve screwed in the joist, attach some legs to the inside joists to help them stay put at the right height. If you look at the picture above you can see the support leg butted against the concrete floor. For the grass section, I lay a section on the ground first to spread the load.
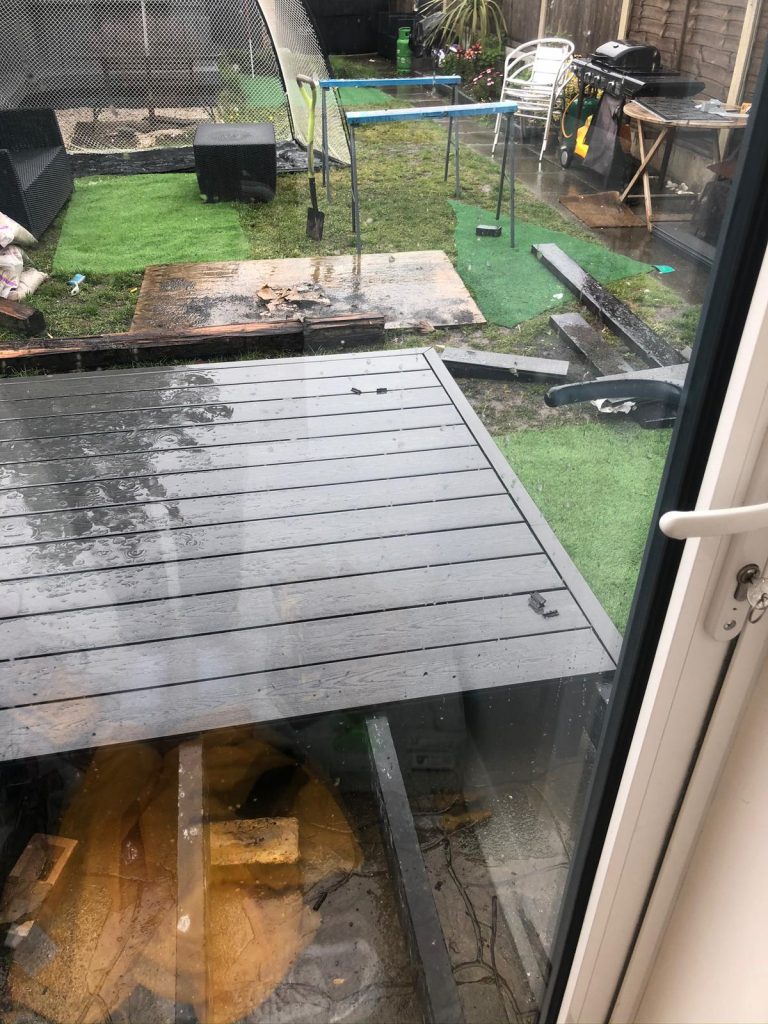
You could use concrete breeze blocks but legs can easily be set to height and I attached them with 100mm Forgefast screws. I would suggest gently lifting the joist (not off the floor) just enough to take out any flex before fitting the leg. Here’s a picture of that and sorry about the quality I forgot to take a picture of this stage for you. In fact, luckily it rained and stopped me in my stride or I may have forgot to document this part altogether! 🙂
Once you’ve fitted the legs, checking for level as you go, it’s time to move on to the finishing stage.
4. Fit your edge finishing trim first
Now that you’ve got your joists set and level the best place to start is the finish trim. Simply cut it to length and mitre the joints together. I absolutely love the slotted groove system. You push them into the groove and then screw the decking board to the joist. Here’s a look at the slots as a cross section.
The T section fixing bracket slots in and you simply screw the bracket into the joist. This means you have no screw holes too! Better still, they evenly space your boards too. Getting a decking looking professional really has become a DIY’ers job when you know how.
Again sorry about the clarity of the picture here, you really can thank the weather for me having this stage at all, it’s so quick to put together that you get into a zone. It only took an hour to cut and lay the boars because of the quick fix system they’ve now got.
5. Lay your main decking sections
With the edging on, simply cut your boards to length. As you can see I had to trim in my boards are my concrete fence posts with a jigsaw.
There’s nothing tricky here, use the T section decking fittings so you don’t see any fixings making sure you lay in two boards at a time and screwing the t bracket through the gap. The most complicated bit was removing a little of the inner plastic on some boards where the T fixing from the edging meets the decking boards. You’ll understand exactly what I mean when you lay the boards in :). I just used the jigsaw and folded the plastic out the way. At this point, lay and fix in any vertical boards. I only had one so it was easy to do alone, but if I was working down from a raised post then I would need a hand as you want to come off the corner and follow down. Something to consider if you are in that situation.
6. Cut down the last board against the wall
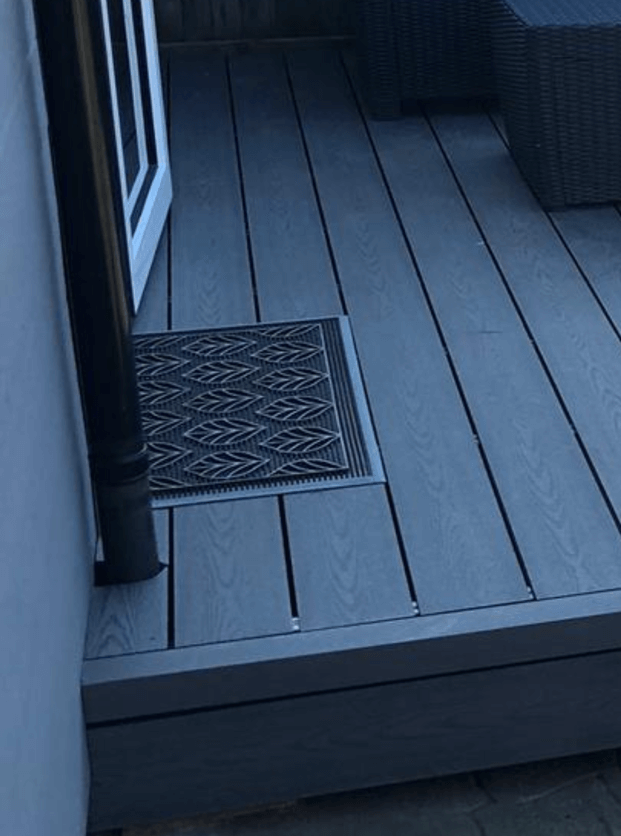
The last board against the wall was a little tricky with a Circular saw but with some juggling you’ll get the last two boards in. I carefully scribed my board to the wall for the best looking finish possible. I used a jigsaw to go around the gutter pipe though a hole drill bit big enough and then push the gutter through the hole would be nice. I decided that was a bit too much effort though!
Tools and materials required to build a recycled plastic deck
Plastic decking
Plastic Joists
Decking fixing brackets
Concrete blocks and packers to adjust level
Chop saw
Jigsaw
Circular saw
Cordless drill
Cordless impact driver
Spirit level – long one preferably
TIMco 150IN Index Hex Head Timber Screws
100mm Forgefast screws
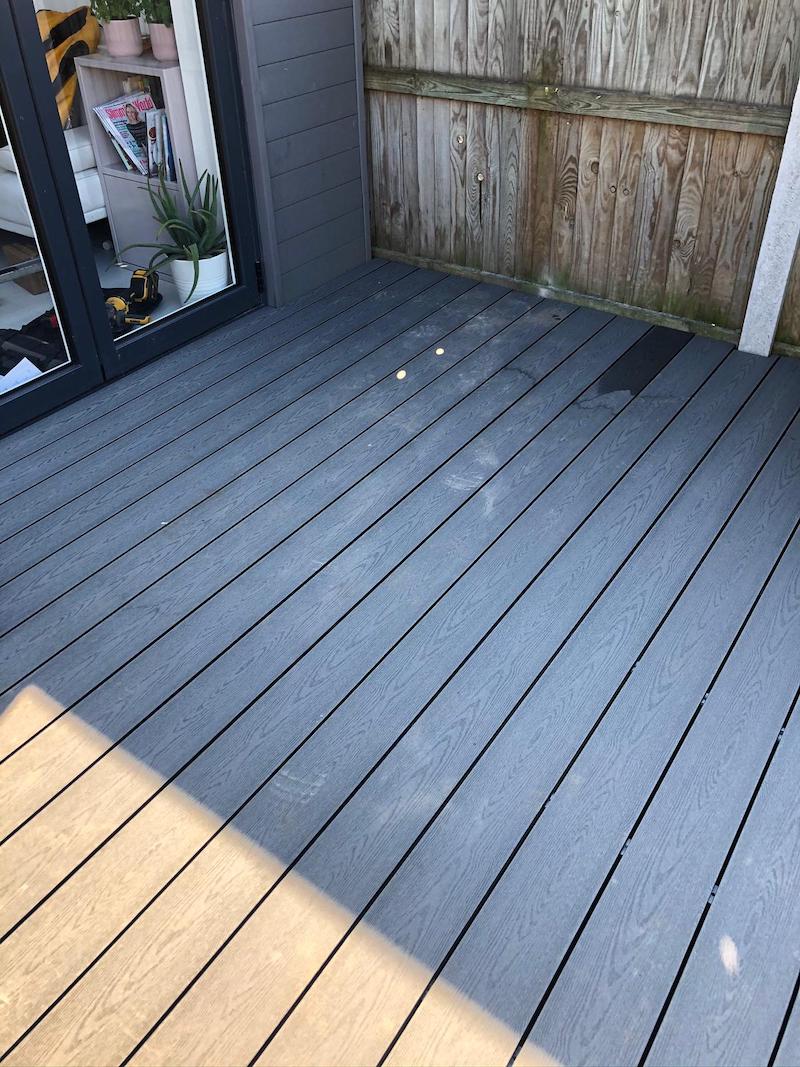
Experiences since installing plastic recycled decking
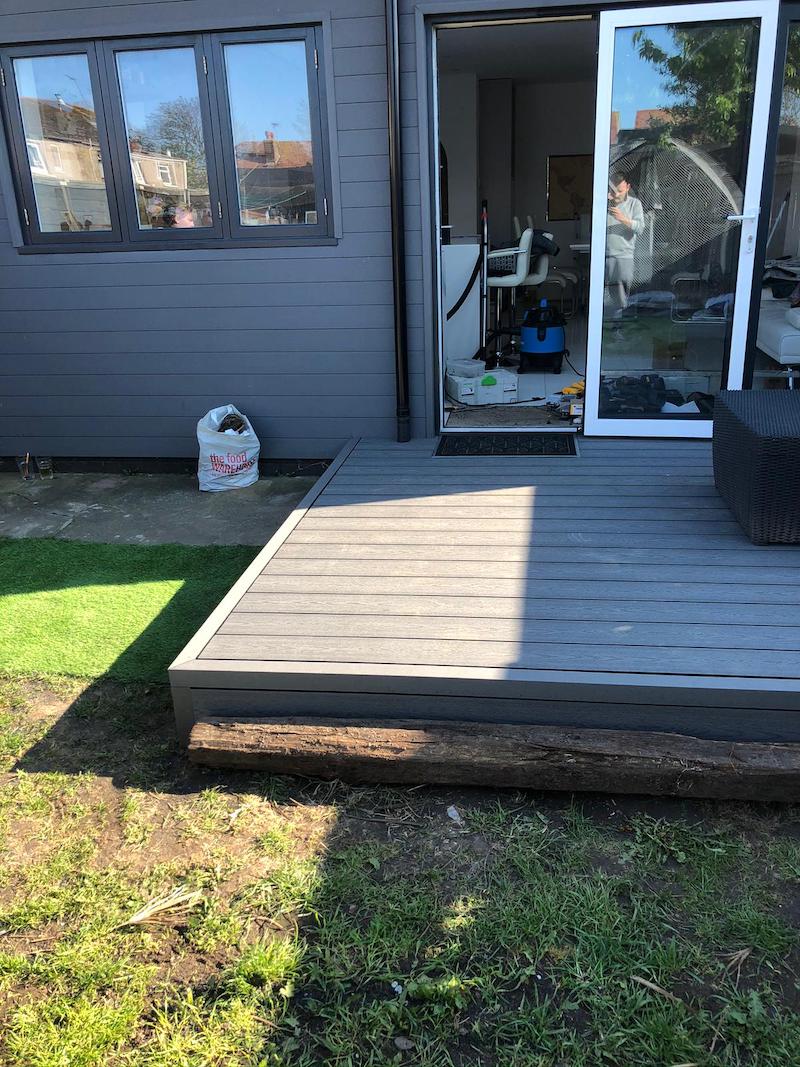
That’s it, no staining, no oil, varnish, whatever you like, none. That last board screwed in was the end and I guarantee you that you will not regret using recycled plastic. It’s sturdy, he’s up like new, and feels good to walk on. I moved the patio furniture on seconds after putting the last screw in and opened a beer.
Since I installed this 6 months ago I can tell you that a high powered pressure washer to clean it off is all you will need. I use my Wilks USA 750 petrol pressure washer and a 10m2 surface like this is like new in less than 20 minutes.