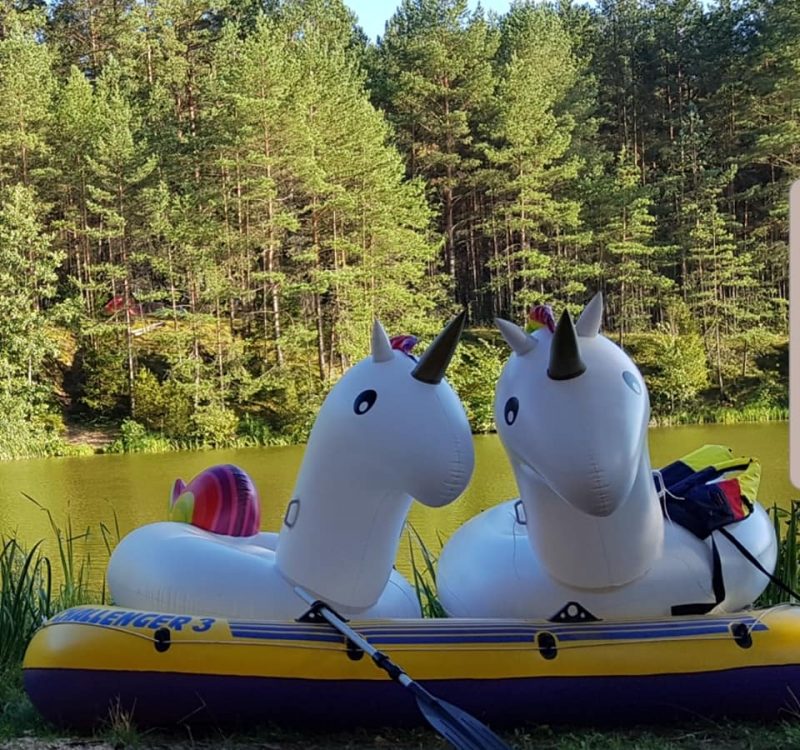
The amount of fun you can have with a body of water and an inflatable pool toy or two makes them worth every penny, and if you have kids, you’ll already know how much they love to play on these blow-up toys in the summer, leaving you free to handle the BBQ and whip up lunch.
Unless you’re the kind of person that throws stuff away after only a few uses, you’ve probably got a few inflatable pool toys in the shed ready to be brought out when the sun decides to make an appearance or when you are packing to go on a trip.
If that sounds like you, or you are thinking about buying a new floating pizza slice, unicorn, or giant swan, this article is the thing to read today, as it will give you tips on how to blow up, clean, store, and repair inflatable pool toys. And after reading, you’ll have a good excuse to go out and buu something like this-
Oh no wait, its for the new 40.4in wide pool float pic.twitter.com/paOYMPPWU9
— Florida Van Man (@TakuroSpirit) June 21, 2021
Blowing inflatable pool toys
I’m sure that we don’t have to point out that by ‘blow up’ we actually mean inflate the pool toys, and not attach some Semtex to them and blast them into a million pieces😂 . Anyway, with that cleared up, let’s talk about the best ways to get your fun floats up, and ready to use.
Now, you might be thinking ‘I know how to blow up a balloon, so I’m pretty sure I know how to inflate a pool toy’, and you might be right if we are talking about small inflatable rings or arm bands for toddlers. However, for the very large pool toys, you’re going to be going blue in the face long before they have even started to take shape.
I strongly suggest using an air compressor for the larger inflatable pool toys, and if you have more than one large toy to inflate, I would double down on that advice. These tools will naturally lose air throughout the day, and it is ok to use your mouth to top them up, but for the initial inflation even a small, portable, compressor will make things so much easier.
Alternatively, you could try one of the new products for inflating pool toys, like this innovative thing-
How to clean inflatable pool toys
One of the best ways to prevent mould, mildew, and bacteria building up on your stored inflatable pool toys, is to make sure that you drain all of the water out of them after you have finished using them, blast them down with a hose and also check that there are no small pools of water in any creases or bends.
After this, you should use a towel to get most of the excess water off the toy and then finally, leave it hanging in a sunny spot to really ensure that it is dried out. I know it sounds like a bit more of a chore than just slinging a soggy water toy into your shed after you’re done, but trust me, this is a far better way to look after your toys and your family.
If you’re bringing inflatable pool toys out of storage to be used again, they need a good cleaning before going anywhere near the water, or near anyone else for that matter. Just make sure it isn’t covered in our eight legged friends first if you have a spot of arachnophobia like this lady-
cleaning out garage, old deflated pool float fell on me–COVERED IN SPIDERS Every neighbor is now intimate w/ the sound of my fear
— Laura Stone: y’all’d’ve is grammatically correct (@StoneyboBoney) May 26, 2013
We suggest laying out your inflatables on the patio or decking, and then checking for any splits or holes that might have occurred. There’s no point in cleaning a toy that you are going to throw away right? If the tear or hole looks repairable, you can decide for yourself whether to patch it first or clean it up beforehand.
There are two cheap and easy cleaning solutions that you can make for yourself to clean inflatable pool toys, but you’ll need a good spray bottle or pump sprayer to deliver it onto the toy. The first solution is just a mix of ½ cup of white vinegar and ½ cup of water, and it works really well to kill off any harmful bacteria. All you need to do is spray it on, rinse it off with your hose, and do the job.
An alternative cleaning solution is to combine a litre of water with a quarter of a cup of baking soda and then spray and hose as we mentioned above. Simply rubbing the soda onto the dirt and then wiping it down, followed by hosing, will work really well if some stubborn grime won’t shift with the watered-down solution.
Some people use a mix of bleach and water, but personally, I don’t like to use it when there are less harsh solutions that work just as well and are even cheaper to make. Here’s one of many videos out there that show you just how to make a vinegar and water cleaning solution-
How to store inflatable pool toys
As already mentioned earlier, before you store your inflatable pool toys, you should make sure that they are drained of water, cleaned with a solution, hosed down, and then dried off properly to prevent mould and mildew. But where is the best place to store them?
Actually, you can store them just about anywhere as long as you’ve followed the advice above. Your pool toys can be hanged from something, kept in a storage shed, or under a storage bench. You can even store them in a normal garden shed or garage, but I’d think about keeping the temperatures above freezing with the use of heaters.
There are also lots of DIY projects that you can try to create storage space for your pool toys, and I’ve seen some great ones using ladders, wooden pallets, and many other normal household objects or garden tools. Most of these are only good for temporary storage during the summer though, and I would say that a proper storage box or similar would be better for the long term. They’re relatively inexpensive and easy to assemble, and here’s a photo of one for those who don’t know what I’m reffering to-
Are going to 7 ft. W x 4.41 ft. D Plastic Storage Shed Read more.. pic.twitter.com/eQ2yRpiWGH
— Sunthi Jaisaard (@sunthi247) April 15, 2019
Repairing your inflatable pool toys
Due to their lightweight and malleable design, inflatable pool toys are certainly prone to getting punctures, and if you want to avoid tears from your kids, you should probably know how to fix the problem.
The first thing to take care of is that you actually have a patch and some adhesive to fix the hole. Most inflatable pool toys come with a few patches but it is important to check, and if there aren’t any, you need to buy a repair kit.
Once you have your repair kit sorted, you need to locate the problem. You can do this by either placing the toy in the pool or your bathtub, or spraying water all over the toy, inflating a little with either a compressor or foot pump, and looking for bubbles. Once you have spotted the hole, or holes, you need to mark them with something so that they are easy to find again.
To ensure that your patch fits as well as possible, and doesn’t get stretched out and leak air later, you can try taping the hole and then inflating the toy. You can then get your patch ready by cutting it to a size that overlaps the problem area by a quarter of an inch or so and applying glue to it. Then you just have to quickly swap the tape for the proper patch and wait for it to dry. You can apply some pressure to the area too, to make sure that the patch has sealed on the toy properly.
This is one way of repairing a pool toy, but I’m sure there are others out there. if you’re interested, you can search YouTube for videos like this one on the subject-
And there you have it, you now know how to blow up, clean, store, and repair your inflatable pool toys, and are ready for all that summer throws at you.