How to sharpen and clean secateurs
I don’t think there’s a day that goes by that I don’t use my secateurs for some small job or another, and I would imagine it is the same for most gardeners. Hand pruning tools are incredibly handy but they have to be kept in good shape for them to do their job properly, and this is as true for loppers and hedge trimmers, as it is for secateurs.
With frequent use, your secateurs will no doubt accumulate sticky sap on the blades, ultimately leading to them becoming dull, and this can be very bad for the plants and trees that you use them on.
When used correctly, a sharp pair of secateurs will leave clean cuts that your trees will recover from without any issues, and go on to grow healthier in the future. Cutting with blunt blades, on the other hand, very often leads to infection so it is extremely important to be on top of your tool’s maintenance.
Today we will talk about how to sharpen and clean secateurs, why it is important to do so, and also compare the different types of these tools to show you the differences between them. With correctly sharpened hand pruners, you can also feel like Mr. Miyagi from the karate kid, just like this person-
Before and after. All done with hand pruners because I felt like Mr. Miyagi. Now to lay down some mulch. pic.twitter.com/NM6xng3nyq
— Boodah J (@BoodahJ) May 26, 2018
Why you should clean and sharpen your pruning tools
As we already mentioned above, neglecting to clean the blades of your secateurs, pruners, shears, etc. will just result in them becoming blunt, and this will happen faster than you imagine.
Trimming your trees or shrubs with blunt blades will leave a very untidy cut when compared to doing the job with sharpened tools, and this increases the likelihood of infection setting it and causing all kinds of problems.
So, if you want to keep your fruit trees looking their best, you need to treat them right, and a big part of that is making sure that your pruning tools are as clean and sharp as possible. Once you get sued to the process, it can actually be quite therapeutic and relaxing. Well, this person certainly sees to think so anyway, although I don’t know about the wet weather part…
Does anyone else love cleaning and sharpening their secateurs? Great wet weather work! #OCD #gardening
— TheHappyGardener (@ZingiberSam) May 7, 2014
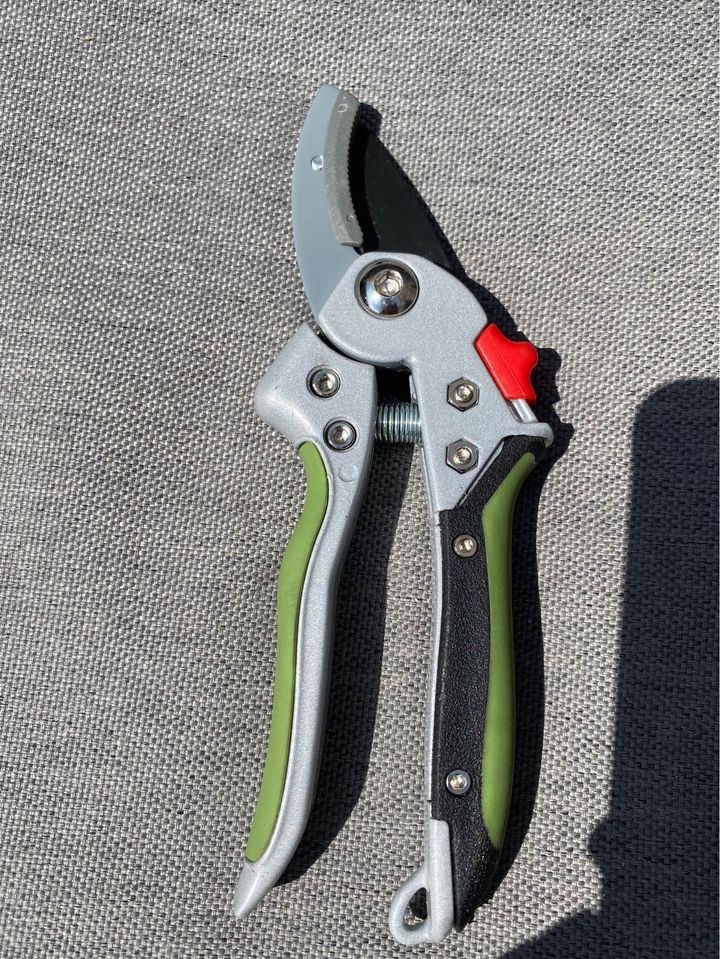
What type of secateurs is the best for clean cuts?
The two main types of secateurs are the anvil type and the bypass models. The bypass style of hand pruners works in much the same way as scissors, with the blades ‘bypassing’ each other, and this gives a nice, clean, cut that can promote healthy regrowth if done correctly and give you the kind of trees and shrubs you see in professionally kept gardens and parks.
The anvil type works a little differently and has a single blade that contacts an anvil section on the tool. This design makes it easier to cut thicker branches than bypass secateurs, but the result is more often a crush than a clean cut, so I would use loppers for this. Anvil secateurs have their place and use, but I only use them to deal with deadwood and never prune live branches with them.
A mistake that some people make is to try to cut branches that are quite thick with their bypass secateurs and this doesn’t allow the tool to cut as sharply as it should, giving less than perfect results. This is why I only use them for smaller jobs, and will reach for another tool like a pruning saw or loppers for larger tasks. Using the right tools for the right jobs is all part of a gardener’s education and something that can’t be underestimated.
If you’re interested, this video talks about the different types of secateurs and what they are best used for…
How to clean secateurs
Prevention is always better than the cure, and in an ideal world you should clean the blades with soapy water and a scouring pad, and then give them a coat of oil, but in reality, it is often the case that our bladed tools only get spruced up periodically, and therefore the task takes a little more work.
The best way to clean your secateurs is to take them apart first. Now, this might sound like something technical to new gardeners, but it’s actually a very easy task and only requires you to remove the locking screws or nuts in the centre of the blades. Make sure you put the parts that you remove in a small container so as not to lose them and do a quick headcount so that you know you haven’t lost or forgotten a component when reassembling the tool. I learned this lesson the hard way when maintaining a petrol strimmer and then spent hours hunting down the missing parts.
Time to start cleaning. Get a bucket of soapy water and something to scrub the blades with. You can use a scouring pad, some sandpaper, or even an old toothbrush, to get all that sticky sap build-up, cleaned off the blades. I use all three of these from time to time, plus a good wire brush, but the sandpaper is usually only reserved for really hard-to-shift sap.
Depending on the design of your particular secateurs, there might be small gaps and holes where dirt and sap can get trapped and accumulate, so you’ll have to get in there and clear it all out, and that’s where a toothbrush or similar comes in really handy.
Here’s a clip from well-known brand Fiskars on cleaning your secateurs.
How to sharpen secateurs
You can use a range of sharpening tools to get the edge back on your pruners and I know people who prefer to use all kinds of things from whetstones, files, and sharpening blocks, to angle grinders! Although I wouldn’t recommend the last one to most people.
Whichever tool you use, the basics still apply. Forst, you need to make sure you’re sharpening the right edge of the blade, and for bypass secateurs that would be the beveled, or angled, edge.
Take the secateurs in one hand and your file, stone, etc. in the other. I usually use a sharpening stone, so that’s what I’ll describe to you here, but a file is used in the same way. Run the stone, away from your body, across the beveled edge of the blade. Whatever you do, don’t try to move the sharpening stone back and forth or it’ll make things much harder, and don’t sharpen both sides of the blade, only the beveled side. After a lot of use, your sharpening stone might need some maintenance of its own, as this guy found out. Shame he didn’t think about wearing gloves though 😂
spent like an hour and a half flattening my sharpening stone with sand paper and I now have no finger prints so that’s cool
— Octapiee (@Octapineapple) June 29, 2021
If you follow the original angle of the blade, you should start to see that it starts to change colour after a few passes of the stone as the blade gets sharper. Continue until you are happy with the results of your labour, then give the blades a coating of oil using a rag, and reassemble the tool.
If you are sharpening anvil secateurs, you will need to sharpen both sides of the single blade, but apart from that, the methods outlined above should get you through the process just fine. if you would like to know more about anvil pruner maintenance, you can check out this video-
With a little practice, this whole process can be done in very little time, and so should become a normal part of your tool maintenance routine. Try to clean and sharpen them once a week, if possible, but if you don’t use your secateurs too often, every couple of weeks should be ok.
You can help to keep the blades sharp by cleaning them each day, and this should be an easy job with water and a sponge or rag. Brushes and sandpaper are only really needed after the sap has accumulated on there over time. Even if they are cleaned, they will eventually dull and will need sharpening, it just won’t be as often as it would if you let them get sticky.