Do you hate the idea of slinging out your lovely old wooden garden bench because it’s wobbly, covered in algae, and generally looking a bit rough? Rightly so too. I don’t think anything in the garden needs to be pristine. And I hate the idea of wasting. Forget the cost, it’s the principle. So in this article we will look at two methods of getting wooden garden furniture up to scratch.
We are going to look at your good old garden bench in detail and then we will be able to apply much of what’s learnt to your garden table and chairs.
Table of Contents
How to restore a wooden garden bench
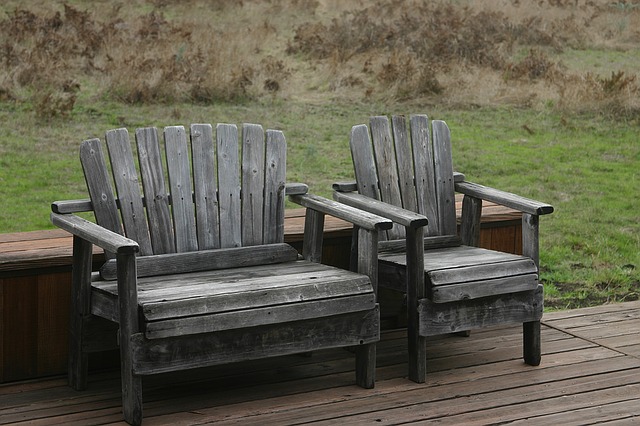
Let’s start with our good old garden bench. Firstly, how we go about restoring much depends on the construction. If you have an entirely wooden bench then all the better, but if it’s cast iron on the sides with wooden slats and backing then we are going to talk about that here as it covers both scenarios. Let’s assume that your garden bench is as mentioned in the intro. It’s a bit wobbly, needs a damn good clean, and looking rather unsightly. Perhaps it looks a little like the picture below:

Amazing transformation…with a little wood skills and hard work you too can make this kind of transformation.
- If your bench is entirely wooden you would skip this step and go to step 3 unless the timbers need replacing. It looks super daunting but the key is to break the job down into little pieces. So start with the very first step of undoing the bolts on the slats. You’ll need an adjustable spanner or mould grips for this.
- With the timbers removed, check the size. If they are uniform you can go to the timber yard later and hand them one. Ask for them to be made in hardwood. This will give you 20 years more life. If the timbers can be reused all the better.
- The next job is cleaning down the timber that is still usable and any wrought iron. If you don’t mind some elbow grease you can just use bleach but a decent Algae and Mould remover will make life much easier. What you’ll find is this is essentially like a deck cleaner or even patio cleaning solution. So if you have those laying around they’ll work great too. I always do this with a pressure washer to make life easy. I only use a cordless WORX pressure washer which is more than powerful enough. I use it on the conservatory, decking, fencing, patio, block paving, and everything in between. Well worth investing in one if you are in the garden all the time. If you didn’t want to spend that much you could even buy a little cheap pressure washer. They only cost £50 and it’s a tool you’ll use for maintenance and restoration time and time again.
- If your bench is entirely wooden then this is the time to get out the cordless drill and fire in some 100mm screws with some wood glue to strengthen it up at the joints. Just use a little wood stopping or filler to tidy up behind you. Use a natural colour to blend in better.
- There’s two ways to handle the wrought iron bench. One is heat and a fire brush. The other is a chemical striper and wire brush. Try to get as much paint off as possible but don’t go too over the top, it’ll offer diminishing returns in terms of aesthetics on your time.
- Once the timber is either sprayed down and blasted or sprayed down and thoroughly cleaned it is time to leave the timber to dry off in the sunlight. It is crucially important it doesn’t get left at this stage to reverse. Give it a day in the sun to dry and then when you apply your wood stain you’ll notice it absorbs right into the timber.
- So now is the time you have bone dry dull looking timber. Crucially, do not forget to treat the timber. Any decent wood preserver will help your project last a decade to come. Once this is fully absorbed and dry, apply your wood stain, or perhaps you prefer a wood oil or shiny varnish appearance. One trick here is not to use paint brushes, instead use a mini paint roller.
- If you have a completely wooden bench you are finished. Pat yourself on the back. If you have a wrought iron bench this is the time for assembly.
- Now it’s time to paint the wrought iron. Black is always the easiest but whatever is in the shed works. Make sure it’s a metal paint so the finish will last well.
That’s it. That will keep you busy for a few days and you might only save half the cost of replacement. But if you have a few pieces of garden furniture, a fence, shed, and other woodwork to work on then anything you buy here will be put to use a dozen times making the cost per project peanuts. More importantly still, the waste not want not attitude is priceless. Too quickly we throw away usable items. This trend has to stop!
How to restore a wooden garden table and chairs?
Does your table and chairs look a little dull like this? Not quite the full on refurb of the garden bench example above. This is super easy to make shine again and many of the steps can be taken from above.

The first job is to simply clean down the wood. As I say I like to use my cordless pressure washer and algae removed first. There is an extra step worthwhile here though. You want some 120 grit sandpaper.
It’ll take a couple of hours but give both the table and chairs a good rub down. If you have a really old rough table then a belt sander or even an orbital palm sander will help.
The next step is to clean down your woodwork and simply paint, stain, wax, or varnish as you prefer. Below is an example of timber that has been stained.
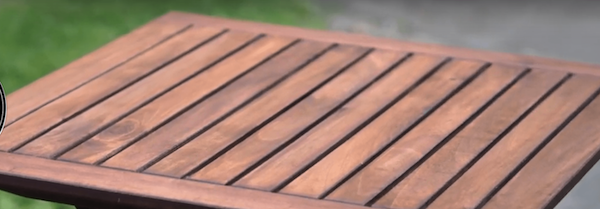
As you can see it really makes a difference and will vastly improve the look of your garden ambience. It’s also just flat out annoying to stare at faded timber when a refurbished look is so pleasing on the eye. If you have any cool restoration you want me to feature then please feel free to pop them in and I’ll showcase them.