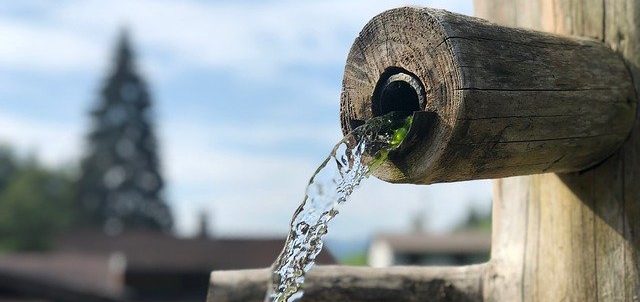
Solar Water features can add a real sense of tranquility to your garden. The sound of running water trickling down into mini pools is so relaxing, and the sight of a working water feature is a feast for the eyes if done right.
Buying a ready made water feature is all good and well, and it is possible to get affordable models from your garden centre or online. However, nothing really beats the satisfaction of building your own, and it can actually be done very cheaply with most of the things you need already lying around in some peoples’ gardens.
In this article, we will walk you through how to make a water feature that won’t cost you the Earth, is really easy to make, and better still: it is solar powered so it won’t land you with a larger electricity bill or increase your carbon footprint.
Sound too good to be true? Well it certainly isn’t and this is how you do it…
What you will need to make a water feature for your garden:
- 1 Paving stone or similar flat and level stone
- Spade
- Rake/hoe
- 2 plant pots of different sizes without drainage holes (if possible). These can be made of any material and be any size you like, but we would suggest one large enough to fit a bucket inside, and one a bit smaller than this.
- Tape measure
- Smooth stones, gravel, river rocks, or similar for decoration.
- Bucket or something of similar size and dimensions
- Large flower pot saucer
- Floating Solar powered water pump
- 4-6 pieces of metal wire
Best water pumps rated for power and price
How to make a water feature
This really is a super simple design, but if done right it will be a great addition to your garden and look like I cost a lot more than it actually did. You can choose to use more than 2 plant pots if you wish to create a larger multi-tiered water feature, which might be a good idea if you have a lot of space to fill in a big garden. It will save you time and effort if you use plant pots that don’t have a drainage hole in the bottom, or you’ll have to seal these off later.
We begin making this water feature by first preparing the spot in the garden where it will be housed. For this particular design, you need to place it in the sunniest spot possible, as the small, solar powered pump will only work under a good deal of sunlight. If you want a water feature that works in gloomier conditions, you can spend a bit more for a solar pump that has rechargeable solar panels, or alter the design to work with a pump that runs from the mains electricity.
Once you’ve picked out your perfect spot, dig up the top layer of grass, soil, etc. and hoe or rake it flat and level. After this is done, place your paving stone down and use a spirit level to check that it is flat. Adjust the soil underneath if necessary, as building your water feature on a slope is not a great idea.
Now grab the largest plant pot and place it on the paving stone. You can cover the stone with soil to hide it or even use stones or gravel to do the same thing later and add a little extra bling to your water feature base.
How to Make a Pond
Best pond liners
Next, take the plastic bucket/old paint can/ etc. and put it inside the large flower pot. It doesn’t really matter which way up it goes as we’ll be covering it in a moment anyway. To cover the bucket and create a base on which the next tier will sit, we will use a plant pot saucer. The plant pot saucer that you use must be big enough to cover the entirety of the large pots opening, but not so big that it overlaps as this will look less attractive, so you’ll need to measure this and buy accordingly. If you can’t find the right size, we suggest buying a larger one made of plastic and then cutting it down to fit.
Best Solar Garden Lights
Best solar panels
Best Solar Water Features
The next step is to take the smaller plant pot and balance it in the centre of the saucer we just laid in the bottom pot. Once you’re happy with the position of this, fill the bottom pot with coloured stones, smooth river rocks, or anything that you like to hide the contents and add beauty to the design.

If you’ve managed to find plant pots without drainage holes, you can go ahead and fill the top one with water, leaving a few inches at the top. On the other hand, if there are holes in the pot, you’ll have to seal them beforehand. A simple solution is to use a bathroom or kitchen tile and then use silicone sealant to fix it in place over the hole.
With your water feature almost done, you just need to place the floating solar powered pump in the water and use the metal wire to keep it from moving around too much. This is done by sticking one end of the pieces of metal wire into the foam under the side of the pump and letting the other end of the wires go all the way to the edge of the pot, thus stopping any unwanted movement.
Using Water to Make your Garden Beautiful; Water Features!
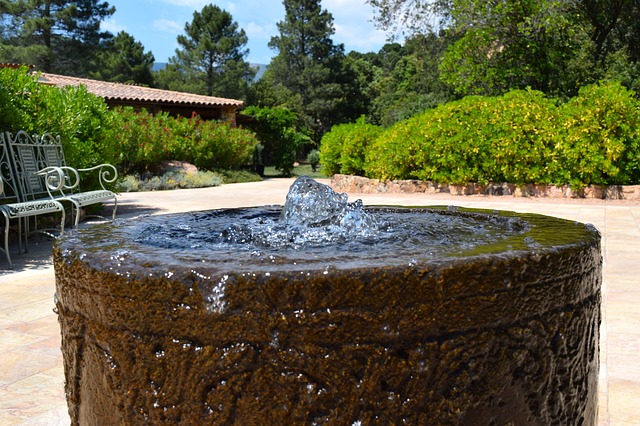
You should now have a lovely looking water feature of your very own, and it probably only took you 15-30 minutes to build the whole thing.
Now that you’ve learned how easy it can be, we hope this inspires you to come up with alterations and improvements to this basic design and create something you can truly call your own.
This design can actually look quite different depending on the type of plant pots that you use, and the stones you decorate it with, so feel free to experiment.
As always, we hope you found this helpful, and invite you to explore the rest of this wonderful site.