Mid-November means now’s the time to improve your soil, ready for planting or sowing. Digging the soil ensures it is fertile and enriched, improving the texture so plants can grow and thrive – and making it ready for planting your bulbs. Quite a few things need doing in November, take a look at this tips on November gardening resource.
Winter bulbs need good soil to give them the best conditions and the best chance of flourishing next Spring. By adding organic matter and digging the soil, the earth holds more nutrients to feed the plants and drainage is better also. Consider buying yourself a bulb planter, they really make light work of an arduous task and a decent garden fork. It’s the hardest job in the garden, why skimp?
Depending on the condition of your garden or planting area, there are around four simple steps you can take to improve your soil. You may need to weed the ground first, removing any old shrubs from the roots from the soil before you start the digging process, and it’s always advisable to warm up before you begin. Good exercise and a full compost bin, all for free from your very own back garden!
Gardening can be physically demanding, and soil improvement is an especially strenuous task. So make sure you do some stretches first, and pace yourself, aiming to dig your garden or outside space gradually to ensure you don’t injure yourself.
1. Get digging
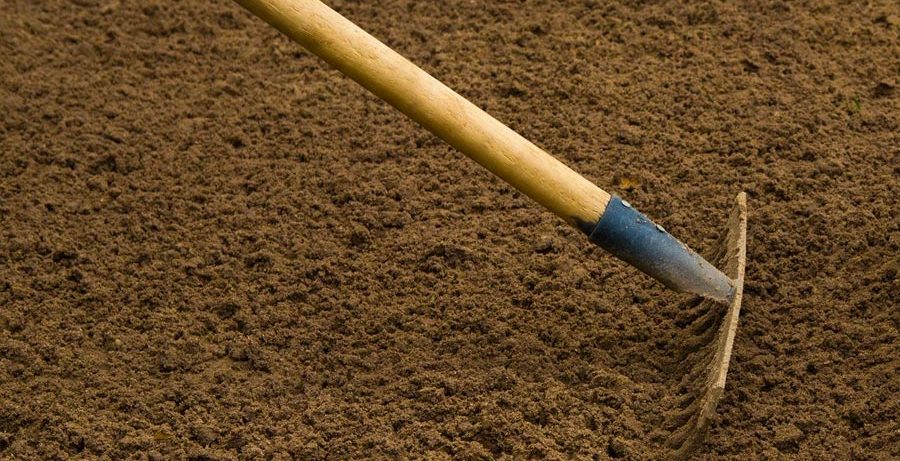
You’re nicely warmed up and any weeding work has been completed, and it’s time to start digging! The aim is a crumbly textured soil and this requires thorough digging to break up any clods and loosen the earth. Use a rake to finish up; breaking clumps of dirt as fine as possible.
If the soil hasn’t been dug before, it’s a good idea to use a spade instead of a fork as a garden fork works best on ground that has been cultivated previously. There’s a whole host of garden digging tools for the job.
Key to this step: If you do spot any weeds, be sure to remove these.
2. Add compost
When the ground has been dug, add your organic matter to the soil. Cover the surface to a depth of at least 5cm before digging it in using your fork or spade.
The organic matter improves the structure of the soil by helping to break down any large clods or clumps and releasing tiny bursts of nutrients into the ground. It’ll leave the ground aerated and perfect for worms to further decompose nutrients.
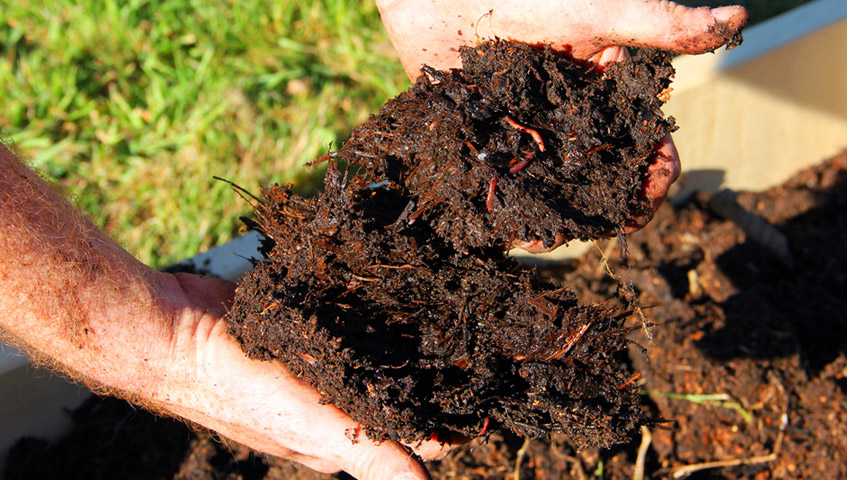
You can use your own garden compost, made from kitchen and garden waste, or leaf mould that you bagged in November. If you collected fallen leaves from your garden and bagged it up, with a few holes for letting air in, last winter the mulch should be ripe for your soil this winter. Alternatively, you can use horse manure, but make sure it is mature manure – it needs at least six months time to rot down sufficiently. Or you could buy bags of composted bark from a garden centre. This is where a shredder really pays, assuming you have the wood available to chip up.
All these variants of compost are nutrient rich and boost the soil’s richness.
3. Dig again
Back to it: keep digging until the soil and organic matter are nicely mixed. This ensures the soil is broken up and the small amounts of released nutrients are evenly spread across the area. This time a handy tip would be to use a garden hoe. The brilliant thing about this process is the wildlife in your garden will really pickup. As the insects multiply, so it’ll bring the birds too.
4. Rake over
When you’ve mixed the organic matter into your soil, smooth the soil over and break up any remaining lumps in the soil. Then add the relevant amount of fertiliser on top and rake it in. This preparation is going to go along way toward helping with droughts next summer.
Make sure the improved soil has an even surface, perfect for adding your plants to.