Using an orbital sander is pretty easy if you follow some simple steps. The most common use for an orbital sander is woodwork indoors but that doesn’t stop you using it on all walls and ceilings too if you’re willing to spend a little time. Once you’ve decided which orbital sander suits your purpose best then it’s time to focus on good technique and getting those sanding jobs in the home sorted.
Here’s a few super important things to keep in mind when using an orbital sander
How to use an orbital sander health and safety
One of the biggest problems you’ll face when using an orbital sander is dust. Some dust isn’t going to hurt you all that much, like sanding plaster or water based paints. Where the problem really starts is older timber with lead based paints, sanding on a surface you don’t know can be very very dangerous – especially if it’s something like asbestos. So always know what it is you’re sanding before just going at it.
There are some steps you can take to reduce risks:
Wear a good mask. This is probably the easiest way of reducing the amount of dust that you breathe in. Buying a quality mask isn’t easy at the moment – they are being bought up like mad because of Covid too. I like to get the type of mask where I can replace the filler from time to time. Breathing in nasty burnt smelling old paint isn’t very high up on my list of likes 😀
Use an extractor. If you can afford an extractor then use one, it’s that simple. If not, you can always convert your hover at home to connect to your orbital sander. What you want is some decent duct tape. You can either fix them together using duct tape directly, or tape around the extraction hole to pack it out to the same thickness as your home hoover nozzle. The former option works much better but you do get some glue type residue around the edge of the hoover nozzle which needs a really good scrub to come clean. One way or another, this is hands down the best way to reduce dust in the air.
Use pads with remade holes for extraction. Almost all sanding discs some with 8 holes – it’s now a standard base that is used for almost all of the major brands and has been adopted by lesser known and quality brands too.
Ventilate your working area well. Open any windows you can as well as doors. It’s not really worth discussing actual built in extraction as that’s commercial grade but getting decent airflow opening your windows and doors seriously minimises the dust in your working area. However, it does make a new problem. It sends dust absolutely everywhere – all through your home. So be prepared for a big old spring clean once the sanding is finally over. You should really try to get all the sanding over and done with in one go (if you can) so that your sanity and home stay in tact! 😀
Work outside if you can. Any opportunity you have to remove a bookshelf or a window board and work on a set of trestles outside you want to be taking with both hands. This is by far and away the best and safety way to make sure you keep your lungs nice and clear. Granted the dust goes everywhere but if you put a dust sheet down on your patio or grass then generally the dust in the air dissipates leaving far less in the way of clear up after too.
Just use your common send and keep yourself as well protected as possible.
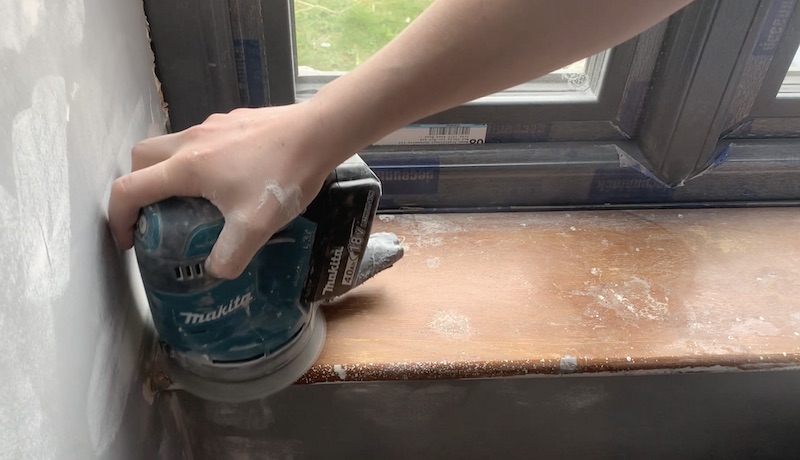
Careful when sanding near glazing not to scratch it
Generally speaking sanding woodwork is absolutely no problem, at all. You obviously want be careful not to catch surrounding object but one place you can do irreversible damage that’ll need replacement is your glass. When an orbital sander touches glass it leave a load of nasty looking circular patterns that just won’t come out. There’s a load of ideas online about how you can polish glass out but trust me, they do not work to a point whereby you feel like you have new glass again, in fact, they actually look like they dull the glass even more in some instances!
There’s no way to protect your glass other than sand by hand near glazing bead and putty. You need to be careful by hand as well. I know loads of decorators that have caused thousands of pounds of damage and then subsequently needed to claim from their public liability to replace the glass as there is just no solution to this!
Different grit pads and what they mean
High grit pads are the roughest. You can start all the way up at 40 grit and then go right down to 320 in your home. In practice however the likelihood is that you’ll start at 80 and work your way down to a minimum of about 160 grit. This is because when hand painting you will not notice an improvement on the finish of timber (or any other surface for that matter) beyond 160 grit, it’s just too fine.
If you’re working with really rough wood or filler then 80 grit is about right for a palm orbital sander. The grit of a sanding disc is clearly displayed when you buy them. For projects in the home I always want 60,80, and 120. Almost every single job I do in the home with a sander involves those three grits. When I’m sanding window boards I’ll work with a well used 80 grit or new 120 grit.
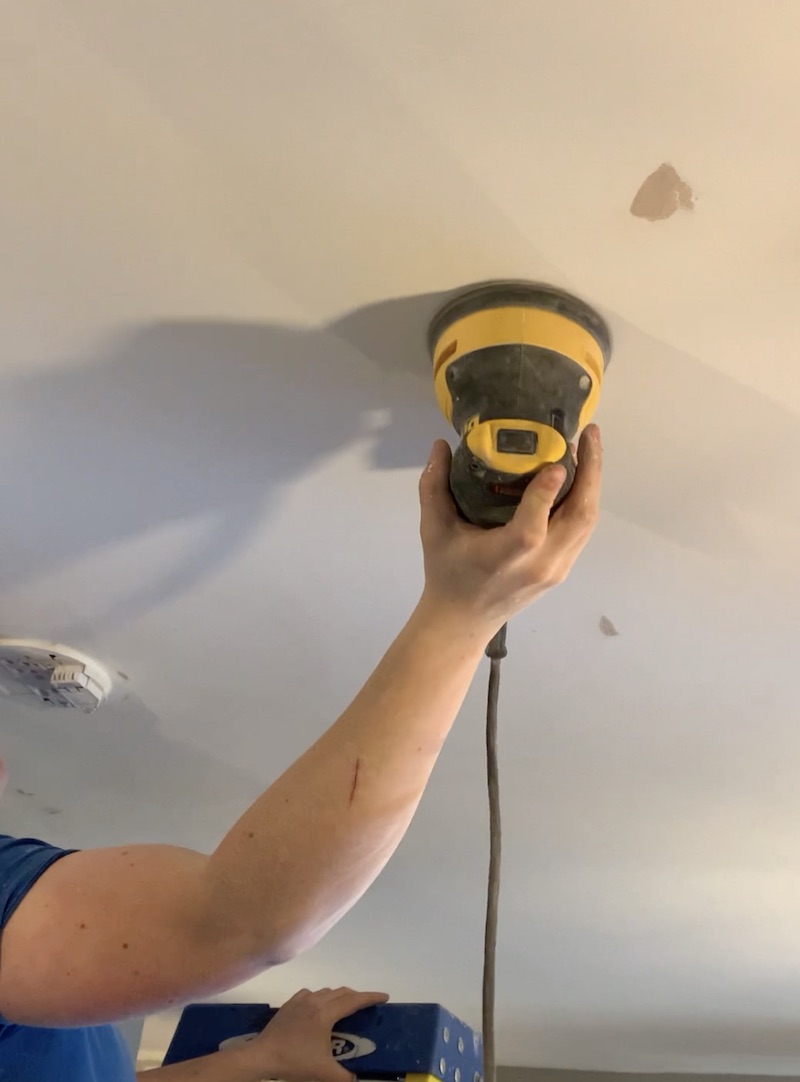
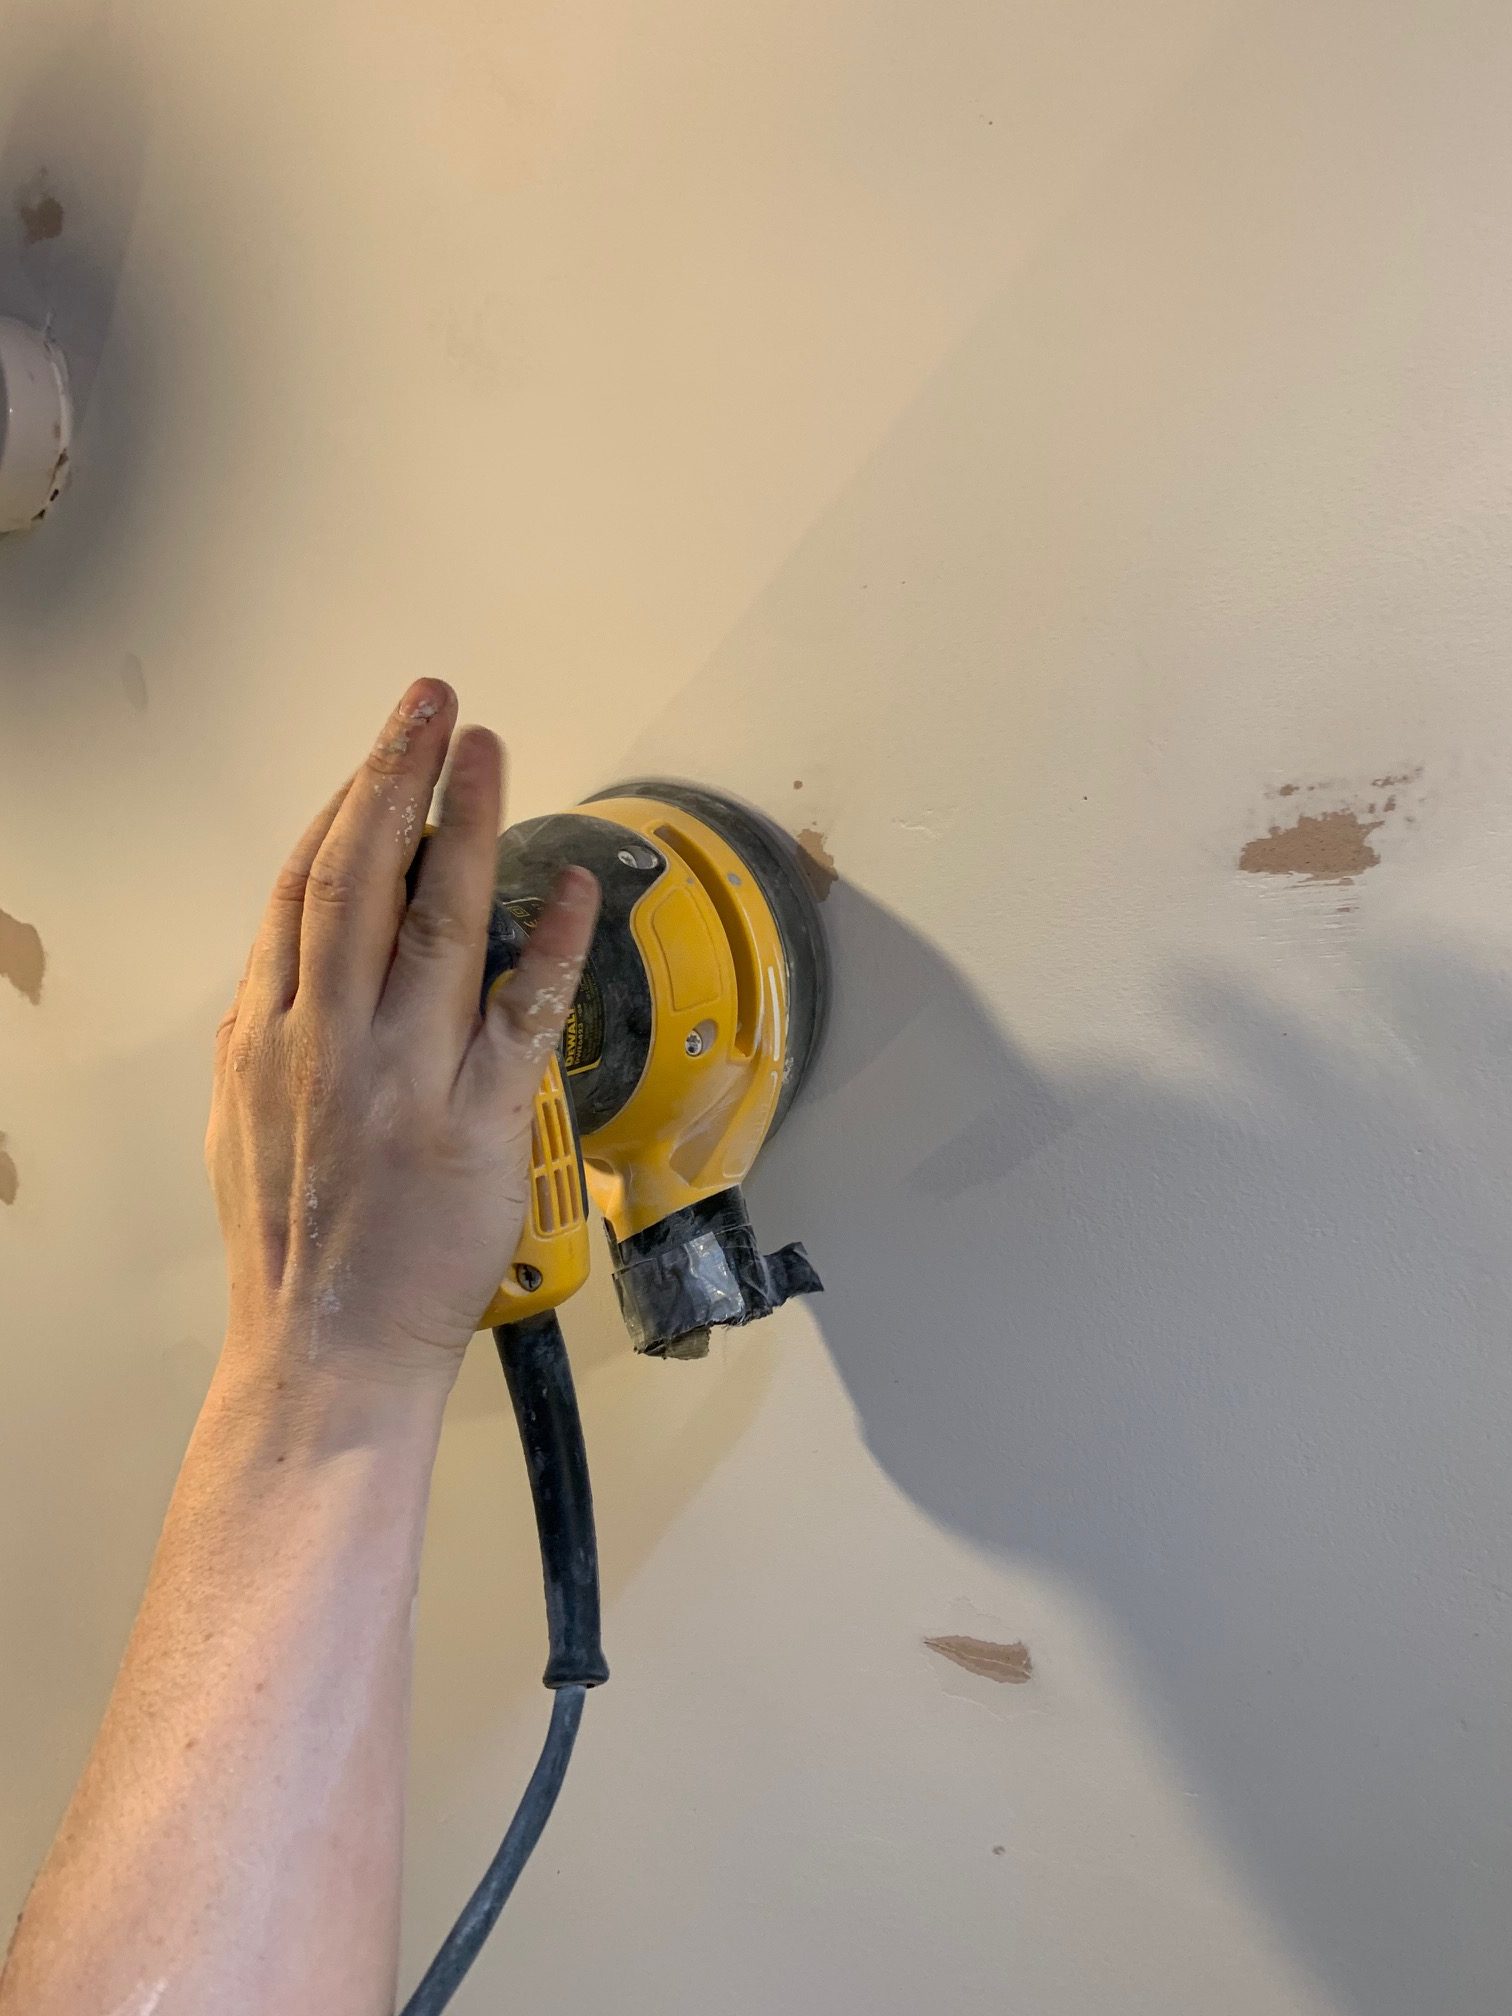
How to use an orbital sander – Apply even pressure
The trick is to not work yourself too hard. Let the tool do the work. If you look at this little clip you’ll see that the decorator is just pointing the sander and then subsequently guiding it. The orbital sander itself does most of the work for you! you barely have to grip once you get the technique right!
You need to make sure your sand paper is in decent condition, you line up the holes of the base of the sand sander with the sanding disc holes, and if you opted for a cordless orbital sander that you keep your batteries well topped up so you can keep quaking while the other is charging.
Other than the points above, you really can’t go too far wrong using an orbital sander.