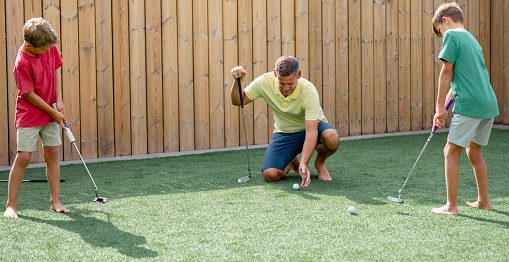
Golf is a wonderful, addictive, yet ludicrously frustrating sport to take up, and getting good takes a lot of practice. Most of us don’t live very close to a golf course, or pitch and putt, and so getting all the hours practice needed to improve our short game can be very tricky. After showing you how to work on your long game with a garden golf net, it seemed logical to look at putting. You could just buy a putting mat but what would be the fun in that?
Wouldn’t it be nice to be able to just come home from work, grab your putter and pop into the back garden to play on your private golf green?
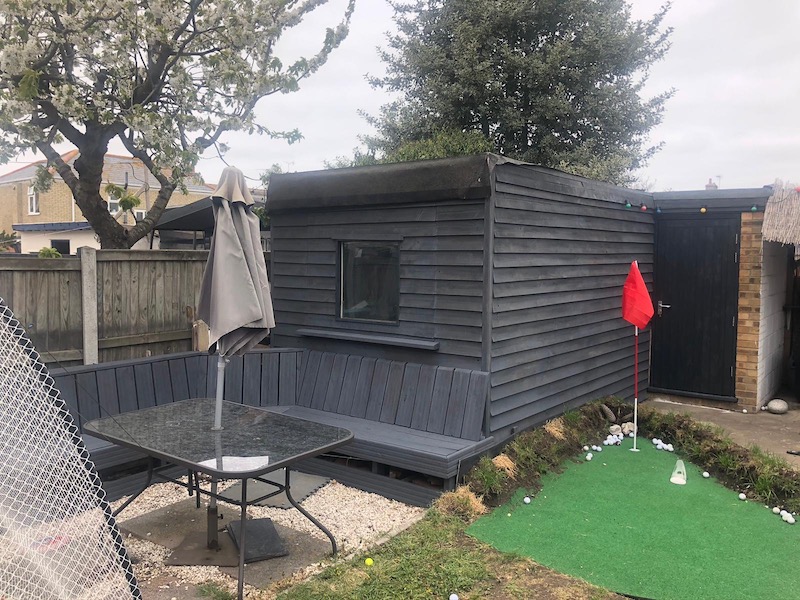
You might think that having a golf green in your garden is only for the rich, but you can actually set one up for yourself without breaking the bank, and in this article we will show you how. Andy built a superb little putting green with seating for his family so I thought it would be good to document it. A happy medium for all :
These instructions will guide you through the process of making a golf green in your garden using real grass, but if you don’t mind spending a bit more money, you could always go with an artificial grass set up.
Artificial grass golfing greens are much lower maintenance than with real grass ones, and some companies will even install it for you. Still, nothing beats paying on real grass, if this is your choice read on below to find out how to make a golf green in your garden.
How to get rid of mushrooms in your lawn
A guide to the 5 best lawn aerators
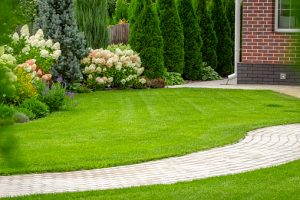
- Choosing a location in your garden
Choosing a location isn’t just as simple as pointing to a spot you like and saying ‘that’ll do.’ I’m afraid. No, there are a few factors to consider when choosing a place to build your green.
For a start, you’ll need the soil to be right for growing the grass. Sandy loam soil is what you want, and thick clay soil is not. Grass also needs sunlight to grow, and an area open enough to allow the breeze blow through.
Then there is the lay of the land to consider. Does your garden have any sharp peaks and troughs that could affect drainage? All of these things need to be thought out before you start doing anything else. Andy chose in the corner to maximise the distance.
- With your spot chosen, it’s time to start excavating.

Dig up the area of your planned golf green to a depth of around 50cm. To avoid having to constantly battle weeds once your green is finished, you need to remove all of the sod and also remove any rocks and other debris. - With the area dug up, you can now walk around and get a really good feel for what you want to build. Grab a pen and paper and start to plan out the layout of your green. Plan where the hole or holes will be located and think about where you want the slopes to be, but also keep in mind that you need rain water to run off, away from the centre.
- All golf greens need drainage, and now is the time to install yours. Set up the pipes so that they run from the middle of the green to the outer edges, and make sure that there is proper drainage under any large troughs where water might gather into puddles.
It is imperative that your drainage pipes are firmly connected together and there is no way of them coming loose. The last thing you want to do is have to dig up and destroy your new golf green to fix a leak later on.
There are various ways to ensure that they are well connected, but using good old duct tape works wonders and is easy to do. - Your grass is going to need water to grow and to stay healthy once it has, so you have a decision to make. If you don’t mind spending the time watering with a garden hose, then you can skip this step. However, if you are busier and don’t have time to keep to a regular watering schedule, you should install an automatic garden watering system, or a viable alternative, at this point.
- To prevent weeds from spreading from the rest of your garden to your golf green, you should separate it. A good way to do this is to use plastic sheets as lining. Once separated, you need to lay gravel down in the dug-up area. Use pea gravel and lay it down so that it covers the entire area at a depth of around 8-10cm. The purpose of the gravel is to aid in drainage.

- Next up is to add a 4cm layer of sand to cover the gravel, then cover the sand with topsoil that has a high sand content and a low clay percentage. Any top soil with more than a 20% clay content should be avoided.
With the topsoil chosen and laid down, you need to make sure it’s all compacted down. You can do this simply by walking over it. - With everything prepped, you can now sow your grass seed. Make sure you do a bit of research before buying your grass seed, and choose one that will have no problems growing in your area. If you wish to know more about the best way to plant grass seed, we have a dedicated article on this very subject on this site.
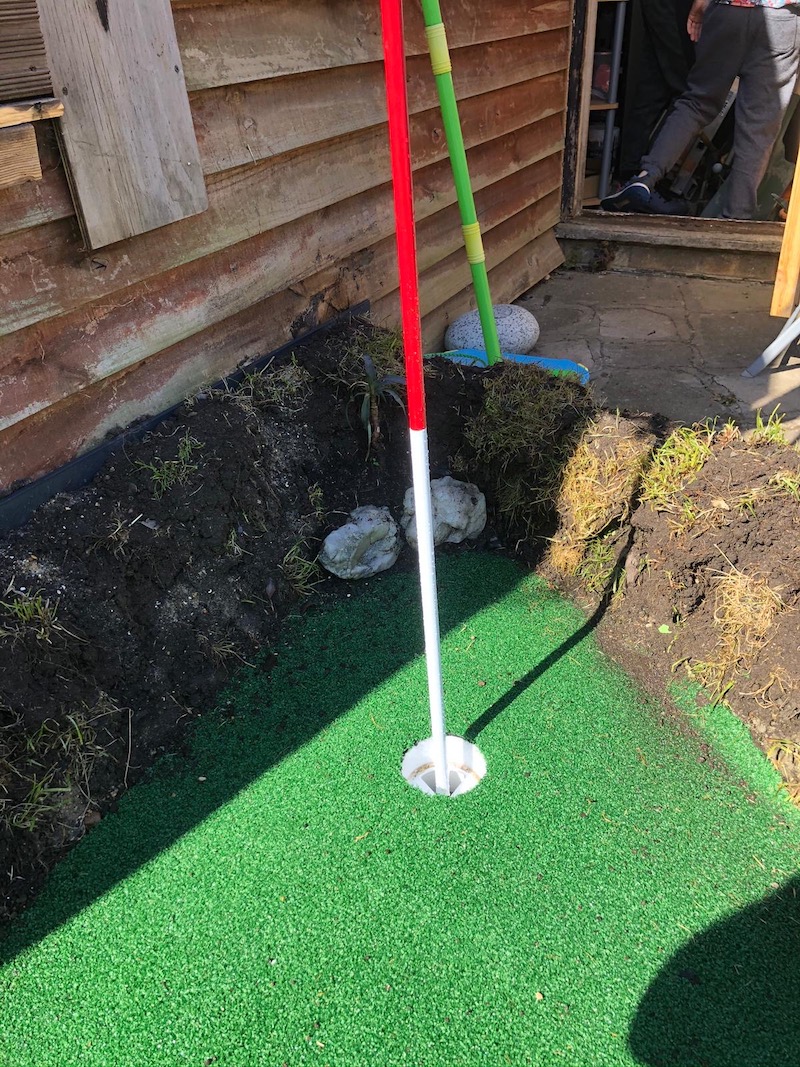
- After the grass has grown and you’ve mowed it down to perfection, you just have to purchase the equipment to give it the finishing touches such as the cups and flags. Using a cheap lawn mower on a golf green isn’t ideal, and some would even recommend a professional golf green mower, but I say you can get by with a good quality standard lawnmower.
- Grab your putter and get on that green! It’s time to enjoy the fruits of your labour.
You’ll soon be improving that handicap, and if you keep your private green a secret, your golfing mates will be left scratching their heads at your sudden improvement.
That brings this article on how to make a golf green in your garden to a close. For tips and tricks on all things gardening related, how to articles, and tons of product reviews, please explore the rest of our sight.