I recently set about looking into the cheapest way to make a driveway but then decided I would maybe change up my plans a bit and is I thought I would go through the process of showing you how to make a block paving driveway and then subsequently the costs of this and how much a contractor like me would charge you. This should give you a sensible place to start and also show you what’s involved. Who knows, you might decide that you quite like the look of having a go yourself making block paving when you find out the labour costs 🙂 Here’s the costs of block paving calculated if you want a shortcut.
Measure out for your block paving
So the first step is getting yourself a surveyors tape and working out what meters are involved. This is the easiest way to then gauge how much material as well as get some quotes from local driveway specialists. You’ll also want to asses how much material you nee to remove for the block paving foundation. A word of warning, getting rid of top soil, hardcore, and any other substrate from your property costs a fortune at the moment. You can easily expect to pay £300 for an 8 year skip.
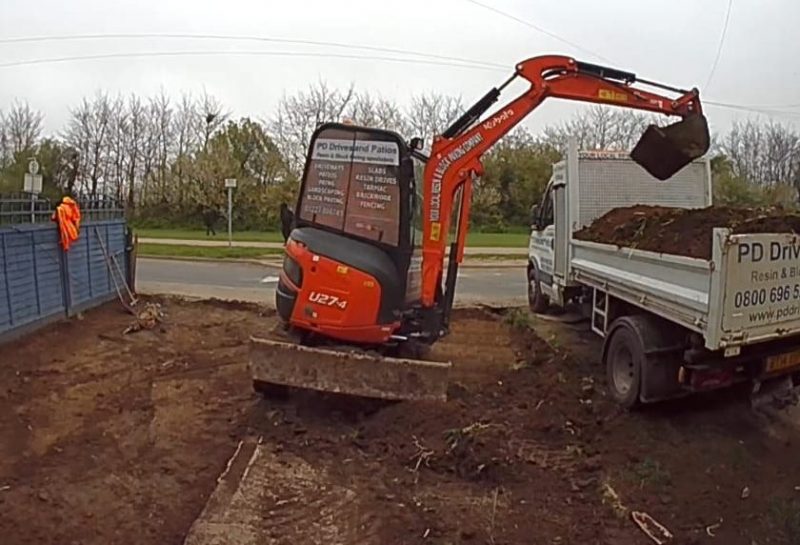
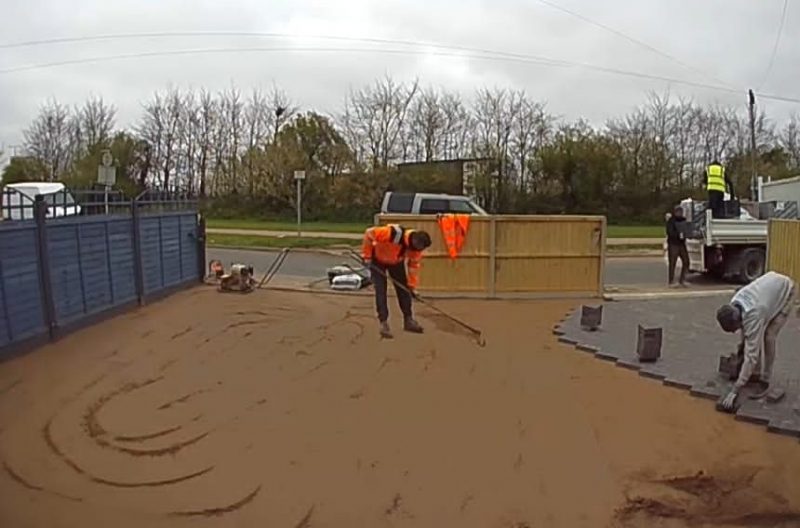
So in this example I have a hard concrete area to park my car and a pathway. Both of these need to come up as I will be going much deeper for the footings so. Here’s a look look at that:
As you can see it’s the typical mess you’d expect and really needs a good tidying up. I’ll factor hiring a mini digger for two days as I am also doing the house next door as well. I think I’m most likely to need 4 8 yard skips base on the 150 metres involved to get rid of my overburden. You need to go down about 230mm-250mm for your type one, sharp sand, and a 50mm block paving brick. You have a bit of tolerance here because you can adjust your heights easily with the weed fabric membrane and sharp sand. You can ideally go anywhere between 25-40mm so that gives you the tolerance you need to finish neatly to the height of any pathway or other fixed height you want to join to neatly.
Dig out for your sub base
I like to have about 150mm of type one aggregate. This really needs to be compacted hard. Your digger is ideal for that. Remember that where your block paving joins the path will be the first point to sag. So if you’re going to make sure anywhere is absolutely perfect then it is the joint between the path and block paving 🙂
When your digging out you want to have one eye on where your drain is or where you need to run water away. You do not want flat level as this will not help water fall away.
With the digging complete you want to lay in your type 1 aggregate. This is easy to buy from almost any builders yard or specialist aggregate producers. I have a local operation that I collect from in bulk and the prices are considerably cheaper than going to your usual builders yards.
Crush in and really compress your type one. You can use a wacker plate for this but not before running over it all with your digger. The digger crushes it down much harder than the wacker plate will. You can use the walker plate to tidy up any bits that are still not surface compacted.
Lay weed membrane fabric for your block paving
Now you want to lay your weed membrane fabric and get ready to work out your heights with your sharp sand.
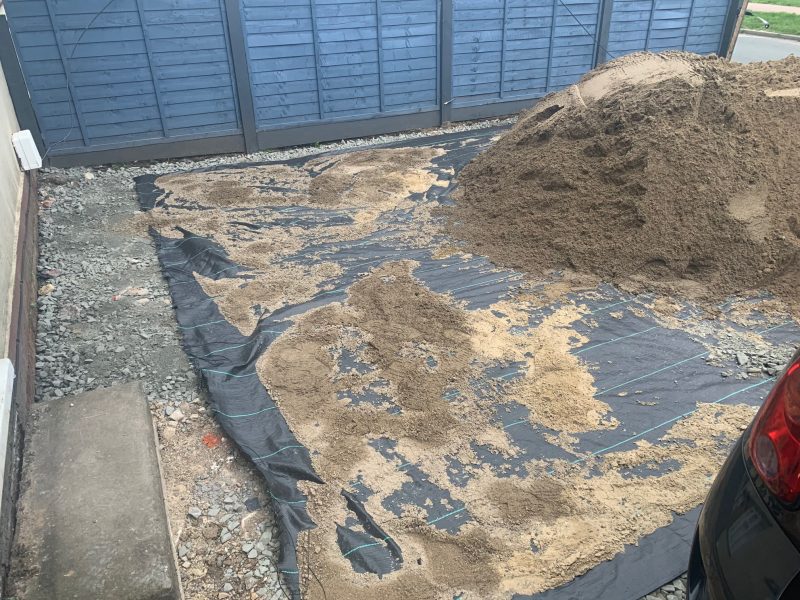
It’s highly unlikely weeds will work their way through 150mm of compacted hardcore but let’s be honest, with the money spent it doesn’t hurt to use a high quality weed membrane. I always like to get the best one I can and I double it up to be absolutely sure.
You’ll then want to level out your sharp sand and use the wacker to really firm it all up. This is where you then want to get a good level. A good level now is what makes the block paving look spot on.
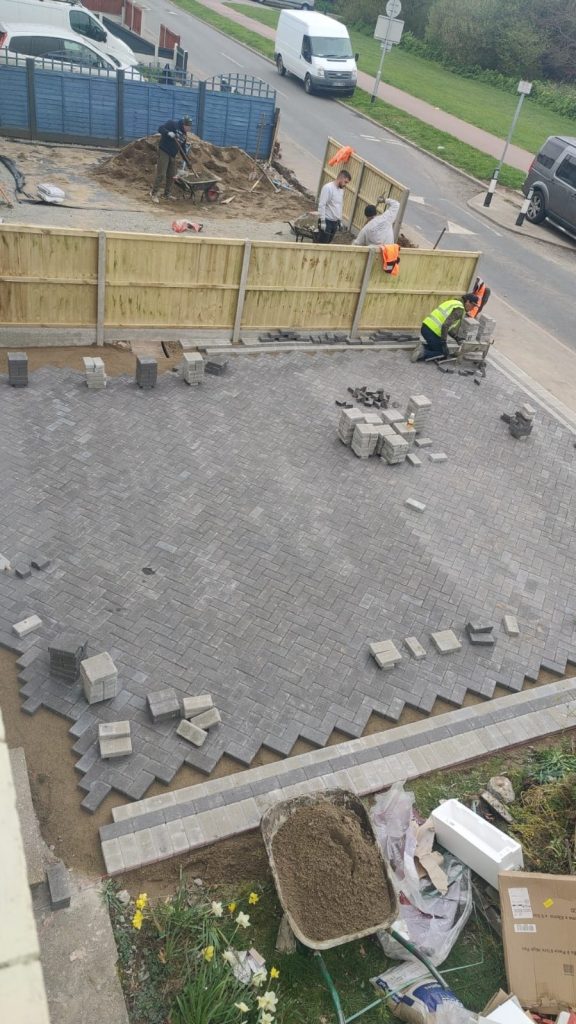
Lay your block paving
Start laying your block paving. I always lay off or measure out my edges first. A superb tip here is to ensure that you take block paving bricks from multiple packs rather than using one at a time. You’ll notice the odd bit of colour difference in patches far more. Whereas if you take from multiple packs it’ll all blend together far more nicely and look much tidier together.
Get yourself started at your angle and keep laying, do not get sand caught up in between as this will throw your pattern so press straight down at a straight angle to avoid the sand riding back up behind your bock paving brick.
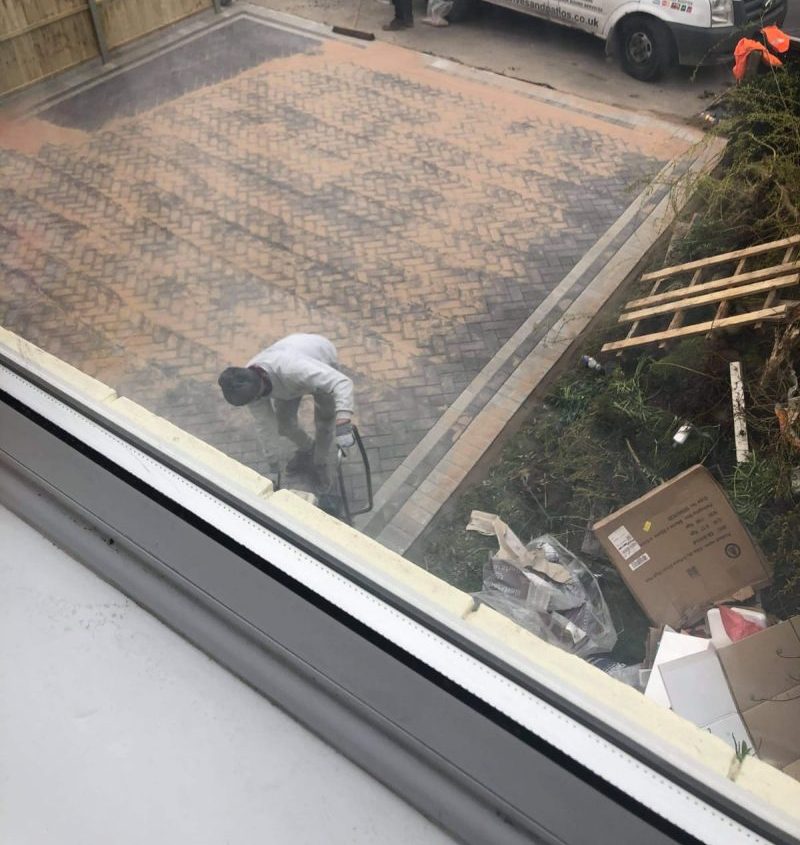
Make all your edging cuts
With the edges down and the main body covered you want to make all your edge cuts. Steadily work your way round filling up the edges and then once sorted you want to run the wacker plate everywhere a few times to really push the block paving into the sharp sand and create a neat and level block that stops you having any edges that might catch you out. Also as I mentioned before, pay special attention to the joint between the path and the block paving as this will be the area that is most likely to move as it is used the most and will carry the most initial load.
Lay in your finer sand and compact the block paving
Lay over your finer sand and then use the wacker:
Once you’ve got your block paving down then it’s time to pat yourself on the back and consider what best patio and block paving sealer you are going to use to seal it all in and protect it for years to come.
How much did block paving cost per metre calculated?
There was about 150m2 of block paving in total and a couple of fences. You should reasonably expect to pay about £75 a metre for that volume of work all in. The material cost on this is about £5000 for a standard block like this, perhaps a little less. Labour wise this is going to take a gang of 5/6 three days or so. So realistically you are paying a very healthy rate to the guys, however, what must be pointed out is this doesn’t cover the costs or insurance and warranty, nor the day to day business costs of a business and let’s not forget their experience and expertise. Certainly these some decent savings to be had if you learn how to lay your own block paving.
But it doesn’t end there though, now you need to think about maintenance. Next year you will want the best weed killer for block paving, and jointing compound for your paving! 🙂