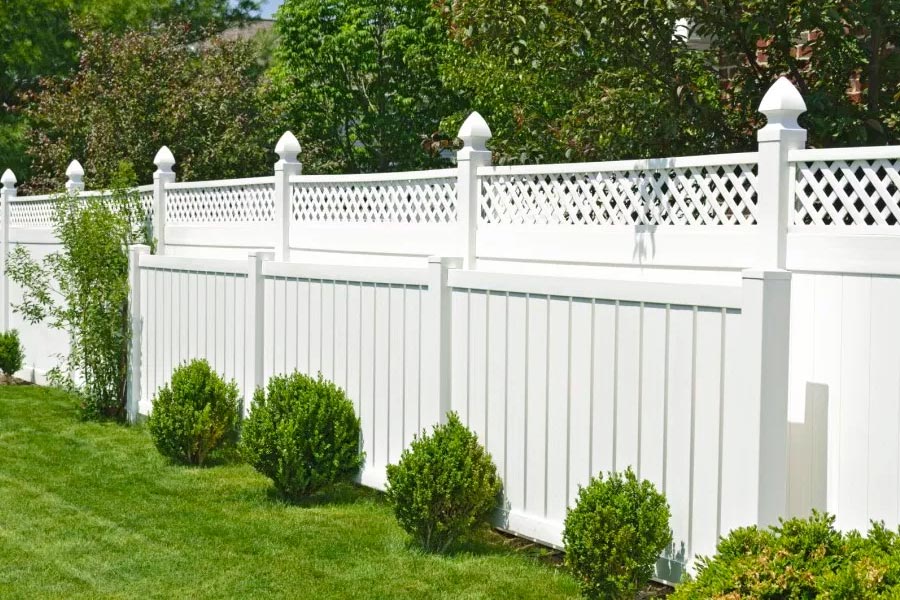
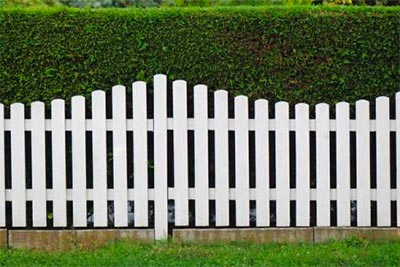
If you have the luxury of owning a property with a garden, there’s a good chance it will either be separated from your neighbours by a brick wall or a fence, maybe we might even be lucky enough to have a topiary hedge. Now if it’s a fence, there’s a good chance that over the years it has become a bit worn down and tatty looking with all the weather and other environmental abuse it has to put up with, even if you have put in a good bit of wood care. Thankfully it’s not that hard to replace and you might be surprised to know that even amateur DIY’ers can do it with a little bit of a helping hand!
So, whether you have decided to replace an existing fence or even if you just fancy putting a completely new one up, along with a full on landscaping project, this guide should be able to help you out. We should note that the guide relates to fencing that can be erected and secured onto metal spikes as opposed to being bolt-down or embedded into concrete, but we do sell petrol augers if you would like to change the steps slightly.
What Equipment Do You Need?
- Fence posts & panels – without these, your fence is going to be pretty non-existent. Fences can be picked up from many stores and cost around £25 for a 6ft panel. You’ll also want to work out how much you need before buying by working out the length of the area you want to fence and dividing that by the size of a panel. You might want to consider some fence panel stain though.
- Support spikes & fence brackets – you need these to provide support and sturdiness to the fence as well as brackets to hold in place panels on the fence.
- Drill driver – much better option than nailing and will save you a fair bit of time if you’re putting up a lot of fence panels.
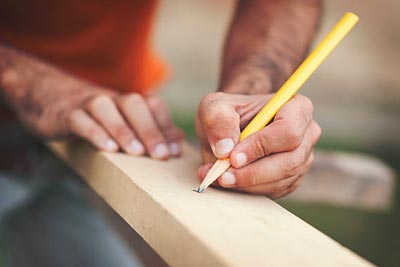
- Measuring equipment – you’ll want a spirit level, tape measure and some string/pegs on hand to mark out the fence posts and ensure panels are level.
- Saw, axe & sledge hammer – the saw is needed to cut boards to size and the sledge hammer to hammer the spikes into the ground. The axe will help loose ground and generally all garden digging tools will help here. You could take a look at this guide to choosing the best gardening tools.
It’s also wise to have a pair of decent gloves just to reduce any damage to your hands since it’s a fairly labour intensive job.
Part One: Setting Spikes & Fitting Posts
Before you even consider slamming in your spikes, make sure that there is no pipe-work or cabling underneath the area where you plan to put your fence.
A simple detector will make sure there is nothing there – if you’re still not 100% sure, contact the local council who will be able to advise you.
Begin hammering the spikes in (you can get a specific spike tool that goes on the top to make it even easier to seat); continue doing this until the square base of the spike lines up level with the ground. Now, if you’re confident with your measuring and lining up skills you can go and drive in the rest of your spikes ready to fit fencing. However, if you’re a bit uncertain, fit the first fence panel first and then come back to the hammering in the spikes when you move onto the next one.
Depending upon which option you’ve gone for, simply slot your fence posts into the top ‘square part’ of the spike. Before you fit all posts, make sure the spikes have been hammered in level using the spirit level; if they aren’t, adjust them until they are. Once that’s done, you’re ready for the next part! We an use a chain saw to adjust the height of the posts.
Part Two: Lay The Bottom Part Of The Fence
If you put regular fence panels right at the bottom, you’ll risk the likelihood of rotting. To avoid this, some people will leave a 50-100mm gap at the bottom of the fence, but this can look rather unattractive so instead treated gravel board is the answer. These won’t rot and can make your fence look considerably nicer than a huge gap at the bottom of each panel.
Lay the gravel board on the bottom of the fence where you plan to have it and then mark where it overlaps the posts. You’ll have to saw it to fit flush. Once this is done, attach the fence brackets and the board to the bottom of the fence panel; before you carry on, ensure the bottom board is level and horizontal.
Part Three: Add Fence Panels
Now you have the support structure and the base of the fence in place, you can begin adding the rows to the fence panels. You should add two or three brackets (post clips) per panel depending on the size of the panel as this provides extra support.
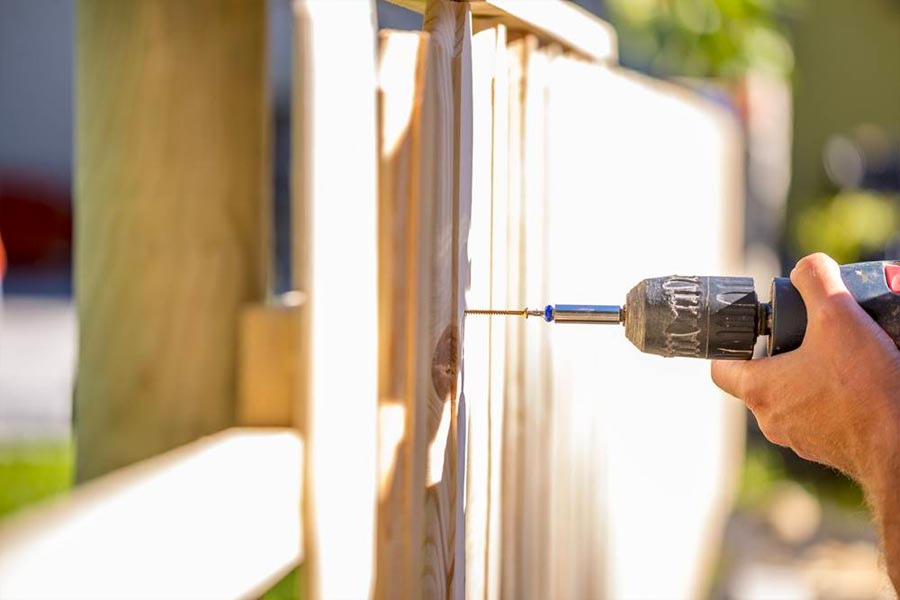
Simply grab a panel and rest it against the gravel board and the posts either side. It can either be screwed or nailed into the post, but we recommend screwing as it’s easier when you have a drill on hand to do all the hard work. Make sure you use stainless steel or galvanised screws – as long as they’re weather proof you shouldn’t have any problems down the line.
After the first, continue upwards adding more and more rows to the panel until you reach the top. Ensure they are as level as possible and you don’t leave any gaps between the panels or it will look unsightly and probably end up causing you more work at the end. So take your time and be thorough first time around!
Step Four: Make Sure Everything Is Neat
After all of your fence panels have been put up, you’ll be left with some annoying looking posts. You’ll want to make sure that the top of these posts are all level, so get your saw out or sand like crazy until they’re perfectly levelled off.
Now attach a post-cap to round off the look and protect the top of the fence posts from weathering. It’s strongly recommended to drill a hole in the post cap before screwing it on as this will reduce the likelihood of it splitting.
This should do the job. Obviously if you aren’t the strongest of people, you might want a hand to manoeuvre the fence panels around and two people will be more than enough for this. Also, it’s best to give yourself a day or an entire weekend to dedicate to this project, depending on the size of the fence you’re putting up, and once you get it done, heres a nice article on how to turf a lawn as your next project!
Note: This all applies to fences that are being installed on completely level ground which in an ideal world is what we want. However, there are some situations where you’ll want a fence on ground which uneven or sloping. In these cases, you’ll still want to keep the panels horizontal, but to take into account the slope; you can cut the gravel base board at an angle to offset the slant of the ground.