Getting professionals around to build your fence can get quite pricey, particularly for those of you with larger gardens, and you would be amazed by how much money you can save by building your own fence and installing your own garden gate.
When it comes to building your own fence, the part that most people dread is getting the fence posts in place. This usually requires a lot of digging, and that means sore shoulders and an achy back if you try to do it all with a spade.
People in the know don’t use spades though. Instead, they save a ton of time and energy by using an auger for fence posts. It doesn’t matter if it is a power auger, or just a hand-powered one, these tools are a god-send when it comes to making holes for your new fence posts.
Today’s article is all about post augers and how to use one, and as you’ll soon find out, there really isn’t that much too it and the job can be done by pretty much anyone. I’d like to say it’s child play but have you seen the stuff kids build on Minecraft these days? I daren’t compare myself to them!
Look at my cute lil fence I built pic.twitter.com/f69q0Vs2k4
— MLE (@MLE823) April 30, 2021
What is an auger?
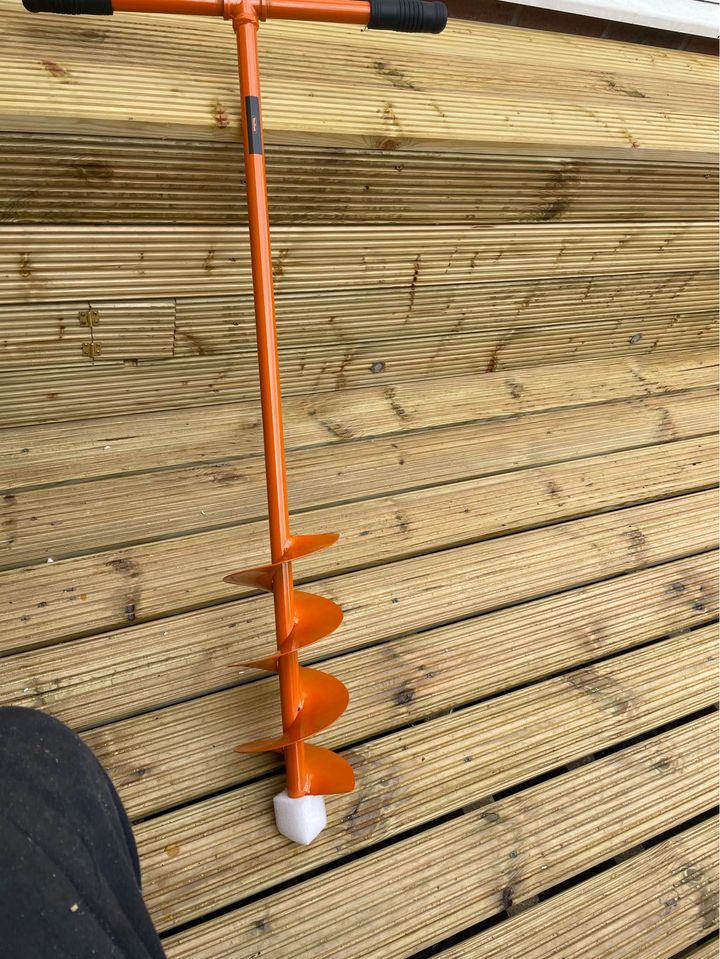
There are actually different types of auger, from wood augers to ice augers, and much more. The ones that we are interested in are Earth augers and are used for digging holes in the soil.
Earth augers are basically large drill-bits that twist into the ground to create a neat hole. When compared to digging a hole with a spade or grabber type post hole digger, earth augers are incredibly fast and can help you get the job done in a fraction of the time.
Different types of earth auger
So, now you know what an earth auger is, but it might surprise you to know that there are also different versions of these tools too, and the right one to choose will largely depend on you and the size of the job you plan to do.
Manual earth augers are sometimes just called manual post diggers, and they consist of a long drill bit and a large handle, usually in a T-shape. You use one by simply holding the handles, sticking the other end into the dirt and then turning the tool clockwise until the auger drills into the required depth. Finally, you wiggle the tool to loosen it a bit and then pull it out, along with the dirt stuck inside it, creating a nice clean hole for your post.
Auger drill bits are accessories that you connect to your power drill. These are usually used for planting bulbs and bedding saplings and are not really large enough, or strong enough to dig holes for fence posts, so don’t try to use one for this task. They are an excellent labour and time saver for planting though, and well worth an investment in their own right. This next video has a lot of information on these tools-
If you have a large job at hand that is going to require you to dig a ton of fence post holes, even with a manual earth auger, it is going to be a struggle. For tasks like these, you’re going to have to spend a bit more and get a petrol auger. These are really powerful tools and will allow you to dig fence post holes faster than you ever thought possible. What’s more, they usually come with multiple drill bits of various sizes, free safety equipment, and other accessories.
Before digging post holes with a petrol auger
Before you go digging away, there are a few things to think about, but lucky for you we already have and listed them here for you.
1. As you’re going to be digging quite deep holes in the ground, there is always a risk that you will hit some cables or piping, so call around the utility companies and services and ask them if there is anything you need to be aware of. If you’ve installed an irrigation system you have to be careful not to damage that too.
2. Make a good plan of where your fence is going to be, and exactly where your post holes need to be dug. These measurements need to be as accurate as possible or you’ll have a nightmare putting your fence up later, so grab your tape measure and some graph paper and take your time making the plan. When planning the layout of your fence, please keep in mind any plans you might have for building a garden shed, greenhouse, or even things like a pergola as you’ll need enough space for you to install these later. If you’re not confident about planning your garden fence, there are loads of videos on youtube like this one-
3. Prepare the ground where you are going to be drilling the post holes. Although augers are great at drilling through the soil, they don’t deal with sod very well, especially thick and wet sod, so take your shovel and get rid of it. Also, you’ll need to be able to see what you are doing while working, and overgrown grass will not allow that. For this reason, I suggest using a lawn mower, strimmer, etc. to clear the area beforehand.
4. If you’re going to be using a powerful petrol auger, I strongly suggest that you get help from a friend. These tools can be quite heavy and dangerous if not controlled properly, and anyway, two sets of hands and eyes are always better than one.
5. Once you have planned and marked out your fence post hole positions, it’s a good idea to take your spade and dig the top couple of inches of soil away at each spot. Not only will these make it easier to see the next place to dig, but also help you to get started and keep the auger bit centred properly. Who knows? It might help to center yourself first 😂
Yoga has really centered my life 😂🤣 pic.twitter.com/8SUbqxYFak
— SectionChad (@ChadVerwey) February 11, 2020
6. Get your tools ready. As well as your auger, there are other tools that can help such as digging bars, spade, shovel, and of course- a wheelbarrow for shifting all that soil you removed.
How to use an auger to dig fence posts
Manual auger
Once you have followed our reparation steps above, there isn’t much left to do really. If you’re using a hand auger, all you have to do is line the point of your auger up into the centre of your pre-dug patch and twist the handles manually. Holding the handles with a wide grip will give you a more economical twisting technique and save energy.
You need to keep a good amount of pressure on the handles of a manual auger and make sure that the pressure is going straight down in order to keep the auger drilling down in a straight line.
Once you’ve drilled down as far as you feel you need to, you can pull the auger straight back out of the soil. This might not be that easy, and if you encounter resistance, you can wobble the handles around to free up the tool before pulling it out.
If you hit large stones that stop your progress, you can use tools like the digging bar or we mentioned earlier to clear the way before continuing with the auger.
In the following clip, this guy compares the different ways of digging a post hole, so check it out-
Petrol auger
For petrol augers, you’ll need to follow the starting procedure explained in your tool’s instructions, but it will generally be something like this-
1. Add fuel to your petrol auger. If it is a four-stroke engine, simply add unleaded petrol, but if it is a two-stroke model, and it is most likely to be one, you’ll need to mix the oil and petrol together before it goes in the engine. Your auger should have come with a mixing bottle to make this part easier.
2. Once you’re fueled up, locate the purge bulb or button on the auger and press this about 10 times or so. This will pump some fuel into the carb in order to help the engine fire up easier.
3. Locate the choke switch on your auger and slide it across to fully open it. This is important to do every time you are starting up the tool from the cold but is not necessary if the tool is still warm, such as when you’ve taken a short break, for example. Even if you have your shed warmed with a heater, the engine is still likely to be cold if it hasn’t started for a while, so follow the steps outlined above.
4. Grab the started cord and give it a sharp pull. This will need to be repeated several times until the engine starts. Once started, let the engine idle for a minute, and then adjust the choke to half-open. Leave it like this for a while until the engine heats up, before closing it completely.
5. Once the engine is running, you just line up the tool and press the trigger to start drilling. Be careful to keep the tool aligned properly so that you get a straight hole, or you’ll have to spend a while adjusting later to prevent building a wonky or weak fence, and then this happens-
Broken fence. pic.twitter.com/AJ8SlNb915
— Sophianeⵣ is Team Hoary🦇🦇 (@CorvaCorvidae) April 24, 2021