How to use a brushcutter
If you’ve always fancied using a brushcutter, but felt you didn’t know enough about them or how to use them, this article is for you. We will cover everything you need to know about how to use a brushcutter, compare the different types, and perhaps the most important part- how to keep safe while using a brushcutter.
Brushcutters are used primarily for clearing away thick vegetation from the edges of your lawn and other hard to reach places in the garden. Although they look similar to a strimmer, they are quite different tools, as we will explore in this next section-
What is the difference between a strimmer and a cordless brushcutter?
At a distance, it would be hard to tell the difference between these two tools, and some products are actually both of these things, utilizing interchangeable cutting heads that allow you to switch from one purpose to another.
A strimmer, or line trimmer as they are also known, uses a line of nylon, fed from a spool, to cut through the long grass and weeds that you may have missed with your lawnmower. They are best used for lighter garden work as the nylon cutting wire can break easily when coming into contact with tougher vegetation, although this can be minimized by using a thicker cutting wire, and a petrol-powered strimmer over an electric or cordless strimmer.
Brushcutters don’t have the same problems as strimmers as they use a multi-toothed, metal cutting blade that allows them to slice through much denser grass and weeds, and do so effortlessly. This makes them the best choice if you need to participate in some heavy-duty tidying up of your garden, but maybe a bit overkill if you just need some grass trimming from the edge of your lawn. Here’s a video comparing different brushcutter blades-
Comparing different types of brushcutter
Like most gardening power tools, there are different types of brushcutter available, and here we will look at the pros and cons of each of them and see how they compare.
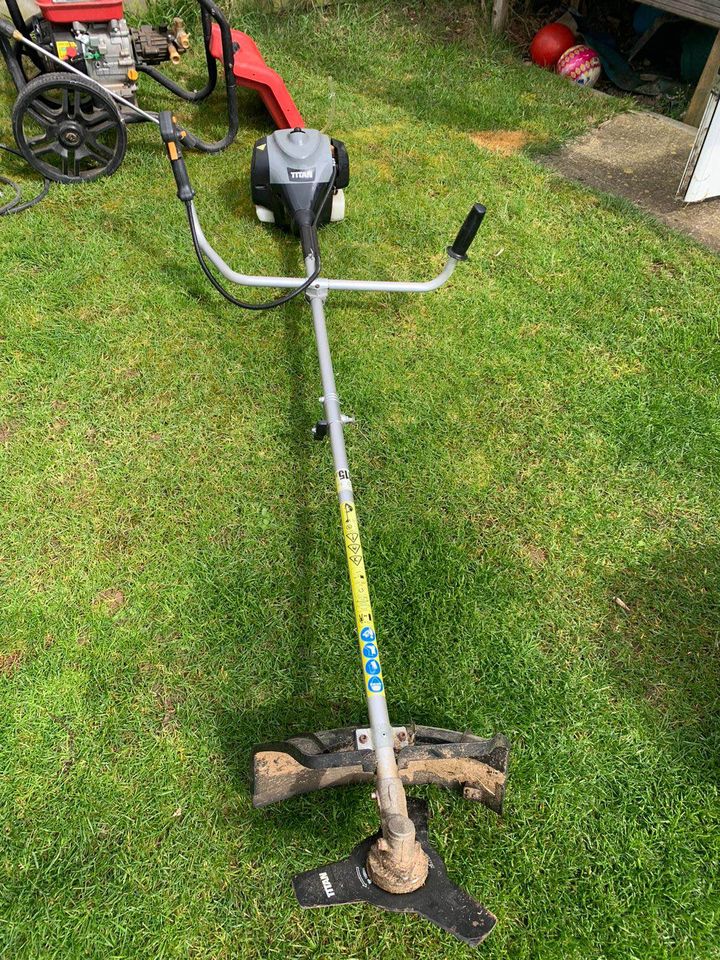
If you want the most powerful version you can buy, you need to get yourself a petrol brushcutter. These tools will tear through these thickest and longest grass, weeds, and plants with absolutely no bother whatsoever, and can even chop through things like bramble. The downsides to petrol brushcutters are that they are more expensive, they are the loudest and the most complicated to operate.
Electric brushcutters run off an electric motor and are powered by the mains supply via a power cord. Generally speaking, this makes them much quieter than a petrol model, but there is still some noise with any version of this kind of tool. There are no fumes to deal with when using an electric brushcutter and they tend to be lighter and easier to manoeuvre too. The only problem is that range and mobility is hampered by the power cord, and they also lack the power you get from a petrol brushcutter.
If you want a good mix of the mobility afforded to you by a petrol model, but don’t want to be mixing fuel and dealing with the extra weight and noise, a cordless brushcutter might be a good choice. However, these models tend to only be good for lighter work as the fact that they are powered by batteries limits the power of many of these products.
if you do decide that bigger is better and buy a petrol powered brush cutter, please be careful where you point that thing, they can do more damage than you think. can you imagine being this person-
⚡ If you go down to the woods today, you might get a big surprise! ⚡ We got a call from a #campsite in the #NewForest who accidentally ran over a buried armoured electric cable with a commercial brush cutter. Thankfully no one was hurt &power was restored. #electrician #Hants pic.twitter.com/4WjJXaMuA8
— Neil the Electrician (@NeilsES247) July 14, 2020
Safety equipment for using a brushcutter
Whenever using a brushcutter, especially the more powerful versions, you must wear the appropriate safety equipment or you’ll quickly find yourself in the emergency room. Even though they are sometimes referred to as strimmers with blades, they are much more dangerous if used incorrectly.
Essential equipment includes safety goggles to protect your eyes from flying debris, ear protectors-as even electric models make noise, safety gloves, and a good pair of boots. If you’re going to be working in areas of dense vegetation, you should wear jeans or safety trousers and a thick shirt, NOT your favourite swim shorts, sunglasses, and flip-flops. Brushcutters are not as forgiving as strimmers, and will soon let you know that if you’re not using them responsibly, and you’ll be reaching for the first aid kit.
Some of the lightweight brushcutters are easy to handle and move around, but heavier ones should be used with a harness, or at very least, a shoulder strap. You will quickly fatigue with a petrol brushcutter if you don’t use a harness, and this can lead to accidents.
How to use an electric or cordless brushcutter
Both of these types of brushcutter are very easy to use and operate pretty much the same. Once you’ve assembled the tool and checked that everything is tightened up properly, you can put your toolbox away and plug the brushcutter into the mains (in the case of an electric model) or charge up the lithium-ion battery that comes with a cordless model and slot it into the appropriate slot.
Most of these tools will simply start-up at the press of a trigger, but some might have a built-in safety feature where you press two buttons at the same time to start them up. You should always start a brushcutter with the tool lying down on the floor, and if you have problems with kneeling down, perhaps a good garden kneeler can help. Once they are started, you just head over to your chosen work area and then sweep the cutting head from right to left. This is important because of the direction the blade spins.
How to use a petrol brushcutter
Petrol brushcutters are a little more complicated to use than their electric-powered counterparts, but it is easy to get used to them with a little practice, and there are lots of videos available on youtube that are packed with information, just like this one-
The first thing you need to know is whether your engine is a two-stroke or four-stroke model as this will affect how you fuel the brushcutter. Four-stroke engines can simply be fueled with standard unleaded petrol, just like your car, but two-stroke engines need to have the petrol and 2-stroke oil mixed together at specific ratios.
Once a petrol brushcutter has been fueled up, you then need to find the purge button or bulb and press it multiple times. How many times depends on the specific model, but what this does is send fuel into the carburettor and gets the engine to fire up. The next step is to open the choke switch. This might not need to be done if the tool is still warm after taking a break, but you should always follow this step when starting from cold.
As with the electric models, make sure the brushcutter is laid on the ground, then hold the non-cutting end of the tool down firmly and pull on the started cord sharply, again and again, until the engine starts.
Maintaining a brushcutter
Electric and cordless brushcutters require very little maintenance apart from keeping them clean and sharpening the cutting blade every now and then. When sharpening the blade, you should remove it from the machine, and then use a file or angle grinder to get a nice edge on the teeth of the blade, ensuring that they are all filed to the same degree for best cutting results.
Petrol brushcutters need more maintenance, but it isn’t a great deal more. Generally speaking, you need to keep an eye on oil and fuel levels, and if you want to keep the tool running well for years to come, perform a good service annually, changing oil and fuel completely, replacing spark plugs, and things like that. You can get this done for you by a professional, but you can find all the information you need to do it yourself online these days and it’s not that difficult.
With any type of gardening tool, keep an eye out for rust on metal parts, or rot on plastic components, and don’t leave your tools outside overnight or you’ll soon have to replace them.
As you can see from the tweet below, if you maintain your brushcutter properly, it can last for decades-
After 29 years of devoted service it is with regret that must say my faithful brush cutter has died. 😭😭😭😭 Like Bob Dylan in 1965 I have decided to go electric.⚡⚡ pic.twitter.com/pNwYpMtlyy
— 💧Ray™ (@Glenina57) December 19, 2020