I’ve never heard any gardener say that having a garden tap is unnecessary, but I’ve heard plenty of them complaining about their own taps. Any type of tap deteriorates over time, and it seems like garden taps are more prone to this. The reason could be that garden taps are left out in the open at the mercy of temperature changes and the rest of the elements, but I couldn’t say for sure.
Whatever the cause, if you have an outdoor tap you’re bound to have problems with it leaking, seizing up, or something else at some point, so it’s in your best interests to learn how to replace a garden tap. You don’t have to be a fully qualified plumber to replace a garden tap, you don’t even need to be particularly good at DIY. All you need are a few basic tools and materials that can be found on Amazon or your local B&Q, and to read through this quick and helpful guide.
How to replace a garden tap
- First things first, you are going to have to turn your water off at the mains valve or your garden will be getting (not so) magically transformed into your very own swimming pool as soon as you remove the old tap. After turning off the water supply, turn your garden tap on to let what remaining water is in their run out.
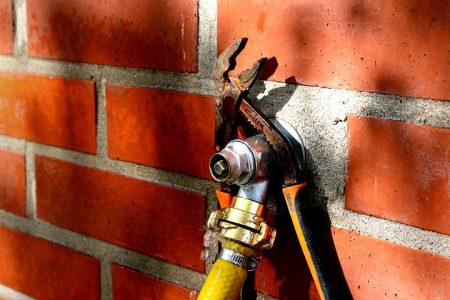
- Removing the old tap can sometimes be a piece of cake, but more often than not it’ll need a fair old bit of elbow grease to come loose. If the tap is too stiff you can either spray some lubricant in the area where the tap connects to the pipe, or heat it up a little using a blowtorch, which will also cause it to expand and loosen it up.
- Even after lubricating or heating, you might need to use two adjustable spanners, one for holding the pipe in place, while the other unscrews the tap. Most garden taps will unscrew counterclockwise.
- As you remove the tap completely, a little more water might run out but this is perfectly normal and nothing to worry about.
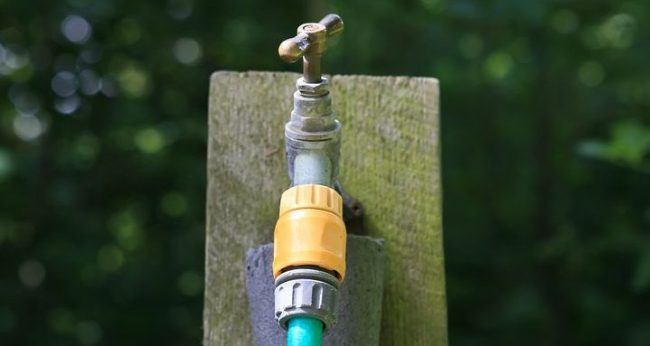
Once the tap is out, you should use a toothbrush with hard bristles to scrub the inside of the pipe, clearing away any old teflon tape, or other debris inside. - It is important to get a new tap that is the same design as the old one so it fits in without any issues, so that’s why it’s best to take the old tap to your DIY shop and show it to them there if you’re not sure. While you’re at the shop make sure to buy some PTFE tape, or Teflon/plumber’s tape as it’s also known. Armed with your shiny new tap and tape, it’s time to head home and use them.
- Check the fitting on your new tap to see if it has a rubber or felt seal, and if it does, you might not need to use your PTFE tape. However, if your fitting is a male raw thread, you’ll need to use the tape.
The right way to apply PTFE tape to a thread is to wrap it around it in an anti-clockwise direction. 6-8 turns should be enough, but make sure you leave a little of the metal thread showing at the top as this will make it easier to get it to bite onto the female thread and screw into the pipe. Snap or cut off the tape and then smooth it down onto the thread with your thumb. - Now you need to screw the new tap into the pipe. Start off doing this by hand so you can line this up better and make sure that you’re not cross threading. Once you get to the point where you can’t turn the tap by hand anymore, grab your adjustable spanners and again use one to keep the pipe steady while the other is used to tighten the tap up completely.
- With the new tap on and properly secured, you need to return to the mains valve and turn the water back on. After this, go and check to see if the tap is working properly. If it is leaking, try tightening it up more, and if that doesn’t work, you should turn off the mains again, unscrew the tap, remove and replace the PTFE tape, and try again. If the problem is still there, there might be something faulty with your new tap like the washer, or there could be a more complicated issue. Try fitting a different tap, and if that doesn’t work, well I’m afraid it’s time to call a plumber.
So, now you know how to replace a garden tap. There’s really not that much too it is there? Hopefully, this has solved whatever problem you were having, and you now feel more confident in dealing with tasks such as this.
If you’d like to try your hand at other DIY projects such as building your own garden table , garden bench or garden bar, check out our other step by step articles.
On the other hand, if you’re looking at buying a new lawnmower, strimmer, leaf bower , pressure washer or any other garden tool for that matter, please take a look at our product reviews where we test the latest and most popular products and give our honest opinions on them.
Happy gardening folks.