Preparing your ground properly before planting grass seed is one of the most important parts of the whole lawn planting process. It doesn’t matter if you are creating a brand-new lawn from scratch, overseeding to improve the quality of your lawn, or fixing bare spots, without correct preparation, you will not get the results you are looking for.
Luckily for you, we are on hand to tell you exactly how to do just that, and if you follow these instructions, advice, and tips, you will have your soil in the perfect conditions for germinating grass seed and supporting its growth into a lawn to be proud of.
Adding topsoil
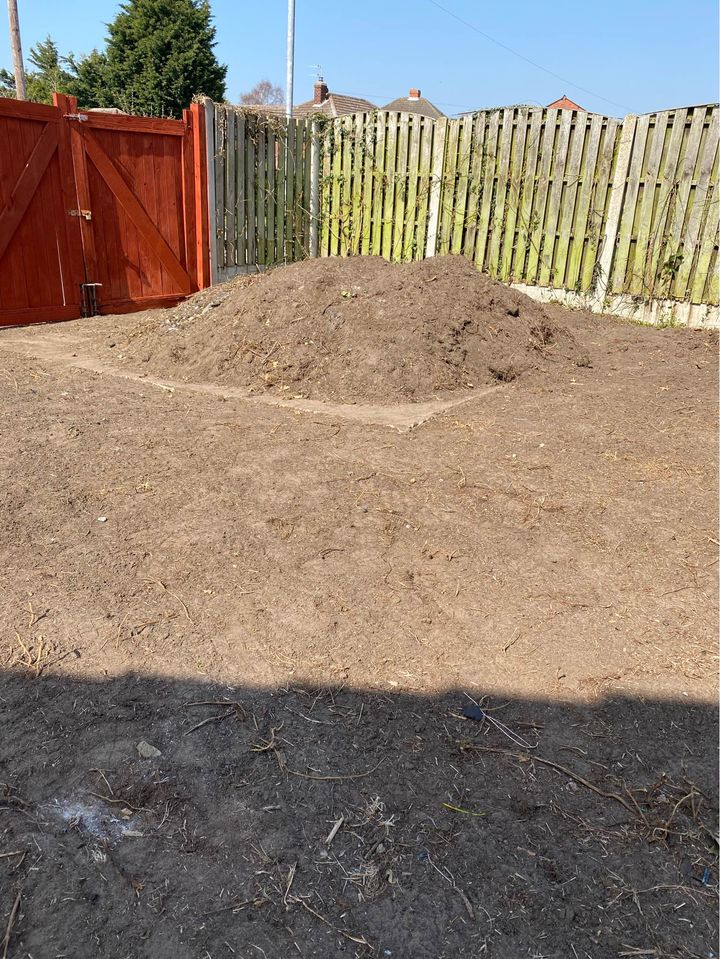
Growing the perfect lawn is all about proper preparation, and that starts with the soil itself. Most of us are not blessed with the greatest, most nutrient-rich soil in our gardens, but that doesn’t have to be so, and a quick visit to the garden centre to buy some nice topsoil, or even just ordering it online to be delivered directly to your door, will improve that situation. You’ll need to work out how much topsoil you’ll need, but as a reference they used 31 bags for the area in this picture-
31 bags of topsoil and a pile of grass seed later, maybe I’ll at least have a ring of grass eventually.
Also fire pit all day for branches, plus grilled a pork tenderloin and sweet potatoes sliced into 1/4″ slabs. Might be my new favorite sweet potato form.#BestRenterEver pic.twitter.com/1qFQ0Z5wDH
— Timothy, lost among the words (@medievalwishes) April 24, 2021
Whenever I’m putting down new soil for planting grass seed, I filter it through a sieve first to remove any big clumps or other debris that might have found its way in there. Then after laying the soil, I use a scarifier to get rid of weeds, moss, and other nasty things that will negatively affect the growth of my grass seed.
Sometimes, I use products such as fertiliser/weed killer combinations on the soil to really make sure I’m killing off all those nutrient-stealing weeds, but this isn’t really necessary for most people.
Compacting the soil is another element you need too get right before seeding, and this has to be done correctly or you could find that your seed doesn’t grow as well as it should. If you’re not sure about this, read the best way to compact soil to lay a lawn article.
Aerating the soil
Unfortunately for most of us here in the UK, clay soil seems to be very prevalent in our gardens, and the density of this soil is hardly ideal, even when mixed with good topsoil. There is a simple fix to this problem and just requires using an aerator to puncture plenty of holes in the soil that will allow for a good flow of water and oxygen to the seeds below. For smaller gardens, you can probably just use a hand aerator, but if you have a large area to cover, spend a bit of money on an electric aerator or you’ll end up with arms and shoulders that feel like they’re going to drop off!
Here’s an excellent video from B&Q where a professional gardener not only explains why aerating is important, but talks about different types of soil and more.
Make sure the area is level
All that scarifying and aerating is bound to have created a few uneven parts of the soil, and this is not what we want. Peaks and troughs might look good out in the beautiful British countryside, but they can cause problems for lawns, so use a rake and get that soil as level as possible before moving onto the next step. And if you think that sounds like a bit of hard work, take a look at this picture. If they can manage to flatten a huge area like this, surely you can do the same in your garden.
Phase 7 Of Field Construction
A Few More Hours Of Dragging The Field And It’s About As Flat As We Can Get It. Rain & Snow This Week Will Delay The Next Phase A Few Tonnes Of Topsoil To Be Brought In pic.twitter.com/EVgNko1GaH— Jon Johnson 🇨🇦 🇬🇧 🇲🇦 (@jonjohnson) April 20, 2021
Water the area
With your new soil free of debris, aerated, and raked flat, you just need to water it to the right depth. The perfect depth for new grass seed is somewhere between six and eight inches in terms of soil prep.
if you’re worried about how to measure this, don’t as it’s actually quite easy. All you need to do is to penetrate the ground with a long sharp object like a skewer or screwdriver. If the ground has been prepared for grass seed properly, whatever you stick into the ground should slide in with little resistance to a 6-8” depth.
This watering of the soil should take place a couple of days before you intend to sow the grass seed, but can be done 24 hours before if the weather is hot around that time. You can use any method you like for watering the soil, but I prefer to use a good garden hose and automatic hose reel with a multifunction spray head with an expandable hose for those hard to get areas in the corner of the garden.
You will need to know when and how to water the area after you plant the grass seed too, and this information can be found in this informative video-
Measure and mark out the area
If you look at the instructions that come with your grass seed, you should see that there is a recommended amount that should be spread in a certain area. Usually, this is a weight of seed that is meant for one square metre.
To make sure that you are getting a good, even spread of grass seed across the lawn, you can use this technique:
1. You will need a tape measure and something to stick in the ground that is easy to see such as plastic poles, sticks, etc. You might also want to use some string, but it isn’t that important.
2. With your tape measure, separate the area into sections measuring one square metre each. Use the sticks or poles to mark off the corners of these squares, and if you wish, you can use string to mark out the edges of each square.
3. With this done, you should now find it much easier to get an equal and even spread of grass seed across the intended lawn area, and this will give you much better results.
In this photo, you can see how this person has used canes and string to mark out an area of their garden in a similar way-
@JenMGardens marking out area for planting 2yew cones and one yew Ball in Lawn .#garden#yew pic.twitter.com/6Up7U4qs1i
— David HUDDART (@DavidHUDDART1) December 30, 2016
By following these steps, you will end up with soil that is perfect for planting grass seed, and this will go a long way towards getting you that ideal lawn.
Of course, once you have grown all that lovely, thick, grass, you need a good lawn mower to keep it trimmed, and some lawn feed to keep it healthy. Then, of course, you can mow those coveted stripes onto it, and if you really want to know how to do that, you can read our in-depth article on how to stripe a lawn.
That’s for today folks, but we hope that we’ve left you feeling better informed about preparing the ground for grass seed than before. Please explore our site that we have spent endless hours filling with the best how-to articles, and product reviews. these pages are updated on a regular basis too, so it’s always a good idea to pop back from time to time to see what new information we have added.