How to plant grass seed in bare spots
It’s never nice to peer out from your window and see a lawn that has more patches than a decorated boy scout’s shirt, but there is an easy solution and one that will have your lawn looking better than it ever has.
One thing that all good gardeners do that most people don’t, is to annually sow grass seed on their lawn. This process, known as overseeding, not only fixes bare spots in the lawn, but also reduces problems with weeds and moss, and can actually improve the colour of your lawn too.
You don’t have to be a gardening guru, or a botanical black belt to fix your lawn either. The process is pretty straightforward, but you will need some basic gardening tools like a spade, aerator, etc. in order to get the best results.
When to reseed your lawn’s bare spots
Because of the unpredictability of the UK’s climate, it is harder than you think to give an exact time that is best for planting grass seed, and there is some disagreement among gardeners about this, with people saying anything from early spring, right through until the dawn of Autumn.
From my own experience, the best time to reseed patchy lawns is in late August to early September. At this time, the hottest days are behind you but the soil is still at a nice temperature for germination. You also tend to get some regular rain showers around this time, which cuts down on the regularity of you having to water the seedbed manually.
This video offers some good tips on the best time to seed a lawn, and even though it is American, the information provided is still relevant.
Preparing your garden to plant grass seed in bare spots
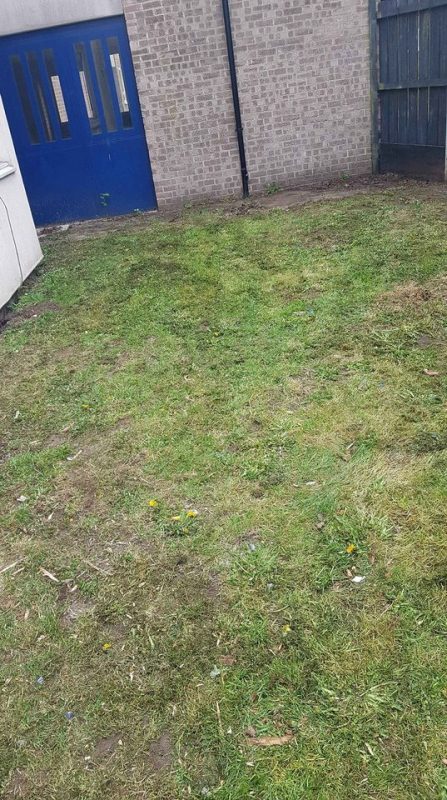
If you have a bare spot or two in your lawn, it is likely caused by a soil problem, and even if it isn’t, it is always a good idea to improve the soil conditioning before planting any types of grass seed.
Locate the bare spot and then dig/cut it out with a spade and add some new topsoil to the area. After this is done, check for any weeds and debris that might stunt the growth of your new grass, like pieces of wood, rocks, stones, etc.
Once you have the soil free from obstructions, use an aerator, or simply a sharp narrow object to poke holes in the soil. This will allow the seeds to get the water and air they need to grow. If the soil is too dense, this won’t happen.
Finally, grab your rake and make the new planting area nice and even. Any dips can affect how well your grass will grow, so get rid of them as best you can. With all of this done, you are now ready to plant your grass seed in the pre-prepared bare spots. you can see in these photos the difference between the bumpy lawn in the before picture, and the flat smooth grass in the second one-
Old uneven patchy lawn replaced. As well as a few fence panels. pic.twitter.com/GuoTbwAifh
— Tim weller (@greenescapesuk) April 15, 2014
Choose your method of spreading the grass seed
You can either choose to sow your grass seed by hand, or by using a spreader, and the method you decide to go with will most likely be affected by the size of your garden, and how many bare patches you have.
If your lawn is on the smaller side, or you’ve only a single patch or two, you can get by with spreading grass seed by hand or using a small, hand-held spreader. For larger jobs, with multiple patches, or very large patches, you should probably use a rotary or wheeled drop spreader, as they will make the job a lot easier and get you finished in a fraction of the time. If you want to know more about these methods, you can check out this short video-
How to plant grass seed in bare spots
With your soil prepped properly, and your seed spreading method decided upon, there’s not much left to do.
Check the instructions on the packet, bag, box, container, etc. that your grass seed came in to find out the recommended amount that you should sow. This is usually measured in a certain weight per square metre, so you should have some scales handy to weigh the seed out accurately.
Once you have the right amount weighed out, return to your freshly prepared patch and sow half of the seed in one direction, followed by the second half in the opposite direction. Rake the area over to ensure that the grass seed is well covered by the soil, then grab your watering can or hose with a good spray head, and give those seeds their first of many watering sessions.
How to water grass seed
Grass seed needs the right amount of moisture in order to grow properly, and this starts before you even plant the seed. A couple of days before you intend t sow the grass seed, water the bare spot with a good hose until you can push a knife or similar into the soil about six to eight inches deep without any real resistance.
Once the grass seed is planted, you need to water again immediately and for around 5 minutes or so. After the seeds have sprouted, you should do it again twice daily, once in the morning, and once at night. The advantage of watering at night means you don’t need your sunglasses, but I guess someone forgot to tell Keith Richards-
I have nothing funny to tweet, so here’s a video of Keith Richards watering his lawn. pic.twitter.com/MicJ8sv3Du
— socially distant steve 🌳 (@IGotsSmarts) August 16, 2018
If there is a lot of rain, there is no need to water so often, and if there are unusual hot spells, increase the frequency of watering sessions.
Each session should be about 10 minutes long, but it depends on your soil conditions. You can always do the same test with the knife in the soil we described earlier, but this time only to a depth of two inches.
If you’re not the best at remembering watering schedules, or you get very busy, you can always use sprinklers and watering timers to do it automatically for you. Ah, the wonders of technology huh?
And that’s all there is to it really, see? I told you it wasn’t too difficult to sort out those bald spots on your lawn. The best thing about learning this technique is that you can apply it to your entire lawn too, so you can always have the best looking one in the area, and know you are making the neighbours green with envy.