Right now, I’m looking out of my window and seeing the sun shining down from a bright blue sky, and it looks marvelous.
.
You might be wondering why I’m not sprawled out on a sun lounger instead of in my office writing this article? But the truth is my red-headed mother cursed me with the type of skin that burns faster than a petrol-soaked rag in the mid-day sun.
For me to truly enjoy the nice weather I’ve got to smother myself in factor 50, and then have access to some high-quality shade, whether that be a gazebo, pergola, or shade sail.
If you’re like me, then you’ve probably been toying with the idea of buying a shade sail, but might have been put off by the thought of setting it up. However, there is no need to stall any longer, as this article has been written that will tell you all you need to know about measuring, attaching, and hanging shade sails in your garden. before yu know it, you’ll be posting things like this on your social media profiles-
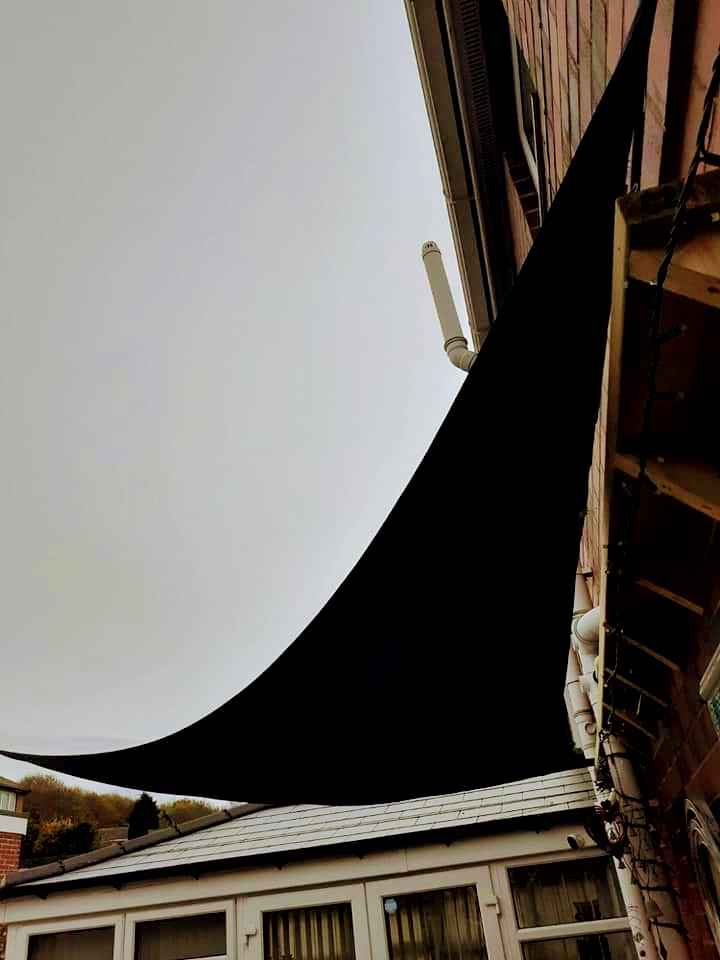
Got a shade sail!! pic.twitter.com/bzNSRzw8Dc
— Joe J (@ToolShedCub) June 6, 2021
How to set up a shade sail: first thing first
The very first thing you should do, before you even go shopping for a sunshade sail, is to figure out where you are going to put it.
As the main purpose of the sail is to provide shade, being aware of the sun’s path throughout the day is really important or you could find that you only get sheltered from those UV rays for certain periods during the day.
These products can be set up in several ways, ranging from laying flat horizontally or vertically (acting as a screen or divider), to more complex setups where the shade slopes down in multiple directions. The look that you hope to achieve will affect where you will need to anchor the corners of the sail and at which heights, so it’s important to have a good idea of what you want.
Good shade sails are usually made of fire-retardant materials but that doesn’t mean that they can’t burn or be damaged by open flames, ash, and cinders that come from BBQs, fire pits, and other sources like chimineas. With this in mind, you should set up your sail far away from these things for safety reasons. Some shade sails are more free retardent than others so do your research before buying. here’s a video that compares sail materials-
To reduce the amount of work needed to set up your shade sail, you should take advantage of any parts of your house, shed, etc. that you can use at anchor points or fix poles/posts to be used for the same purpose. It might be that this just isn’t viable, but it should be something you have explored before you go digging post holes all over your lawn.
How to measure for your shade sail
It is this seemingly simple part of the setup process where many people go wrong without even realizing it before it’s too late. What often happens is the person goes out and measures the space over their patio or lawn and sees that it is a certain size, let’s say 3×2 metres. Then they go and buy a sail that is 3×2 metres in size, but this can be a mistake.
The reason is that sun shade sails need to be fixed to things and use tensioning equipment too, and all of this takes up space. Then there is the actual stretching of the material to make it tight, which adds to the overall area you need to install your sail properly. here’s a picture of the kind of thing we are referring to by ‘fixings and tensioners’-
Buy with Tianjin Founder Sun shade sail hardware to ensure you get the best performance. pic.twitter.com/zmNZZRaMRn
— CablerailingManufacture (@YOYO42025879) June 7, 2021
So, first, you should check that the sail you want to buy comes with all the fittings and tensioners, and if not find some that you intend to buy, and markdown how long they are. You then add this number to about another 5% or so of the size of the sail to allow for the stretching and add this total to each of the sides of your overall measured area, whether that is three or four sides.
If you follow this method, you will avoid any headaches later, such as having to move anchor points and get a shade sail that looks the way it’s supposed to, without any big sagging parts and other common problems.
Digging posts for anchoring shade sails
Sometimes you don’t have nearby structures like pergolas and gazebos to use as anchor points, let’s say you want to have your shade sail in the centre of your garden. When this is the case, the only realistic option is to dig some holes and set up poles from which to fix the sail.
When digging these holes, you can save yourself a lot of time and effort by using either a post-hole digger or better still- a power auger. With the help of these tools, you will have perfectly dug post holes that you can then insert either metal or wooden posts into. If you’ve never set up fence posts or similar before, please read our article on the subject for some handy tips.
You can also watch this video that compares the different options available when digging post holes.
Attaching shade sails to your anchor points
With all your anchor points set up, you can now attach your shade sail, but to do so you will need some more equipment, and I’m not just talking about your tool box. However, for this part, you actually have a lot of choices such as metal chains, turnbuckles, and some good, thick rope are all viable choices to fix to the sail.
Of course, you also need to screw in your anchors into your poles, shed, rafters, or wherever else you’ve designated as anchor points. This is a really simple task, but be sure to double-check your measurements so that the anchors get put in the right places, at the right heights and angles, etc. The easiest things to use for this art are eye lag screws or bolts. Just drill some pilot holes and then screw the eye lags in. Nothing to it really.
Finally, all you have to do is to connect the chains, ropes, wire. Etc. to the tensioners, and then the tensioners to the anchors, and you should be about done. The last part of the set-up is simply adjusting the tension on the sail until you no longer see any crumpling or wrinkles in the material. Don’t overdo this part or you’ll end up damaging your sail, or make it easier for the wind to cause damage. There should still be a little bit of play in the sail, but no sagging.
Now you can just slide your garden furniture under there and maybe a few scatter cushions, a cool bag full of drinks, and you can spend a lovely day in the garden without worrying about getting scorched.
In this tweet, you can see how they have simply connected their sail to their fence to provide them with shade while relaxing on their rattan furniture.
ignore the broken fence and please enjoy my #BankHolidayMonday reading nook pic.twitter.com/8LCglSjQ9d
— Jeanna Louise Skinner (@JeannaLStars) May 31, 2021
And that’s all there is to it. Setting up a shade sail really isn’t that hard, but the most important part to remember is getting your measurements right from the start, and also picking a good place to hang the sail that’ll give you plenty of protection from the sun.