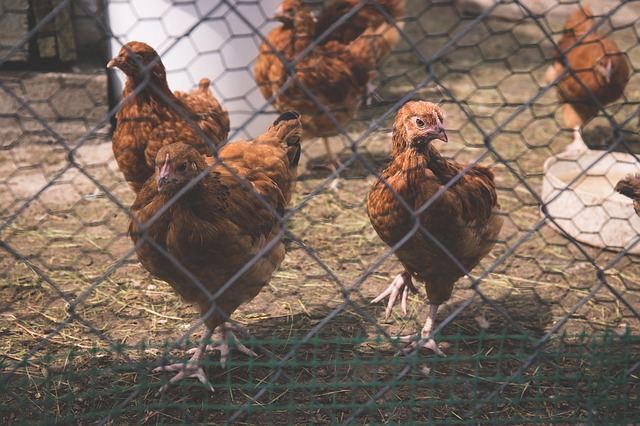
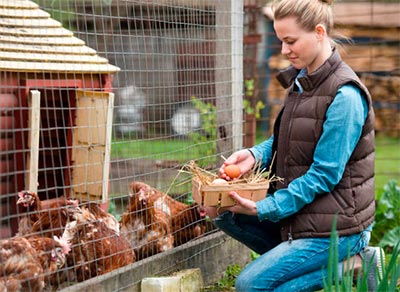
Keeping chickens brings along with it some amazing benefits. You get back in touch with nature, something that is lacking from many of our lives, and you also get fresh eggs to prepare and enjoy as you wish. Along with these benefits there is also responsibility, and those chickens are reliant on you to keep them happy and healthy. One of the main duties you have as a keeper of chickens, is to keep the coop clean. Picking the best chicken coop can help too. The best ones are designed with maintenance in mind.
Giving the coop a good cleaning and disinfecting at least a couple of times a year should be done on top of some daily or weekly cleaning tasks to ensure a hygienic place for your chickens to live. You also need to disinfect the coop if you are getting a new flock of chicks.
In this article, we will teach you how to clean a chicken coop in easy to follow steps. Let’s begin.
Daily cleaning
One of the Downsides to Keeping Chickens In the Garden is daily cleaning. One cleaning task you should ideally take care of each morning is to scrape clean the dropping boards, and also the roosts.
Chicken poo is so much easier to scrape off with a taping knife when it is fresh than when it has dried up, and cleaning it every day will make you annual ‘big clean’ so much easier. It also stops the chickens from having to live amongst their own feces.
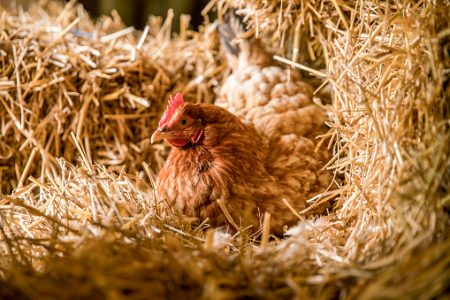
With the dropping boards scraped clean (be sure to wear gloves), you should now check the state of the chicken’s bedding. Bedding that is still in relatively good condition and doesn’t smell too bad, can probably just be left to dry out in the sun, but if not, you should change it for new bedding.
Scrape the floor
At the end of Winter, before Spring kicks in properly is an ideal time to give your chicken coop, and the chickens themselves, a good cleaning. Remove all the chickens from the coop and either have them wandering around you garden, or maybe keep them safely locked away in a shed, garage, or greenhouse, while you clean. With the chickens safely out of the way, you can now get on with clearing the floor of your coop. This is a messy and quite labour intensive job, but it is a vital part of the cleaning process.
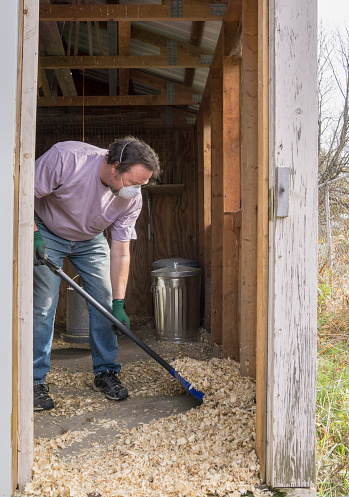
After removing all the nesting boxes, waterer, and feeder, use a rake and shovel to scrape up all the debris and droppings from the floor. Please don’t make the mistake of thinking you can leave the bird droppings there and use water to soften them up to make them easier to clean, as this won’t work for really old manure. The only way, I’m afraid, is to scrape them up using a good bit of elbow grease, and maybe use a pressure washer to help.
Use a pressure washer or high-powered hose and gun
Once the majority of the debris and manure has been removed from the chicken coop floor, you can give it a good cleaning with either a pressure washer or a hose with a decent spray gun attachment. I prefer to use a pressure washer as it halves the time it takes otherwise, and this is one of the only ways to loosen up remaining, stubborn, manure before scraping it up again.
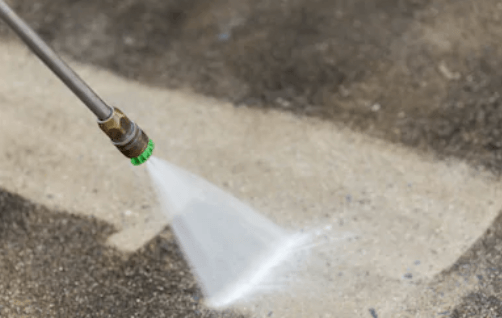
Whichever method you use, take your time and make sure you have covered the entire floor area without missing parts. Then grab a mop and clear the excess water away before leaving the coop to drain the remaining water away.
After most of the water has gone, check the floor again and scrape up another time if you feel it needs to be done. If not, you can move onto the next step.
A Guide For Raising Chickens At Home
Keeping Chickens In the Garden Guide: Chickens and UK Law
Apply your cleaning solution
While some people choose to use a water and bleach solution, I prefer to mix vinegar and water in equal parts and use that instead. This will give you the same cleaning power, but it won’t have the same toxic side effects that bleach can produce, and is better for your chickens.
Mop the floor with this solution, and also spray it onto the walls and other surfaces and use brushes to scrub the coop clean.
After this is done, rinse the coop again and allow to drain. Open up the coop windows, doors and any other areas to get as much air inside so that it dries out properly.
Put down some DE for extra protection for your chickens
Food grade Diatomaceous Earth is a great product that will help your chickens be free of pests such as ticks and mites. Put on a mask and just spread it on the floor once it’s dried off using a spoon.
Replace the bedding and bring your chickens home
Now it’s time to put your nesting boxes, feeder, etc. back in place and replace the bedding. You can use the old bedding as part of your compost heap if you have used wood shavings or hay.
Finally, bring your chickens home to roost in their nice, clean, chicken coop.
Always keep an eye on your chicken coop, go through the daily cleaning tasks we mentioned in step one, and try to have a regular cleaning schedule worked out for doing a full clean a few times a year. Some chicken coops need to be cleaned more than others, so you’ll need to trust your instincts, and your senses: sight, smell, etc.
If the chicken coop is starting to look, and more importantly smells like it needs cleaning, don’t wait for your scheduled time, just get on with the cleaning and disinfecting.
As we already mentioned, a thorough cleaning should be performed before introducing any new flock to a coop to prevent any problems with disease and such.
Always, make sure you wear gloves, mask, and other protective clothing when cleaning out your chicken coop to reduce the risk to yourself. This is particularly important if you are using any chemicals. Here’s an article on building a chicken coop too.